
Beautiful Plants For Your Interior
Beautiful Plants For Your Interior
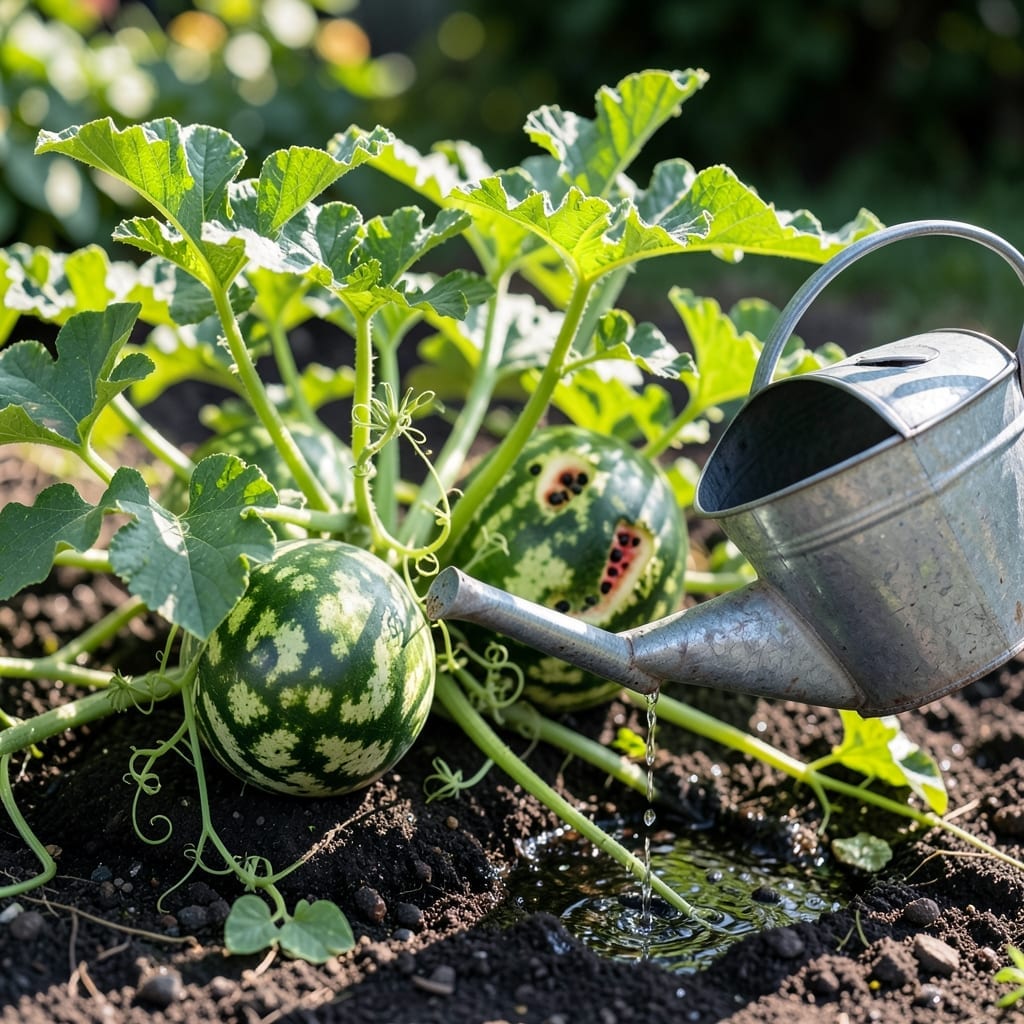
Growing sweet, juicy watermelons starts with the right watering routine. Too little water and your 🍉 will wither on the vine, too much and you risk bland fruit or even cracking.
I’ve seen gardeners struggle with this balance, but the solution is simpler than you think. The key lies in understanding your Watermelon’s changing needs through each growth stage.
From seedling to harvest, the amount and frequency of watering makes all the difference. Discover how to adjust your approach as your plants mature.
Let me walk you through the most important factors that will ensure your Watermelon thrives, producing the sweetest fruit possible this season.


Getting watermelon watering right is the secret to sweet, juicy fruit. The needs change dramatically from seedling to harvest, so I’ll break it down stage by stage.
At planting time, keep soil consistently moist but not soggy. Too much water early on can rot the seeds before they sprout.
| Stage | Water Amount | Frequency |
|---|---|---|
| Seedling | 0.5-1 inch | Daily (light) |
| Flowering | 1-1.5 inches | Every 2-3 days |
| Fruiting | 1.5-2 inches | Every 3-4 days |
| Maturing | 1 inch | Every 5-7 days |
During the flowering stage, I increase water to 1-1.5 inches weekly. This helps vines grow strong and supports pollination success for future melons.
Once fruits form, this is when most gardeners overwater by mistake. While it’s tempting to drown them, 1.5-2 inches per week is perfect for sugar development.
As harvest nears, I reduce water to 1 inch weekly. This prevents bland taste and fruit cracking, which happens when water pressure builds inside.
In hot climates, I check soil moisture daily at 1 inch depth. If it’s dry, I water deeply. In cooler areas, I stretch intervals to 5-7 days between waterings.
Drip irrigation is my top choice for watermelons. It delivers water directly to roots while keeping leaves dry, which prevents fungal diseases.
Remember, morning watering is best. It gives plants time to absorb moisture before the heat of day and reduces evaporation loss.
Finally, mulching with straw helps retain soil moisture and keeps roots cool. I apply a 2-3 inch layer around plants, leaving space near stems.
With this schedule, you’ll see healthier vines and sweeter melons all season long. 💧
Getting the watering right for watermelon plants can be tricky. I’ve learned that yellowing leaves often signal too much water, while wilted vines mean they’re thirsty. The plant will tell you what it needs if you know what to look for.
Overwatering leads to soft stems and mold growth, while underwatered melons develop cracked fruit or stunted growth. Both extremes hurt your harvest, so balance is key.
If you see yellow spots on leaves, check your soil. Watermelons need consistent moisture but hate soggy roots. A simple finger test in the soil tells you if it’s time to water.
During fruit development, watermelons need more water. I increase watering to 2 inches per week at this stage. But always water at the base to keep leaves dry and prevent disease.
Remember, morning watering is best. It gives plants time to absorb moisture before the heat of the day. Evening watering can lead to fungal issues, which I’ve had to deal with firsthand.
Finally, mulching helps retain moisture. I use straw around my watermelon plants to keep soil temperature steady and reduce evaporation. It’s a simple trick that makes a big difference.