
Beautiful Plants For Your Interior
Beautiful Plants For Your Interior
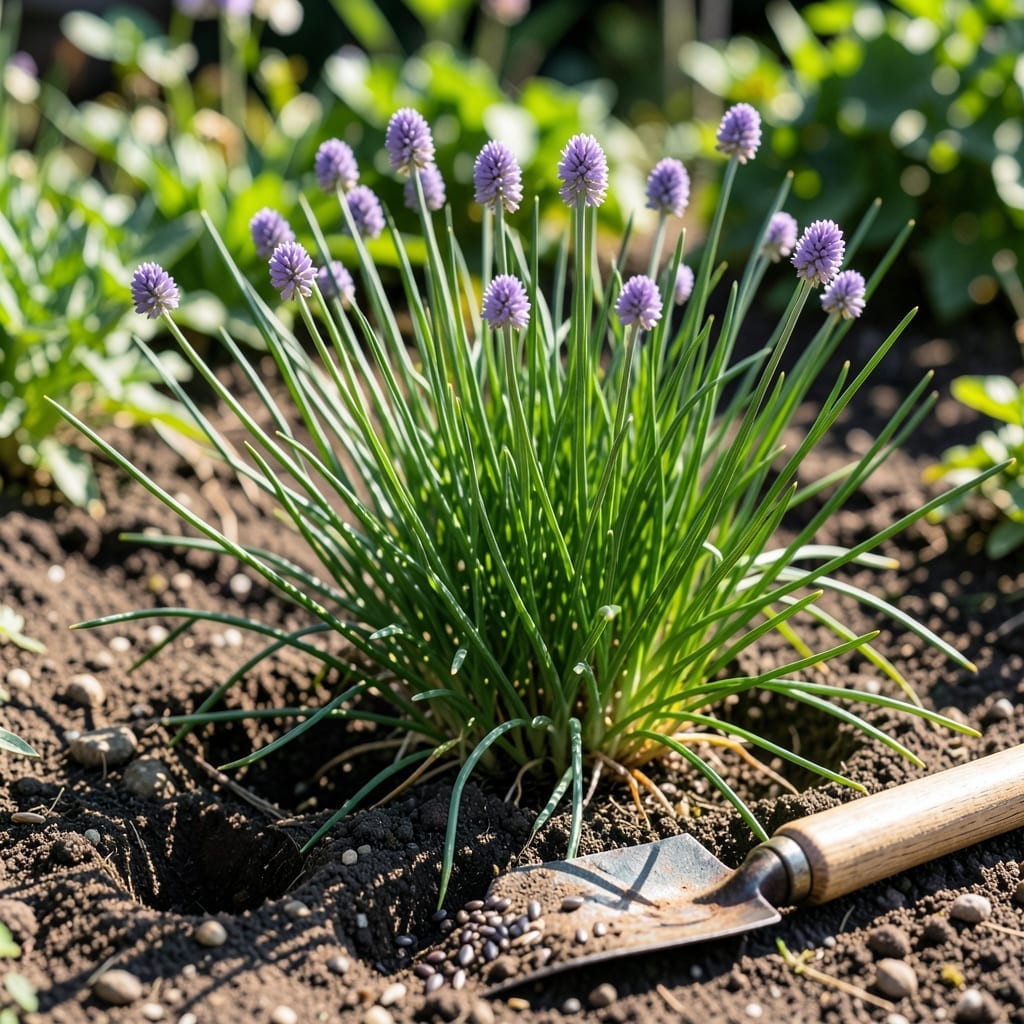
Planting Chives from seed is a rewarding way to grow this flavorful herb, but getting the spacing right is the key for healthy, thriving plants.
Many gardeners unknowingly overcrowd their seeds, leading to weak growth and poor yields. I’ve seen firsthand how proper seed distribution can make all the difference.
With 3-5 seeds per hole, spaced 8-12 inches apart, you’ll set your 🌱 Chives up for success. This simple step ensures strong roots and vibrant foliage.
Discover how small adjustments in planting can transform your garden’s results. Let’s make your Chives the best they can be.
When planting chives from seed, getting the quantity right ensures strong germination without overcrowding. I’ve found that 3-5 seeds per hole strikes the perfect balance for most gardeners.
This number allows for natural variation in germination rates while preventing competition for nutrients as the plants mature. Chives are hardy perennials, so proper spacing now means less thinning later. 🌱
I always recommend starting with 3-5 seeds because chives have a moderate germination rate. If all seeds sprout, you’ll need to thin to the strongest 1-2 plants per hole.
Planting too many seeds in one hole leads to weak, spindly plants that struggle to establish. Conversely, too few seeds may result in patchy germination, leaving bare spots in your herb garden.
For container gardening, I use the same 3-5 seeds per hole rule but space the holes 6-8 inches apart. This accounts for the limited root space in pots while still allowing healthy growth.
The 1/4 inch planting depth is critical. Chive seeds are small but mighty—bury them too deep, and they may fail to emerge. Keep the soil consistently moist until germination occurs.
Once your chives sprout, thin them promptly to avoid root competition. I use sharp scissors to snip unwanted seedlings at soil level, which is gentler on roots than pulling.
Remember, chives are perennials, so proper initial spacing means years of harvests with minimal maintenance. A little planning now saves time and effort down the road. 🌿
If you’re direct sowing in the garden, mark your rows 12 inches apart to allow for easy access and air circulation. This also makes weeding and harvesting much simpler.
I always start by preparing the planting area with well-draining soil enriched with compost. This gives chive seeds the best foundation for strong root development and healthy growth.
Sow 3-5 seeds per hole at a 1/4 inch depth, spacing holes 8-12 inches apart. This spacing prevents overcrowding while ensuring each plant has room to thrive.
After planting, I lightly water the area to settle the soil without displacing seeds. The top inch of soil should stay consistently moist but never soggy.
Once seeds sprout, usually within 7-14 days, I thin the seedlings to leave the strongest 1-2 plants per hole. This gives them space to grow thick, upright stems.
I find that morning planting works best, as it gives seeds a full day to settle before cooler evening temperatures. This also helps prevent fungal issues from damp conditions.
Remember, chives love sunlight, so choose a spot with at least 6 hours of sun daily for the best results. With proper care, you’ll have harvest-ready chives in about 60-90 days 🌱