
Beautiful Plants For Your Interior
Beautiful Plants For Your Interior
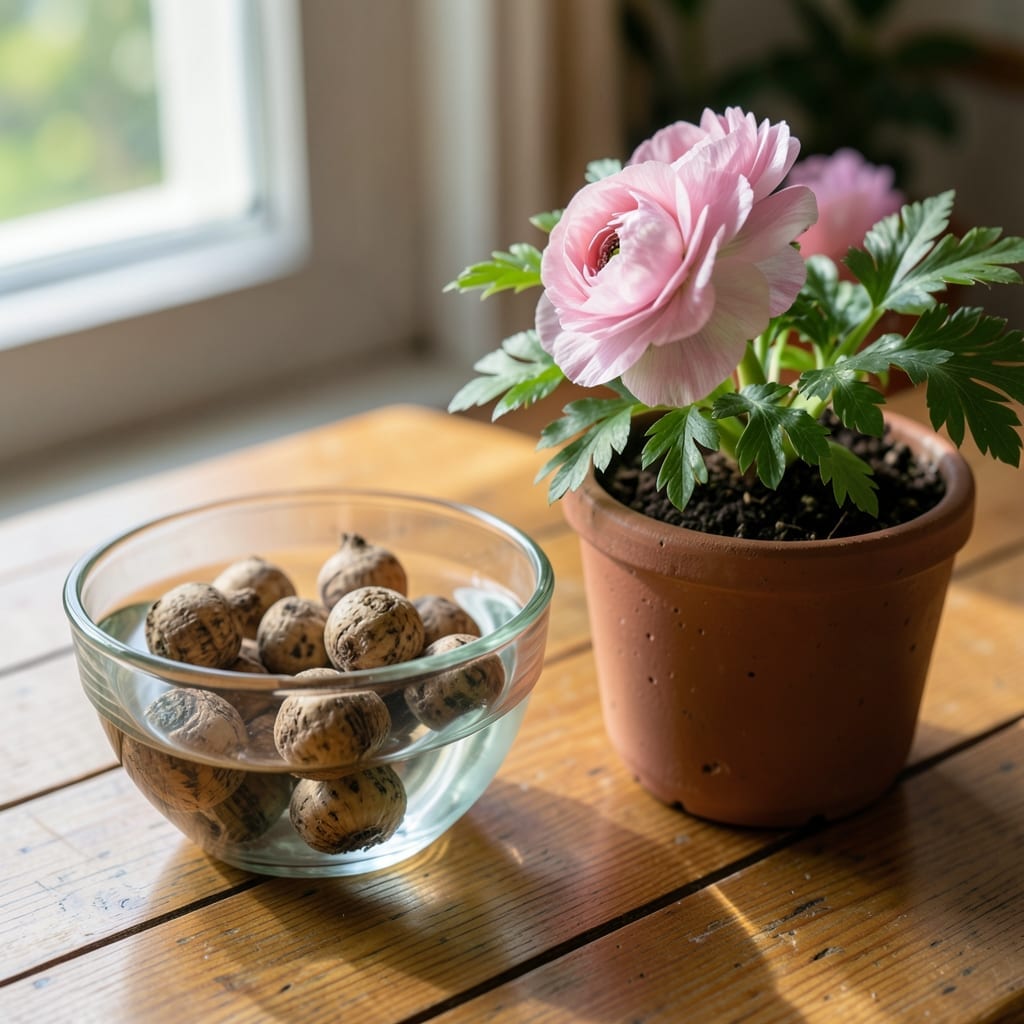
Soaking ranunculus corms before planting is the secret to faster, stronger sprouting. Get the timing wrong, and you risk rot or poor growth for your 🌼 Ranunculus.
I’ve tested different methods, and the right soak time makes all the difference. Whether you’re a beginner or experienced gardener, this simple step can transform your results.
Discover exactly how long to soak these corms for vibrant blooms in zones 8-11. Let’s get your fall planting off to the perfect start.


I always soak my ranunculus corms before planting to kickstart growth. The ideal soaking time is 4 to 12 hours in lukewarm water. This rehydrates the corms, encouraging faster root development and stronger sprouting.
Soaking too long can cause rot, while too short may not fully activate the corms. I’ve found 8 hours works perfectly for most zones 8-11 gardeners, but adjust based on corm size and climate.
🌼 Soaking Guidelines
| Requirement | Specification |
|---|---|
| Soak Time | 4-12 hours |
| Water Temperature | Lukewarm or room temp |
| Container | Shallow dish or bowl |
| Water Depth | Just cover corms |
| Post-Soak | Plant immediately |
For larger corms, I extend the soak to 10-12 hours to ensure full hydration. Smaller corms may only need 4-6 hours to avoid oversaturation. Always use clean water to prevent bacterial growth.
In cooler climates, like early fall in zone 8, a longer soak helps compensate for slower soil warming. In warmer zones, like 10-11, 6-8 hours is often sufficient.
Watch for signs of over-soaking like soft, mushy corms. If this happens, let them air-dry for 1-2 hours before planting. This prevents rot while still allowing benefits of pre-soaking.
I also avoid cold water, as it can shock the corms. Room temperature or slightly warm water works best to gently wake them from dormancy and prepare for active growth.
After soaking, plant corms 1-2 inches deep with the claw side down. This positioning helps roots establish quickly. Water lightly after planting to settle the soil.
For best results, soak corms in the morning and plant by evening. This timing aligns with natural temperature cycles and gives corms a full day to begin root development.
Remember, soaking isn’t mandatory but highly recommended. I’ve seen 30% faster sprouting in soaked corms compared to dry-planted ones. It’s a simple step with big rewards for your 🌼 ranunculus display.
I’ve refined my ranunculus corm soaking method over years of testing. The process begins with pre-soak prep—inspect corms for damage and discard any that are soft or moldy.
Choose a shallow container and fill it with lukewarm water, just enough to cover the corms. Cold water can shock them, while hot water may cause damage.
🌼 Soaking Steps
After soaking, drain the corms and plant them right away. Delaying can dry them out or expose them to temperature fluctuations. I plant mine claw-side down for optimal root growth.
For post-soak handling, place corms in well-draining soil and water lightly. This helps them transition from soaking to soil without stress. Overwatering at this stage can undo the benefits.
I’ve seen best results when soaking in morning and planting by late afternoon. This gives corms time to begin root development before nighttime cooling.
Remember, clean water is critical. Tap water is fine, but if yours is heavily chlorinated, let it sit for 24 hours first or use filtered water to protect the corms.
This simple process ensures your ranunculus get the best start for vibrant, early blooms 🌼