
Beautiful Plants For Your Interior
Beautiful Plants For Your Interior
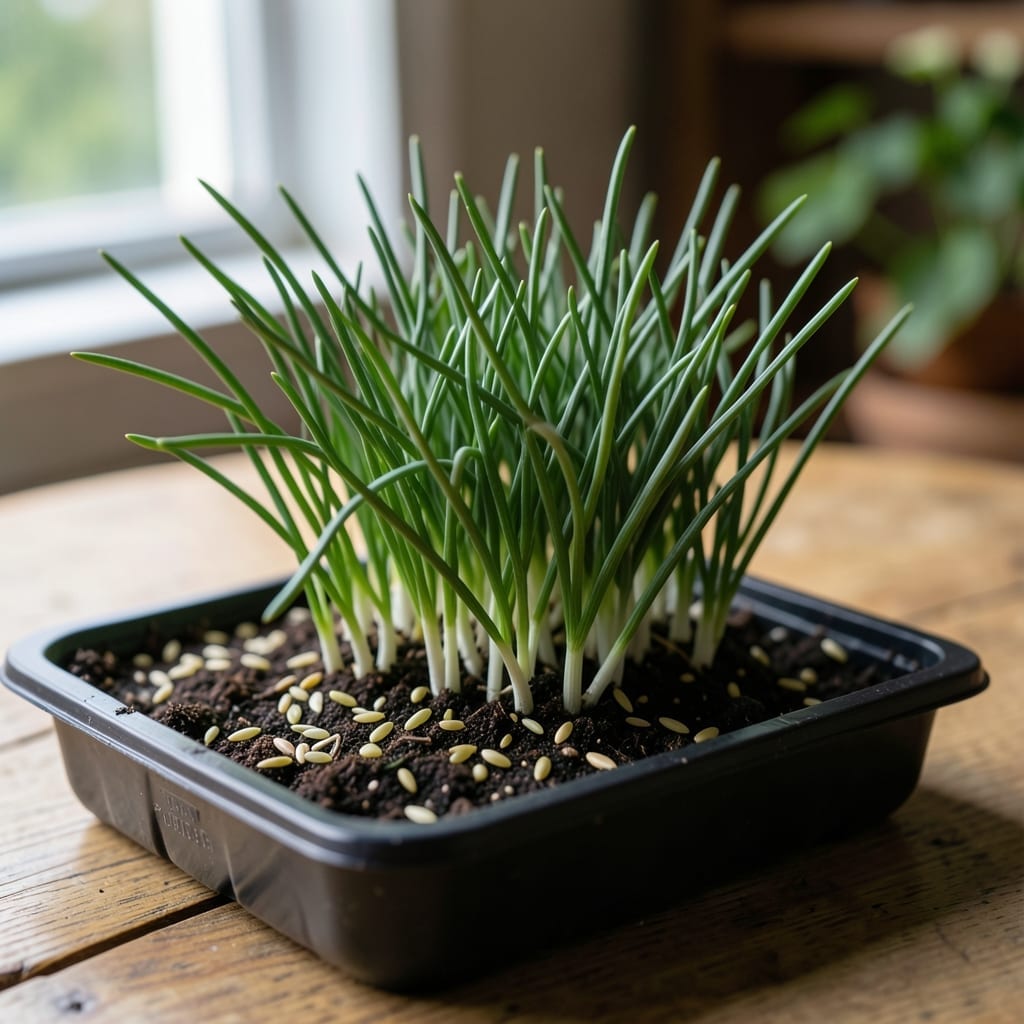
Waiting for Chives 🌱 to sprout can test even the most patient gardener. That first glimpse of green peeking through the soil feels like a small victory worth celebrating.
I remember checking my seed trays daily, wondering if I’d done something wrong. Turns out, knowing the typical timeline and ideal conditions makes all the difference.
With the right approach, you’ll see those tiny shoots in 7 to 14 days. But a few simple tweaks can speed up the process significantly.
Let me walk you through what to expect and how to set your Chives up for success from the very start.
If you’ve ever planted chive seeds and stared at empty soil for days, you’re not alone. Most gardeners see first sprouts between 7 to 14 days under ideal conditions. But this timeline can stretch to 3 weeks if factors like soil temperature aren’t perfect.
I’ve found that 70°F soil is the sweet spot for fast germination. Cooler soils slow things down, while consistent moisture keeps the process moving. Old seeds or poor drainage can add extra days to your wait time.
| Stage | Timeframe | Key Conditions |
|---|---|---|
| Seed Planting | Day 0 | 1/4 inch deep, moist soil |
| Initial Sprouting | 7-14 days | 70°F soil, consistent moisture |
| Visible Growth | 2-3 weeks | Full sun, well-draining soil |
| True Leaves | 4-6 weeks | Regular watering, light fertilizer |
In my experience, fresh seeds sprout fastest when planted in early spring or fall. The USDA zones 3-10 are ideal for chives, but even in cooler climates, indoor starting can give you a head start.
Watch for tiny green loops breaking the soil surface—this is your first sign of success. At this stage, gentle watering is crucial to avoid disturbing the fragile sprouts. I use a spray bottle for even moisture without washing away seeds.
If your seeds aren’t sprouting within 21 days, check your soil temperature. Anything below 60°F can significantly delay germination. A seedling heat mat can help maintain that ideal 70°F range.
Light requirements change once sprouts appear. While seeds don’t need light to germinate, the young seedlings will need 6+ hours of direct sunlight or grow lights to thrive. I position my trays near a south-facing window for best results.
Remember that seed age matters. Older seeds may take up to 30 days to sprout or not at all. If you’re unsure about your seeds’ viability, try the paper towel test: place a few seeds on a damp paper towel in a sealed bag. If they don’t sprout within 10 days, it’s time to get fresh seeds.
Overwatering is a common mistake that can rot seeds before they sprout. The soil should be moist but not soggy. I check by sticking my finger 1/2 inch into the soil—if it feels dry, it’s time to water.
For container growing, ensure your pots have drainage holes. Chives hate “wet feet”, and standing water can kill emerging sprouts. I use a well-draining potting mix with some perlite for extra aeration.
With patience and the right conditions, you’ll see those first chive sprouts pushing through the soil. Once they reach 2-3 inches tall, they’re ready for their first real drink of sunlight and the start of their journey to your herb garden 🌱
I’ve found that chive seeds can be coaxed to sprout faster with a few simple tricks. The standard 7 to 14 days can often be shortened to 5 to 10 days if you create the perfect environment for them. 🌱
It’s all about giving them the right conditions from the start. Small adjustments in temperature, moisture, and seed preparation make a noticeable difference in how quickly those first green shoots appear.
I always pre-soak my chive seeds before planting. This simple step helps break down the seed coat, allowing water to penetrate faster. You’ll often see sprouts 2 to 3 days earlier with this method.
A seedling heat mat is my secret weapon for consistent warmth. Chives germinate best in warm soil, and a heat mat ensures they get that steady temperature, even in cooler rooms. ☀️
Don’t underestimate the power of humidity control. Covering seed trays with plastic wrap creates a mini greenhouse effect, keeping moisture levels ideal for germination without waterlogging the soil.
The right planting depth matters too. Chive seeds need light to germinate, so 1/4 inch deep is perfect. Any deeper, and they may struggle to push through the soil. 🌿
Finally, place your trays where they’ll get bright, indirect light. A south-facing window works well, but avoid direct sun, which can dry out the soil too quickly before sprouts emerge.