
Beautiful Plants For Your Interior
Beautiful Plants For Your Interior
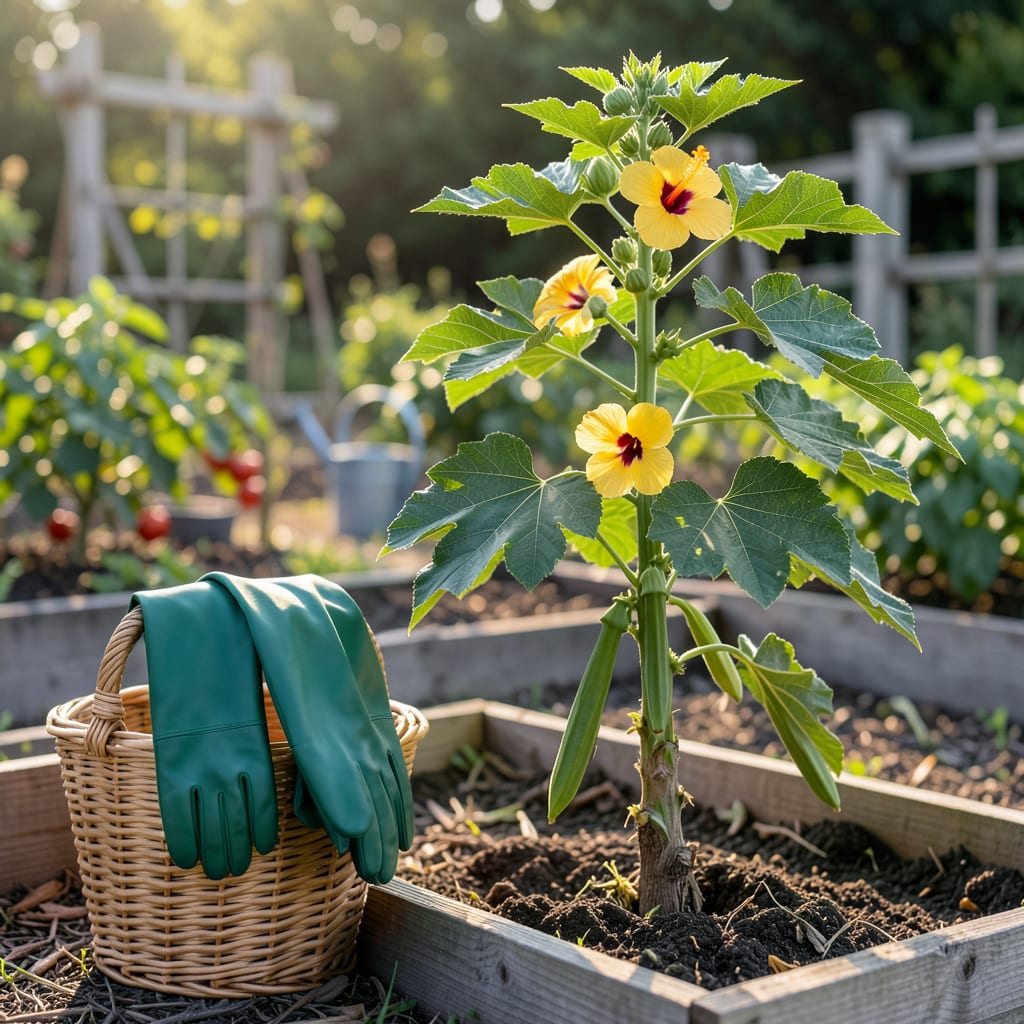
There’s nothing worse than biting into okra that’s gone from tender to tough overnight. I’ve been there—standing in the garden, staring at my 🥒 okra plants, wondering if today’s the day or if I should wait just a little longer.
The difference between perfect pods and fibrous disappointments comes down to 5 key signs you can spot in seconds. Let me show you exactly what to look for—so you’ll never second-guess your harvest again.


I’ll let you in on a secret: okra tells you exactly when it’s ready if you know what to look for. The trick is catching those subtle visual clues before the pods turn tough. Most gardeners miss the perfect window by just 24 hours, and that’s all it takes for tenderness to disappear.
Start by examining your pods in the early morning when they’re most crisp. The first thing I check is always the size—okra grows shockingly fast in warm weather. What was perfect yesterday might be overgrown today, so daily inspections are key during peak season.
Here’s where most gardeners go wrong: they focus only on size and ignore the stem. The area where the pod connects to the plant should still be flexible, not woody. If the stem snaps cleanly when bent, you’re in the ideal window. If it bends like a green bean, wait another day.
The color test is especially important for colored varieties. My Red Burgundy okra should be deep wine-red, not fading to green. Green varieties like Clemson Spineless should scream “fresh spring leaf”—any yellowing means the seeds inside are getting hard.
Pro tip: Always carry pruning shears when harvesting. Twisting pods can damage the plant stem, reducing future production. Make clean cuts 1/4 inch above the pod’s base to encourage new growth. I keep mine in my pocket during okra season!
Watch for the “5-day rule”: okra typically goes from flower to harvest-ready in about 5 days in warm weather. I mark blossom dates on my calendar so I know when to start checking. In cooler climates, add 1-2 extra days to this timeline.
Don’t forget the finger test—gently squeeze the pod. It should feel firm but still yield slightly, like a ripe cucumber. If it feels like you’re squeezing a pencil, it’s past prime. The seeds inside should be tiny white specks, not developed brown seeds.
Remember that frequency matters: okra plants produce more when harvested regularly. I aim to pick every 2-3 days during peak season. Skipping harvests signals the plant to stop producing new pods and focus on seed development instead.
If you spot any pods over 6 inches, remove them immediately—even if you don’t plan to eat them. These “monster pods” drain energy from the plant and can make remaining pods tougher. I toss overgrown ones into my compost pile.
Your reward for perfect timing? Pods so tender they’ll snap like green beans when bent. The flavor difference is night and day compared to store-bought okra that’s been sitting for days. Now that you know the signs, you’ll be harvesting like a pro! 🌱
Visual signs get you 90% of the way, but the real pros know that touch and movement reveal what eyes can’t see. I’ve found that okra pods can look perfect but still feel disappointingly tough. That’s where these hands-on tests become game-changers for foolproof harvesting.
The first test I always use is the snap test. Gently bend the pod near its tip—if it snaps cleanly with a crisp break, it’s at peak tenderness. If it bends like a rubber band or requires force, you’ve missed your window. This simple test works because okra’s cell walls soften as fibers develop.
Morning harvests yield the crispiest pods because okra absorbs moisture overnight. The snap test works best when plants are fully hydrated—afternoon heat can make pods seem tougher than they are.
Next, try the finger-pressure test. Press your thumbnail into the pod’s side. Perfect okra will leave a slight indentation that springs back, like a ripe avocado. If no mark appears, it’s underripe; if the dent stays, it’s overripe. This test reveals the internal seed development that visual checks miss.
The stem-flex test is my secret weapon for borderline cases. Grasp the pod where it meets the stem and gently wiggle. Ready pods will detach with minimal resistance, while unripe ones cling tightly. This works because okra develops an abscission layer (natural separation point) when mature.
For colored varieties like Red Burgundy, add the scratch test. Lightly scrape the pod’s surface with your nail. Ready okra will show a faint green streak underneath the purple skin—this indicates the chlorophyll layer hasn’t fully developed into tough fibers yet.
Remember the “3-second rule” for harvesting: once you’ve confirmed readiness with these tests, pick immediately. Okra can become noticeably tougher in just 6-8 hours of hot afternoon sun. I keep a small basket and pruners handy to act fast when I find perfect pods. 🌿
Not all okra varieties follow the same harvest timeline. I’ve grown everything from classic Clemson Spineless to exotic Red Burgundy, and each has its own perfect picking window. The key is knowing your variety’s days-to-maturity and ideal pod size.
Most standard green varieties like Emerald or Annie Oakley hit their prime at 3-4 inches, but some heirloom types prefer slightly different sizes. Climate plays a role too—okra in hotter zones matures faster than in cooler areas. Let me break down the specifics.
| Variety | Ideal Pod Size | Days to Harvest | Climate Notes |
|---|---|---|---|
| Clemson Spineless | 3-4 inches | 55-60 days | Thrives in hot climates |
| Emerald | 3-5 inches | 50-55 days | Early producer, cold tolerant |
| Red Burgundy | 3 inches max | 60-65 days | Color fades when overripe |
| Jambalaya | 4-5 inches | 58-62 days | Heat-loving, drought resistant |
Notice how Red Burgundy needs picking at just 3 inches? That’s because its deep purple color fades to green as it matures. I mark my calendar when blossoms appear, then count forward 5-6 days for this variety—it’s more sensitive than green types.
For hot climates (Zones 8-10), subtract 3-5 days from these estimates. Your okra will mature faster in intense heat. In cooler zones (6-7), add 2-3 days to the timeline. I’ve found that Emerald handles temperature swings best if you’re in an area with unpredictable summers.
Here’s my variety-specific trick: For tall okra types like Hill Country Red, check the lower pods first—they mature faster than upper ones. With compact varieties like Baby Bubba, all pods tend to ripen within 24 hours of each other, so plan for quick succession harvesting.
Remember that first harvests often take longer than subsequent ones. After your initial picking, most varieties settle into a 3-4 day production cycle. I keep a harvest log to track my plants’ rhythms—it’s the best way to predict when new pods will be ready. 🌱
Harvesting too soon means you’ll get small, underdeveloped pods with minimal flavor. They’ll lack the signature okra texture and may taste more like a bland green bean. Wait until pods reach at least 3 inches for the best balance of tenderness and flavor.
Check your plants daily in warm weather—okra can grow 1+ inch per day in ideal conditions. Morning inspections work best when pods are crisp from overnight hydration. Missing just 24 hours can mean the difference between perfect and tough pods.
Uneven growth usually comes from inconsistent watering or poor soil fertility. Lower pods often mature faster than upper ones on tall varieties. If you notice many small pods, try increasing water to 1 inch per week and adding a balanced 10-10-10 fertilizer every 4-6 weeks.
Technically yes, but the texture will be unpleasant. Overgrown pods develop tough fibers and hard seeds. For best results, remove woody pods immediately to redirect the plant’s energy. These are perfect for composting rather than cooking. Try harvesting at 3-4 inches next time for optimal tenderness.
