
Beautiful Plants For Your Interior
Beautiful Plants For Your Interior
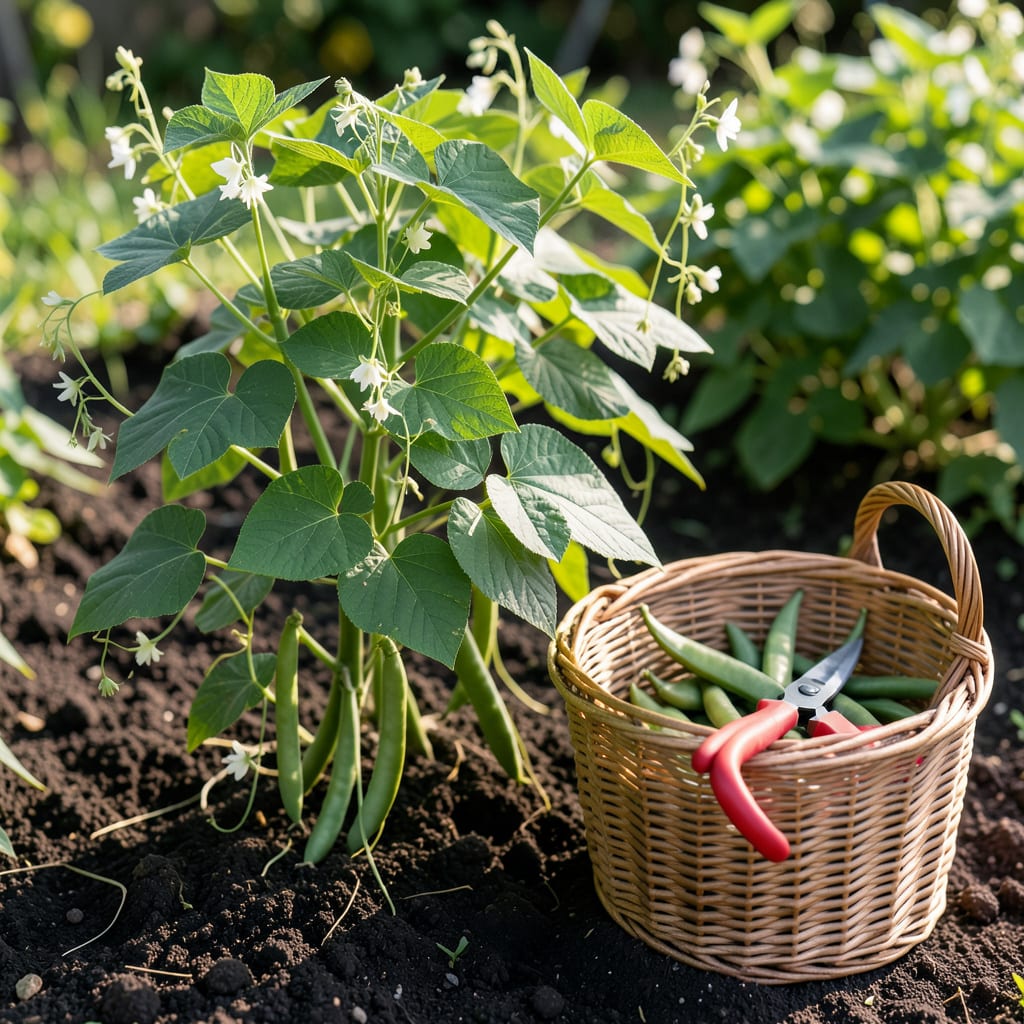
Picking Bean 🌱 at the perfect moment ensures the best flavor and texture. Whether you’re growing snap, shelling, or dry varieties, timing is everything for that crisp, fresh taste.
I’ll show you the most important signs to look for—from pod firmness to seed bulge tests—so you never miss the ideal harvest window again.


Knowing when to harvest beans starts with observing pod color and texture. For most snap beans, look for bright green, firm pods that feel smooth to the touch.
I always check for seed bulges—when the outlines of seeds become visible through the pod skin, it’s a clear sign they’re ready. This works for both bush beans and pole beans. 🌱
| Bean Type | Maturity Signs | Key Test |
|---|---|---|
| Snap Beans | Plump, firm pods, 4-6 inches long | Snaps easily when bent |
| Shelling Beans | Pods turn yellow or pale green | Seeds feel full inside |
| Dry Beans | Pods are brown and brittle | Rattles when shaken |
For snap beans, the snap test is foolproof—bend a pod, and if it breaks with a crisp snapping sound, it’s perfect. Dull or rubbery pods mean they’re overripe.
Shelling beans like lima beans or cannellini show readiness when the pod changes color. Instead of green, they’ll turn pale yellow or cream-colored, and the seeds inside feel plump.
With dry beans, patience is key. Wait until the pods are completely brown and the seeds rattle inside. Picking too early can lead to underdeveloped seeds that won’t store well. ☀️
Another trick I use is the fingernail test. Gently press a bean pod with your fingernail—if it leaves a slight indentation but bounces back, it’s ready. If it stays dented, it’s overripe.
For pole beans, check the lower pods first, as they mature before the upper ones. Harvest every 2-3 days to encourage more production and prevent the plant from stopping its pod development.
Don’t forget the gloss test—fresh beans have a slight waxy sheen. If the pod looks dull or leathery, it’s past its prime. This is especially true for green beans and wax beans. 🌿
Finally, size matters. Most snap beans are ready at 4-6 inches, while shelling beans might grow larger. Check your seed packet for variety-specific guidelines to be sure.
Timing your bean harvest wrong can ruin weeks of careful gardening. I’ve seen underripe beans with flat pods and no visible seeds, which means they’re not ready for picking.
Another common error is waiting until pods turn tough and stringy. Overripe snap beans lose their crispness and develop a leathery texture that’s unappetizing. 🌱
⚠️ Harvesting Warning: Never pick beans when wet—this spreads diseases and damages plants. Always use two hands to avoid tearing vines.
I also avoid harvesting during wet conditions. Picking beans when damp can spread fungal diseases and make the pods more prone to post-harvest rot.
Using only one hand to pull beans is another mistake. This can damage the plant and reduce future yields. Instead, hold the vine steady with one hand while picking with the other.
Don’t overlook the frequency of harvesting. Beans can go from perfect to overripe in 2-3 days. I check my plants daily during peak season to catch them at the right moment. ☀️
Finally, ignore the urge to harvest all beans at once. Stagger your picking to encourage the plant to produce more pods and extend your harvest season.
By avoiding these mistakes, you’ll ensure a steady supply of fresh, flavorful beans all season long. 🌿
To get the most from your bean plants, I always harvest in the early morning when pods are crisp and cool. This timing helps preserve their freshness and flavor longer after picking.
Using the two-hand method prevents damage: hold the vine steady with one hand while gently pulling the pod with the other. This keeps the plant healthy for future harvests. 🌱
For maximum yield, I check my bush beans and pole beans daily during peak production. The more you pick, the more new pods the plant will produce.
After harvesting, I cool beans quickly by placing them in a shaded area or the refrigerator. This preserves their crisp texture and extends their shelf life. ☀️
For long-term storage, blanch and freeze beans within 2-3 hours of picking. This locks in their fresh-picked flavor and nutrients for months. 🌿
It should feel firm and crisp with visible seed outlines. Gently press it—if it bounces back, it’s perfect. A snap test confirms readiness when it breaks cleanly.
Check daily during peak season. Beans can go from ideal to overripe in 2-3 days. Frequent picking also encourages more pod production.
No, never harvest wet pods. This spreads disease and can damage the plant. Always wait for dry conditions and use two hands to avoid tearing vines.
Cool them quickly in a shaded area or fridge. For long-term storage, blanch and freeze within 2-3 hours to preserve freshness.
