
Beautiful Plants For Your Interior
Beautiful Plants For Your Interior
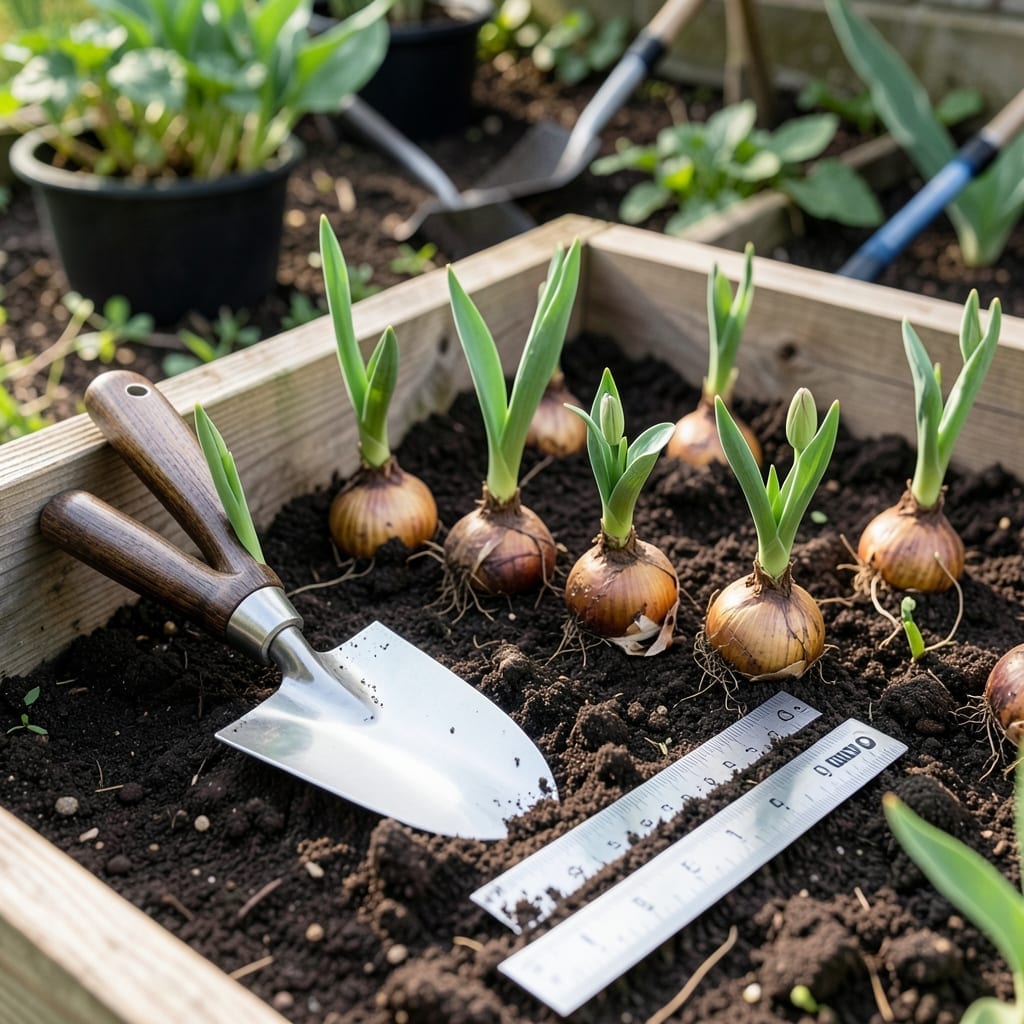
Planting Tulips at the right depth can mean the difference between a lackluster garden and a vibrant spring display. I’ve seen firsthand how a simple adjustment in planting technique transforms results.
Getting the depth wrong often leads to weak stems or no blooms at all. The good news? It’s easier than you think to get it right every time.
Discover the straightforward method that ensures your 🌷 Tulips thrive year after year. Let’s dig into the details that make all the difference.
Getting tulip depth right starts with the 2-3x rule. I always measure the bulb’s height and multiply it by two or three for perfect depth. This simple method works for all tulip varieties.
A 6-inch deep hole suits most standard tulips since their bulbs average 2 inches tall. This depth provides frost protection and root stability, ensuring strong spring growth.
| Bulb Size | Planting Depth | Purpose |
| 1 inch | 2-3 inches | Dwarf varieties |
| 2 inches | 4-6 inches | Standard protection |
| 3 inches | 6-8 inches | Large bulbs, cold climates |
The science behind depth is fascinating. Planting deeper shields bulbs from freeze-thaw cycles that can push them out of the soil. It also anchors stems against wind and rain.
I’ve noticed shallow-planted tulips often produce weak stems that flop over. The extra depth encourages stronger root systems, which means bigger blooms and better year-to-year performance.
For cold climates like USDA zones 3-5, err on the deeper side. In milder zones 6-8, the standard 6-inch depth usually suffices. Always adjust for your local frost line.
Soil type matters too. In sandy soil, I go 1 inch deeper to compensate for faster drainage. For clay soil, stick to the shallower end to prevent bulb rot from poor drainage.
The depth also affects blind buds—those frustrating non-blooming stems. Too shallow, and bulbs may not store enough energy. Too deep, and sprouts may exhaust themselves before reaching sunlight.
I always mark my planting spots with biodegradable flags to remember where bulbs are. This helps avoid accidental digging and lets me monitor depth consistency across my garden beds.
Remember, the pointy end of the bulb goes upward. Even at the perfect depth, planting upside down will cause problems. Take your time—your spring garden will thank you 🌷
Preparing the soil properly is my first step. I loosen it to 12 inches deep and mix in compost for better drainage. This creates the ideal foundation for tulip bulbs to establish strong roots.
Measuring depth is crucial—I use a ruler or planting gauge to ensure consistency. For most 2-inch bulbs, that means digging 6-inch holes for optimal results.
For spacing, I maintain 4-6 inches between bulbs. This gives each tulip enough room to grow without competing for nutrients while creating a full, natural look in the garden.
Positioning matters—always place bulbs with the pointed end facing upward. If you’re unsure, plant them on their sides; they’ll naturally orient themselves. I’ve found this trick saves time when working with large quantities.
After placing bulbs, I backfill holes with native soil, gently pressing to eliminate air pockets. Then I water thoroughly to help roots start establishing before winter. This initial drink is critical for success.
In heavy clay soil, I add sand or grit to the planting hole to improve drainage. For sandy soil, a bit of peanut hulls or other organic matter helps retain moisture around the bulbs.
Finally, I always mulch the area with 2-3 inches of straw or shredded leaves. This insulates the soil, retains moisture, and provides extra protection against temperature fluctuations 🌷