
Beautiful Plants For Your Interior
Beautiful Plants For Your Interior
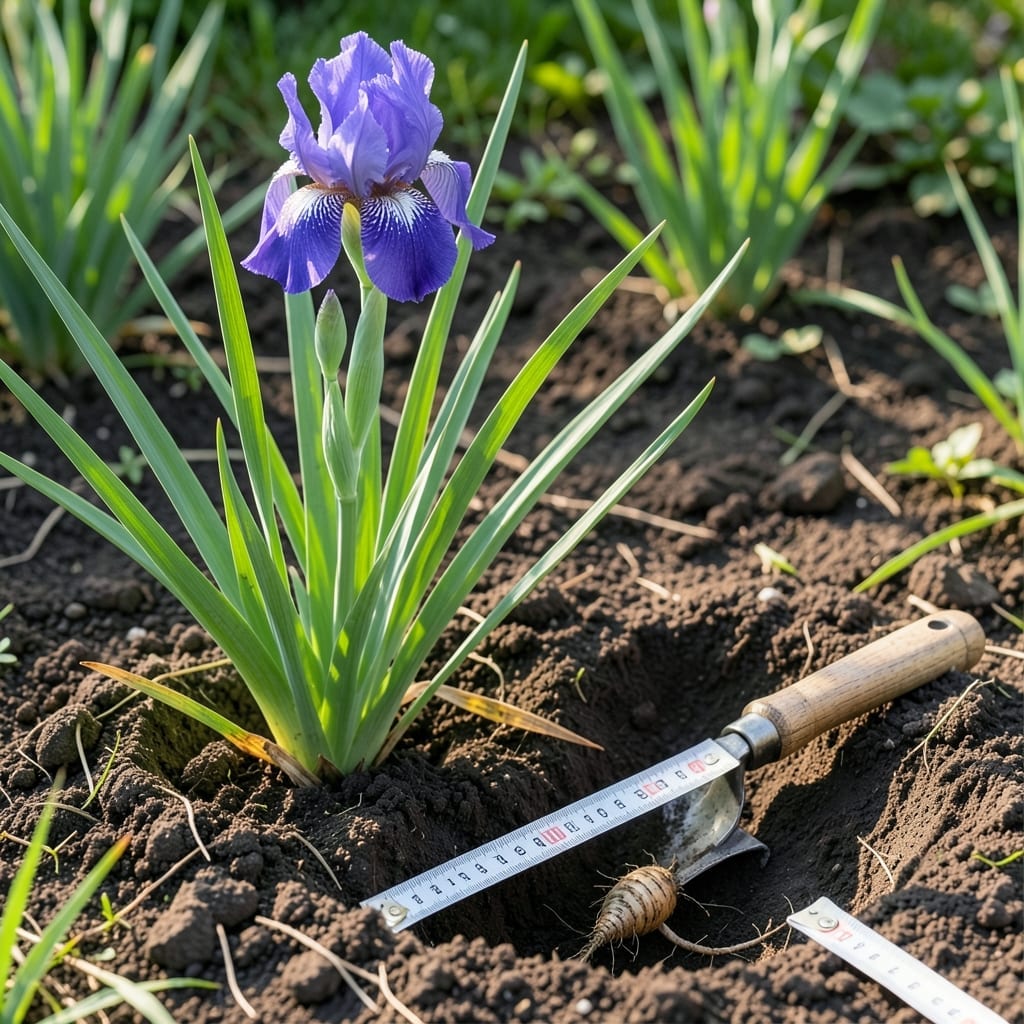
Planting Iris at the correct depth can make or break your garden’s success. I’ve seen too many gardeners struggle with weak blooms or rotting rhizomes simply because they got this one detail wrong.
Getting the depth right ensures your 🌸 Iris thrives with vibrant colors and strong growth. It’s not complicated once you know the simple rules that most guides overlook.
Discover the exact technique that will transform your planting results. With this approach, you’ll enjoy healthier plants and more spectacular flowers every season.
I’ve found that planting depth is the most critical factor for healthy iris growth. Get it right, and you’ll enjoy vibrant blooms for years to come. 🌸
The general rule is to plant bearded iris rhizomes so the top is slightly exposed to sunlight. This prevents rot and encourages strong root development.
| Iris Type | Planting Depth | Special Notes |
|---|---|---|
| Bearded Iris | Top exposed | Rhizome visible at surface |
| Siberian Iris | 1-2 inches deep | Deeper than bearded types |
| Dutch Iris | 3-4 inches deep | Bulbs need full coverage |
For bearded irises, I always plant with the rhizome’s top just peeking above the soil. This might look odd at first, but it’s crucial for preventing rot and ensuring good airflow. ☀️
Siberian irises prefer slightly deeper planting, about 1-2 inches below the surface. Their rhizomes are more tolerant of moisture, but still need good drainage.
Dutch irises, being bulb-type, require 3-4 inches of soil coverage. This protects them from temperature extremes and helps anchor their tall stems.
In heavy clay soils, I recommend planting slightly shallower to improve drainage. Adding compost or sand can help create the ideal environment for your irises.
For cold climates, a light mulch over the rhizomes in winter can provide extra protection without smothering the plants. Just
I’ve learned that soil temperature affects planting depth too. In warmer zones, you can plant slightly deeper, while in cooler areas, shallower planting helps the rhizomes warm up faster in spring.
Always check your specific iris variety for exact requirements, as some newer hybrids may have slightly different needs. When in doubt, shallower planting is safer than too deep.
Remember, the planting hole should be wide enough to accommodate the roots comfortably. A good rule is to make it twice as wide as the rhizome or bulb.
I’ve seen many gardeners accidentally bury iris rhizomes too deep, which leads to rot and poor flowering. This is especially common with bearded irises, whose tops need sunlight. 🌱
Another frequent error is planting too shallow, leaving roots exposed to air and drying out. Both extremes can stress your plants and reduce their blooming potential.
⚠️ Warning: Bearded iris rhizomes buried more than 1 inch deep often rot. Dutch iris bulbs planted too shallow may freeze in winter.
If you’ve already planted too deep, I recommend carefully digging up the rhizomes and replanting at the correct depth. The plants will recover quickly with proper care. ☀️
For exposed roots, gently mound soil around the base, but avoid covering the rhizome top. This protects the roots while keeping the rhizome healthy.
In sandy soils, irises may settle deeper over time. Check your plants after heavy rains and adjust the soil level if needed to maintain proper depth.
Remember, mulching can help regulate soil temperature and moisture, but always keep it light around iris rhizomes to prevent smothering. A 1-inch layer is ideal.