
Beautiful Plants For Your Interior
Beautiful Plants For Your Interior
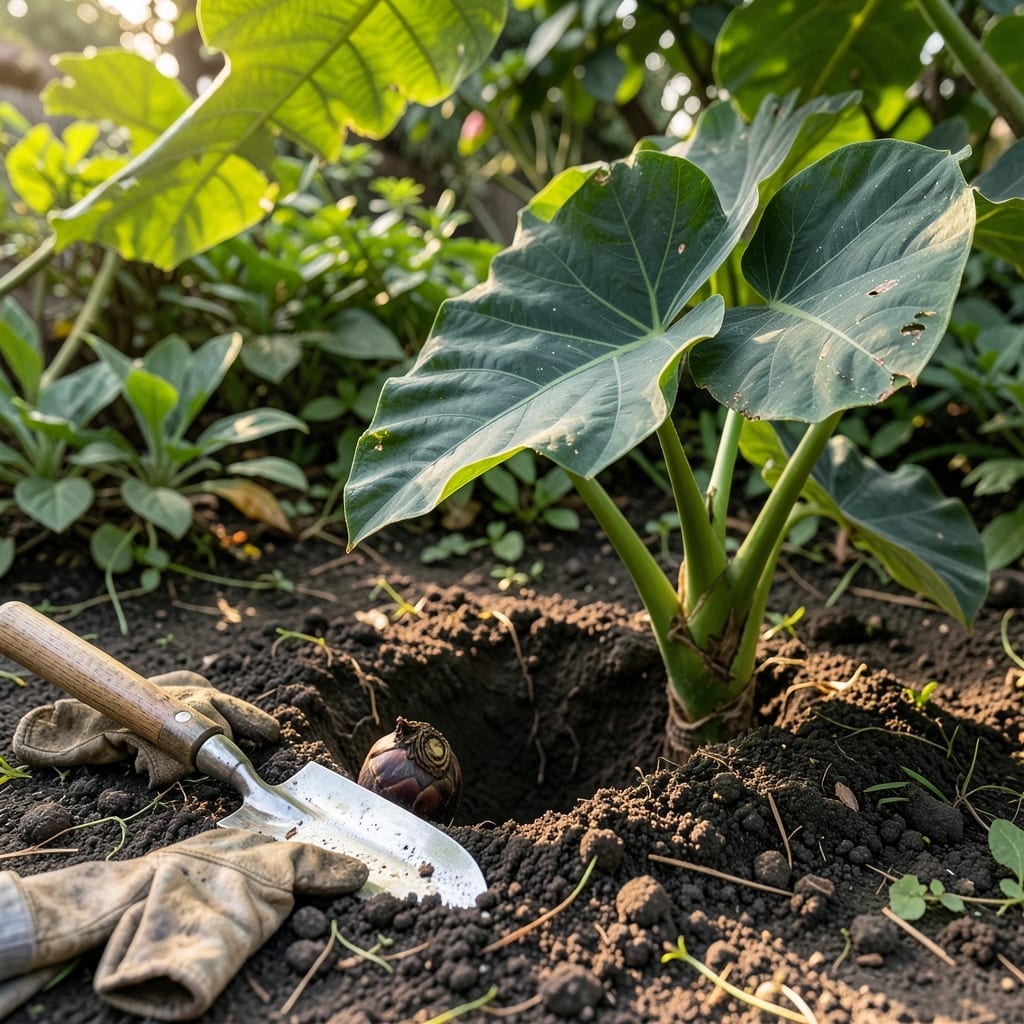
Elephant ears bring tropical drama to any garden, but their impressive size depends on one critical factor: planting depth. Get it wrong, and you risk stunted growth or rotting tubers.
The 🌿 Elephant Ear thrives when planted correctly at the start of spring. Whether you’re a beginner or seasoned gardener, nailing this step makes all the difference.
I’ll walk you through the exact depth and techniques to ensure your plants grow strong and healthy. Let’s get your garden ready for these showstoppers.
Getting the planting depth right is crucial for elephant ears. These tropical beauties need just the right start to thrive in your garden. I’ve found that depth varies by type and tuber size.
For most Colocasia varieties, like the popular ‘Black Magic’, I recommend planting tubers 2-3 inches deep. This depth provides stability while allowing quick sprouting.
| Variety | Depth | Notes |
|---|---|---|
| Colocasia | 2-3 inches | Most common variety |
| Alocasia | 3-4 inches | Larger tubers need more depth |
| Xanthosoma | 2-4 inches | Adjust for tuber size |
The Alocasia varieties, such as ‘Regal Shields’, have larger tubers that benefit from being planted 3-4 inches deep. This extra depth supports their substantial growth.
For Xanthosoma types, I suggest a 2-4 inch depth, adjusting based on tuber size. Smaller tubers do well at 2 inches, while larger ones need closer to 4 inches.
Remember, soil type matters too. In heavy clay, plant slightly shallower to prevent rot. In sandy soil, you can go a bit deeper for better moisture retention.
The tuber size is your best guide. As a rule, plant at a depth that’s 2-3 times the tuber’s diameter. This ensures proper coverage while allowing for healthy emergence.
I’ve noticed that well-draining soil is essential regardless of depth. Elephant ears hate soggy conditions, so amending your soil with compost can make a big difference.
For container planting, maintain the same depth ratios but ensure your pot has drainage holes. This prevents waterlogging, which is especially risky in deeper plantings.
Finally, remember that spring planting after the last frost gives your elephant ears the best start. The soil should be warm (at least 60°F) for optimal growth.
🌿Planting elephant ears at the correct depth ensures strong roots and vibrant foliage. I always start by preparing the soil properly to give these tropical plants their best chance.
First, choose a location with partial shade and well-draining soil. These plants thrive in moist but not waterlogged conditions, so amending with compost helps improve texture.
When digging your holes, remember that larger tubers need deeper planting. For Colocasia, aim for 2-3 inches, while Alocasia may need 3-4 inches to accommodate their size.
After placing the tuber in the hole, ensure the buds point upward. This orientation helps the plant emerge correctly and prevents rot or stunted growth.
Once planted, water deeply to help the soil settle around the tuber. I recommend maintaining consistent moisture but avoiding soggy conditions, especially in the first few weeks.
Finally, add a layer of mulch around the base to retain moisture and suppress weeds. This simple step can make a big difference in your elephant ears’ growth and health. 🌿