
Beautiful Plants For Your Interior
Beautiful Plants For Your Interior
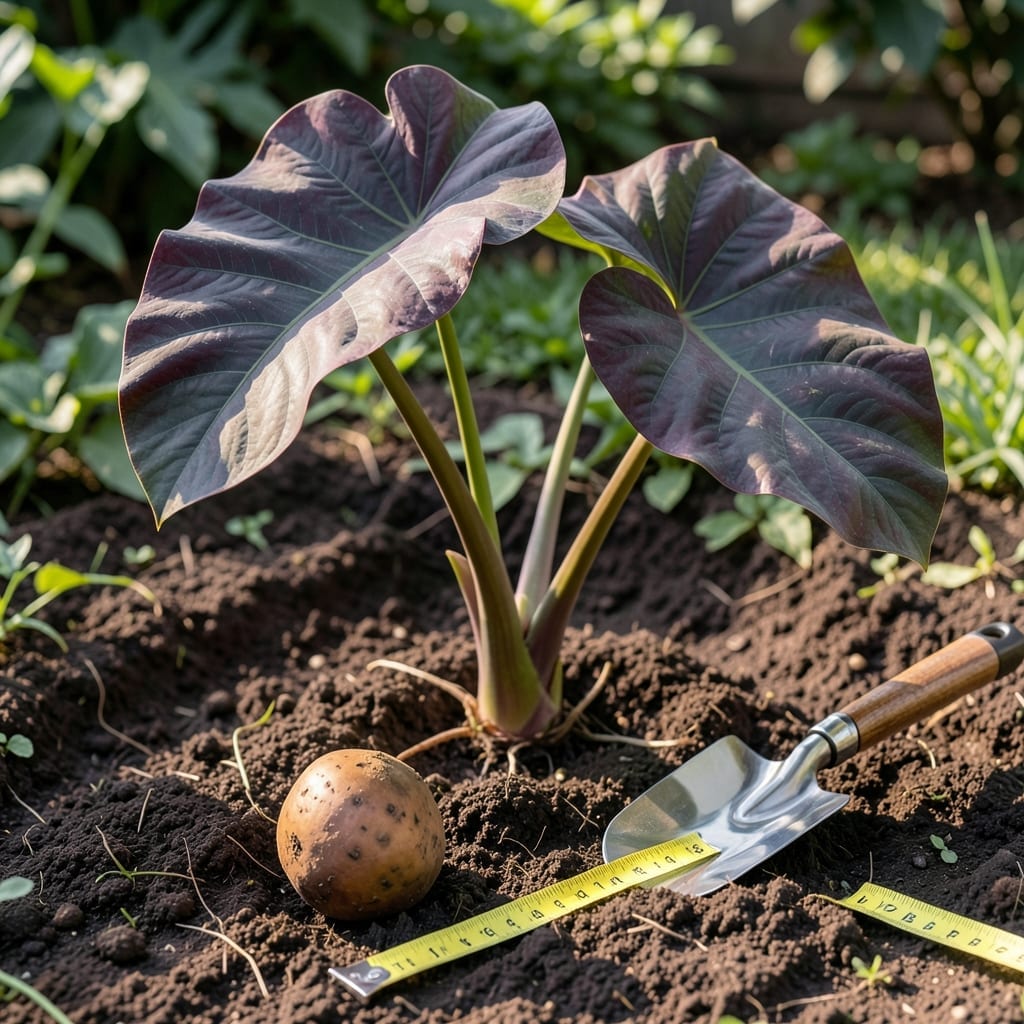
Planting elephant ear bulbs at the right depth can make or break your garden’s tropical vibe. The 🌿 Elephant Ear thrives when given the perfect start, and depth is the key factor most gardeners overlook.
Get it too shallow, and you’ll see weak stems. Too deep, and you risk rot. I’ve learned through trial and error that precision here means the difference between lackluster leaves and jaw-dropping foliage.
Let me walk you through the most important details for planting these dramatic plants in zones 7-11. Your spring garden will thank you.

Getting the planting depth right is the first step to growing lush elephant ears. These tropical beauties need consistent moisture and warm soil to thrive. Most gardeners don’t realize that depth varies slightly by variety.
For Colocasia and Alocasia, I plant bulbs 2-3 inches deep. Xanthosoma prefers a bit more coverage at 3-4 inches. The key is ensuring the pointy end faces upward. 🌿
| Variety | Optimal Depth | Spacing | Soil Temp |
|---|---|---|---|
| Colocasia | 2-3 inches | 18-24 inches | 65°F+ |
| Alocasia | 2-3 inches | 12-18 inches | 65°F+ |
| Xanthosoma | 3-4 inches | 24-36 inches | 70°F+ |
I always check soil temperature before planting. Use a soil thermometer to confirm it’s at least 65°F for Colocasia and Alocasia, or 70°F for Xanthosoma. Planting too early in cold soil causes bulbs to rot.
Spacing matters too. Crowded plants compete for nutrients, leading to smaller leaves. Give Colocasia 18-24 inches between bulbs. Alocasia does well with 12-18 inches, while Xanthosoma needs 24-36 inches to shine. 🌱
In zone 7, I wait until after the last frost date (usually mid-April). In warmer zones 8-11, you can plant earlier. Always choose a sheltered spot with morning sun and afternoon shade for best results.
For container planting, use a pot at least 12 inches deep and wide. Ensure it has drainage holes—elephant ears hate soggy roots. Fill with a mix of potting soil and compost for rich, well-draining medium.
After planting, water thoroughly to settle the soil. Keep the area consistently moist but not waterlogged. I add a 2-inch layer of mulch to retain moisture and suppress weeds. This simple step makes a huge difference. ✂️
If you’re planting multiple bulbs, stagger the depths slightly. This creates a natural, layered look as they grow. It also helps with airflow, reducing the risk of fungal diseases in humid climates.
Remember, deeper isn’t always better. Planting bulbs too deep can delay sprouting or prevent growth entirely. When in doubt, err on the shallower side—you can always add more soil later if needed.
Planting elephant ear bulbs correctly ensures strong roots and vibrant foliage. I’ve found that proper preparation and attention to detail make all the difference. Start by choosing a well-draining location with rich, loose soil. 🌿
Before planting, I loosen the soil to a depth of 12-15 inches and mix in compost or aged manure for added nutrients. This step helps the bulbs establish quickly and promotes healthy growth.
I always inspect the bulbs before planting. Look for firm, healthy bulbs with no signs of mold or soft spots. If a bulb feels mushy, it’s best to discard it to avoid spreading disease to other plants.
Bulb orientation is critical. The pointy end should always face upward. If you’re unsure which end is up, plant the bulb on its side—it will naturally grow in the right direction. This trick has saved me many times!
After planting, I water deeply to ensure the soil settles around the bulb. This step helps eliminate air pockets that can hinder root growth. Keep the soil consistently moist but not soggy during the first few weeks. 🌱
Finally, I add a 2-inch layer of mulch around the planting area. Mulch helps retain moisture, regulates soil temperature, and keeps weeds at bay. Use organic mulch like shredded bark or straw for best results.