
Beautiful Plants For Your Interior
Beautiful Plants For Your Interior
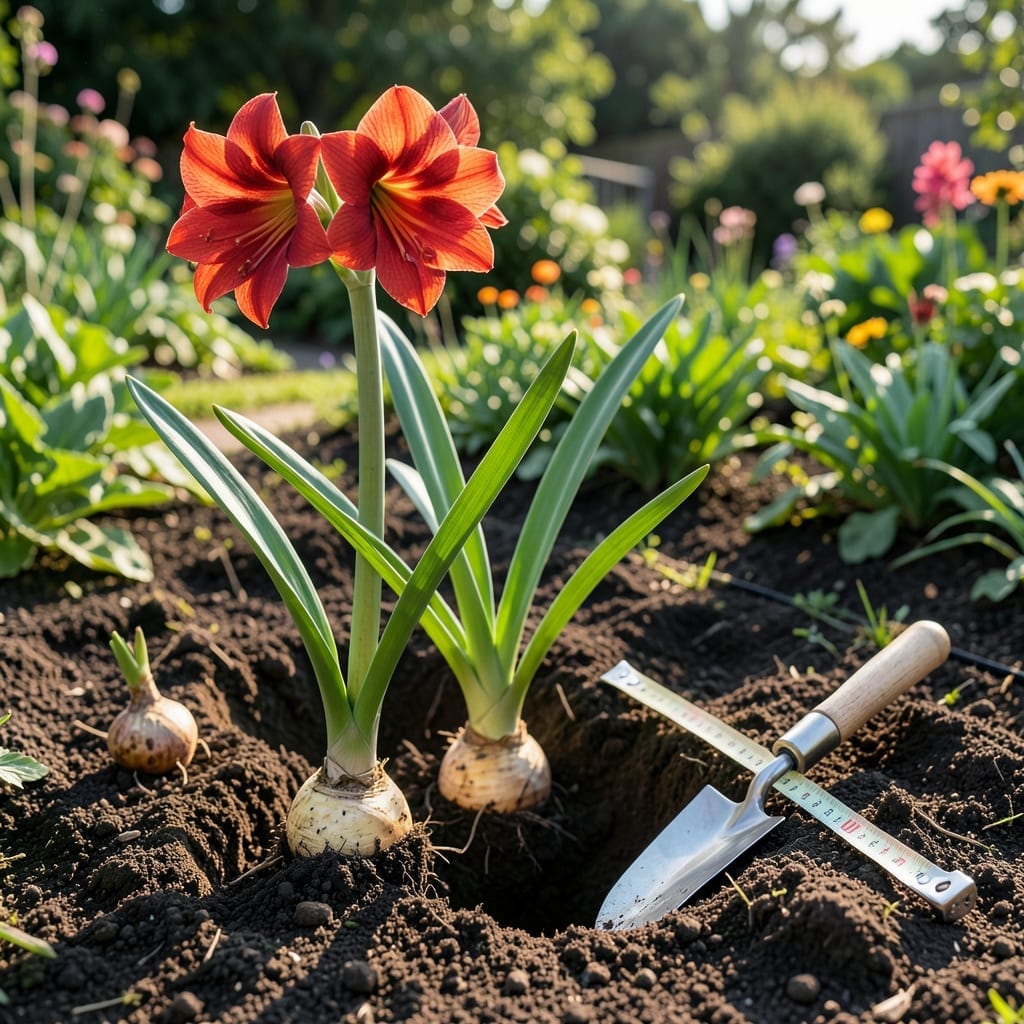
Planting 🌷 Amaryllis bulbs outside can bring vibrant, show-stopping blooms to your garden year after year—but only if you get the depth right.
Too shallow, and they’ll topple; too deep, and they may never sprout. I’ve seen both mistakes ruin what could have been a stunning display.
Discover the simple trick to planting them at just the right depth for strong roots and spectacular flowers. Let’s get it right together.
Planting amaryllis bulbs at the right depth is key to strong roots and stunning blooms. I’ve learned that too shallow means toppling stems, while too deep can prevent sprouting. It’s all about balance.
The ideal depth for outdoor amaryllis bulbs is 6-8 inches, with the top third of the bulb peeking above the soil. This ensures stability without suffocating growth.
First, choose a well-draining spot with full sun to partial shade. Amaryllis bulbs hate soggy soil, so avoid low-lying areas where water pools.
Loosen the soil to a depth of 12 inches before planting. This helps roots establish quickly and prevents compaction, which can stunt growth.
When placing the bulb, ensure the pointy end faces upward. The top third should remain visible above soil level to prevent rot and encourage proper sprouting.
Spacing matters too. Plant bulbs 12-18 inches apart to give them room to grow without competing for nutrients or sunlight.
After planting, water thoroughly to settle the soil and eliminate air pockets. This first watering is critical for root development, so don’t skip it.
For best results, plant in fall (October-November) in USDA zones 7-10. In colder zones, consider potted amaryllis for winter protection.
Finally, mulch lightly around the base to retain moisture and suppress weeds, but avoid covering the bulb’s exposed top. This keeps conditions just right for growth.
🌷Even experienced gardeners can mess up amaryllis planting. The biggest issue I see is incorrect depth—either too shallow or too deep, which leads to weak stems or no growth at all.
Another common mistake is poor drainage. Amaryllis bulbs rot easily in soggy soil, so always check your planting spot for proper water runoff before digging.
Too Shallow: Causes toppling stems and poor root support.
Too Deep: Prevents sprouting and can suffocate the bulb.
Poor Drainage: Leads to bulb rot in waterlogged soil.
Wrong timing is another pitfall. Planting in spring or summer often results in poor establishment. Stick to fall planting (October-November) for best results.
I’ve also seen gardeners cover the entire bulb with soil. Remember, the top third must stay exposed to prevent rot and allow the stem to emerge properly.
Lastly, ignoring soil prep can stunt growth. Always loosen soil to 12 inches deep and mix in compost for better drainage and nutrient availability.
By avoiding these mistakes, you’ll give your amaryllis the best chance to thrive and reward you with gorgeous blooms year after year. 🌷