
Beautiful Plants For Your Interior
Beautiful Plants For Your Interior
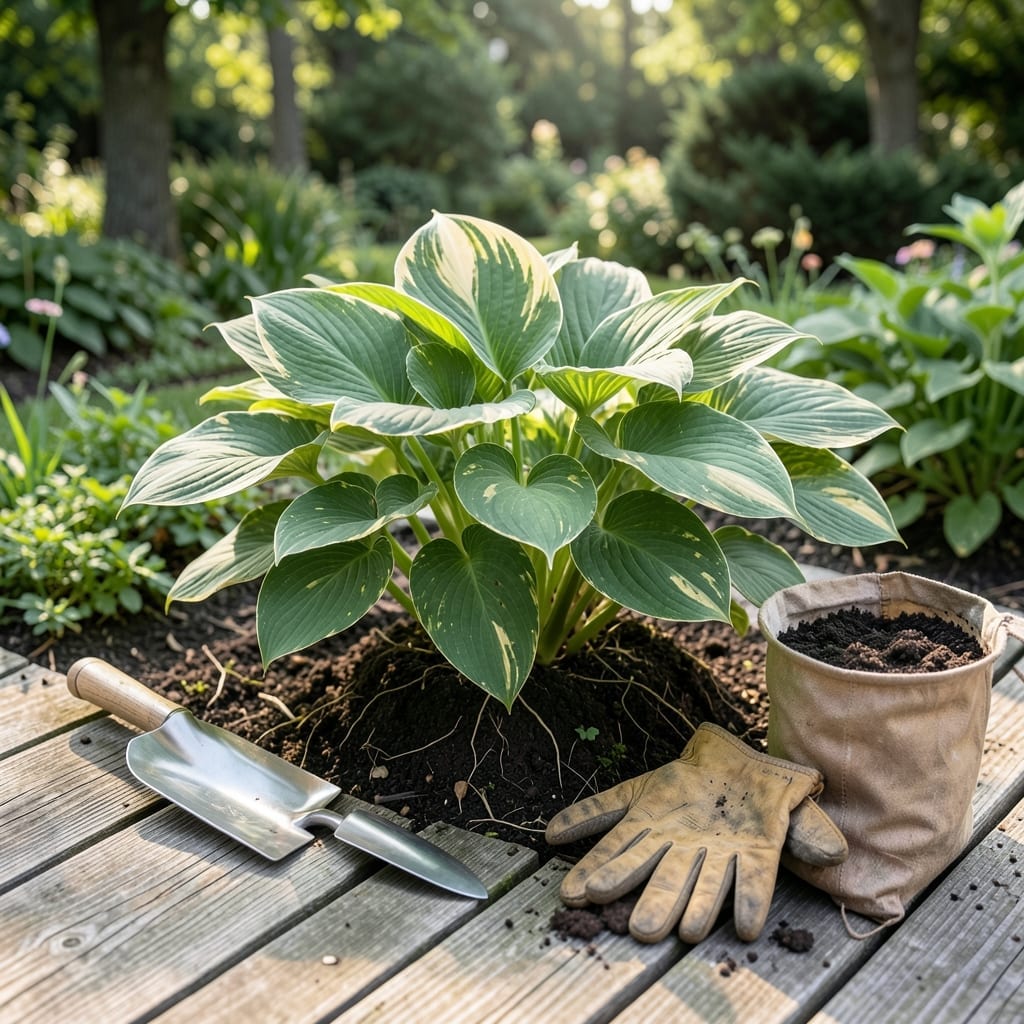
That first hosta division changed everything. I went from struggling with wilted leaves to watching root balls explode into lush clumps within weeks.
The secret is timing and technique—plant at the right depth, keep roots moist, and give them room to spread. You’ll see new growth pushing through soil by spring if you do it right.
📚 In This Guide
This method ensures your plants establish quickly and stay vigorous for years to come.
Choose a location with partial to full shade—hostas thrive where they receive morning sun and afternoon protection. Dig a hole that’s twice as wide as the root ball diameter and just as deep. This gives roots room to spread without sitting too low in the soil.
Loosen the soil at the sides and bottom of the hole with your hands or a trowel. This helps new roots penetrate the surrounding earth more easily. If your soil is heavy clay, mix in a handful of compost to improve drainage, but avoid over-amending the native soil.
Gently tap the sides of the container to loosen the root ball before sliding the plant out. If it’s stubborn, run a knife around the inside edge. Once free, examine the roots—healthy ones appear firm and white, while troubled roots may be dark, mushy, or smell foul.
If the roots are circling the container, gently tease them apart with your fingers. This prevents girdling, where roots strangle the plant as it grows. Don’t worry about breaking a few roots during this process—it actually stimulates new growth.
Place the hosta in the hole so the top of the root ball sits ½ inch above the surrounding soil level. This accounts for settling. Hold the plant steady as you backfill with native soil, pressing lightly to eliminate air pockets every few inches.
Create a shallow water basin around the base by mounding soil in a circle 3-4 inches from the stem. This helps direct water to the roots during the critical first few weeks. Water immediately after planting to settle the soil and remove any remaining air gaps.
Give the plant a thorough soaking—aim for 1-2 inches of water total, including what’s in the soil. The ground should feel moist but not waterlogged when you press your finger in. Hostas need consistent moisture, especially during their first season.
Apply a 2-inch layer of organic mulch like shredded bark or leaves, keeping it 1 inch away from the stem to prevent rot. Mulch conserves moisture, suppresses weeds, and keeps soil temperatures stable, which is crucial for root development.
Check the plant daily for the first 2 weeks, watering when the top inch of soil feels dry. After that, reduce to 2-3 times weekly unless rainfall provides sufficient moisture. You’ll know it’s establishing when you see new leaf growth within 3-4 weeks.
Keep an eye out for slugs and snails, which love hostas. If you notice holes in the leaves, set up beer traps or use iron phosphate baits in the evening. The plant will recover quickly once it’s settled in and properly cared for.
Small details during transplanting make the difference between a hosta that thrives and one that struggles.
The Watering Trick: I water the hosta deeply the day before moving it, as dry soil makes roots cling stubbornly to the earth. In Step 2, this pre-watering keeps the root ball cohesive, so you lift it intact rather than watching soil crumble away from the roots.
Hole Depth Matters: In Step 1, digging the hole just as deep as the root ball but twice as wide prevents the crown from sinking below soil level. I’ve learned the hard way that burying the crown by even half an inch can lead to rot, which is why that 1 inch above soil level in Step 3 is non-negotiable.
Post-Transplant Patience: During the first 3-4 weeks, resist the urge to fertilize even if the leaves look sad. I check the top inch of soil daily—if it’s dry, I water in the morning. This consistency gives roots time to establish without the stress of added nutrients.
Avoiding Shock: If your hosta’s leaves wilt or yellow after transplanting, don’t overreact. This is normal shock, and as long as you maintain that consistent moisture from Step 4, the plant will bounce back as the roots take hold in their new home.
Gently dig around the hosta’s base to loosen the soil, then lift the plant while keeping the root ball intact. Trim any damaged roots and soak the root ball in water for 10-15 minutes to hydrate before replanting.
Early spring or early fall is ideal, as cooler temperatures reduce stress. Avoid transplanting in summer heat or during active blooming to ensure the hosta establishes well in its new location.
Yes! Divide mature hostas every 3-4 years by carefully separating the root ball into smaller sections with a sharp knife or spade. Ensure each division has healthy roots and at least one shoot for successful regrowth.
Wilting is normal for 1-2 weeks as the plant adjusts. Ensure the root ball stays moist (not soggy) and avoid direct sunlight. If wilting persists, check for root damage or poor soil contact.
Use well-draining, rich organic soil with compost or peat moss. Hostas thrive in slightly acidic to neutral pH (6.0-7.0). Amend heavy clay soil to improve drainage and prevent root rot.