
Beautiful Plants For Your Interior
Beautiful Plants For Your Interior
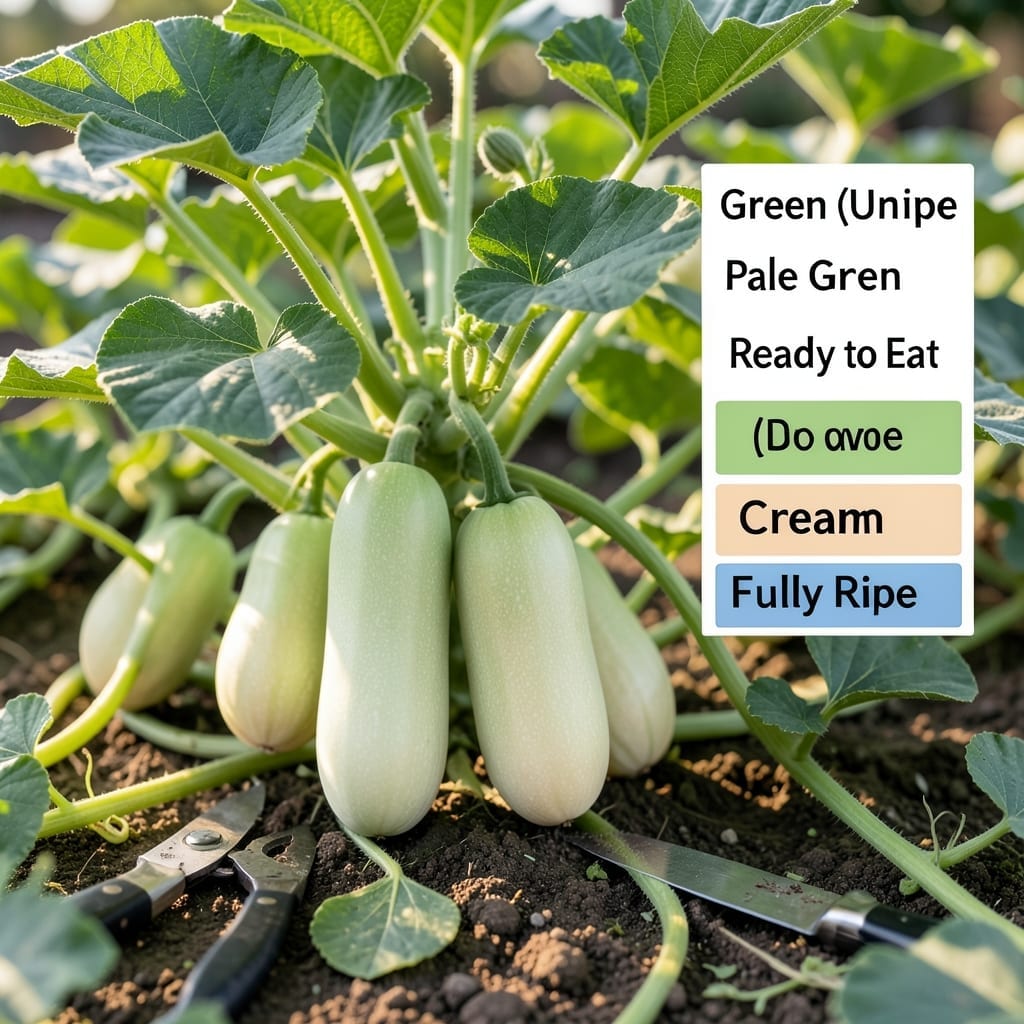
Picking a 🍈 Honeydew at the perfect peak of ripeness can mean the difference between a bland, watery slice and a bursting, sweet flavor experience.
This guide breaks down the field-tested visual and tactile cues every gardener should know. No more guessing games or disappointing harvests.
I’ll show you exactly how to read the subtle signs that tell you your Honeydew is ready. From color changes to texture tests, these methods are simple yet highly effective.
Discover how to transform your harvest from meh to magnificent with these proven techniques for identifying the ideal ripeness window.
I’ve found that honeydew melons go through clear color stages as they ripen, starting with a bright green rind that gradually shifts. This progression is your first visual clue. 🌱
An immature honeydew will have a smooth, shiny green skin with no yellowing. As it matures, the rind transitions to a cream or pale yellow hue, signaling peak sweetness. ☀️
| Stage | Rind Color | Texture | Harvest Readiness |
|---|---|---|---|
| Immature | Bright green | Firm, smooth | Not ready |
| Early Ripening | Light green | Slightly softer | Almost ready |
| Peak Ripeness | Cream/yellow | Slight give at end | Ready to harvest |
| Overripe | Deep yellow | Very soft | Harvest immediately |
The blossom end (opposite the stem) is another key indicator. When it yields slightly to gentle pressure, the melon is likely ripe. This is called the “give test” and works best with clean hands. 🌿
I always check the stem end too. A ripe honeydew will often have a sweet aroma at this spot. If it smells fragrant, it’s ready. No scent usually means it needs more time on the vine.
The rind texture changes from shiny to slightly dull and waxy as ripeness progresses. This subtle shift is easy to miss but is a reliable sign when combined with color changes.
For gardeners in hotter climates, honeydews may ripen faster. I recommend checking daily once the color starts lightening. In cooler areas, the process takes longer, so be patient.
Remember that size isn’t everything. A smaller honeydew can be perfectly ripe while a large one might still be green inside. Always use multiple indicators for the most accurate assessment.
If you’re growing multiple honeydew plants, you’ll notice they may not all ripen at the same time. This staggered ripening is normal and gives you a longer harvest window.
Finally, the “slip test” is my go-to for vine-ripened melons. When the stem easily separates from the fruit with a gentle tug, it’s a sure sign of ripeness. This should happen naturally as the fruit matures. 🪴
While color stages are helpful, I always recommend using texture tests for more accurate results. The blossom end should yield slightly when pressed with your thumb.
A ripe honeydew will also have a sweet aroma at the stem end. If it smells fresh and floral, it’s ready to pick. This method works best in the morning when scents are strongest.
The stem slip test is another reliable indicator. When the fruit is ready, the stem will detach easily from the vine with just a light touch.
I find that combining two methods gives the most accurate results. For example, check both the color and the blossom end give. This cross-verification helps avoid common mistakes.
Remember that weather conditions can affect ripeness. Hot, dry periods may speed up maturation, while cool, wet weather can delay it. Adjust your testing accordingly.
With these techniques, you’ll never have to guess about your honeydew’s readiness again. Happy harvesting! 🌱