
Beautiful Plants For Your Interior
Beautiful Plants For Your Interior
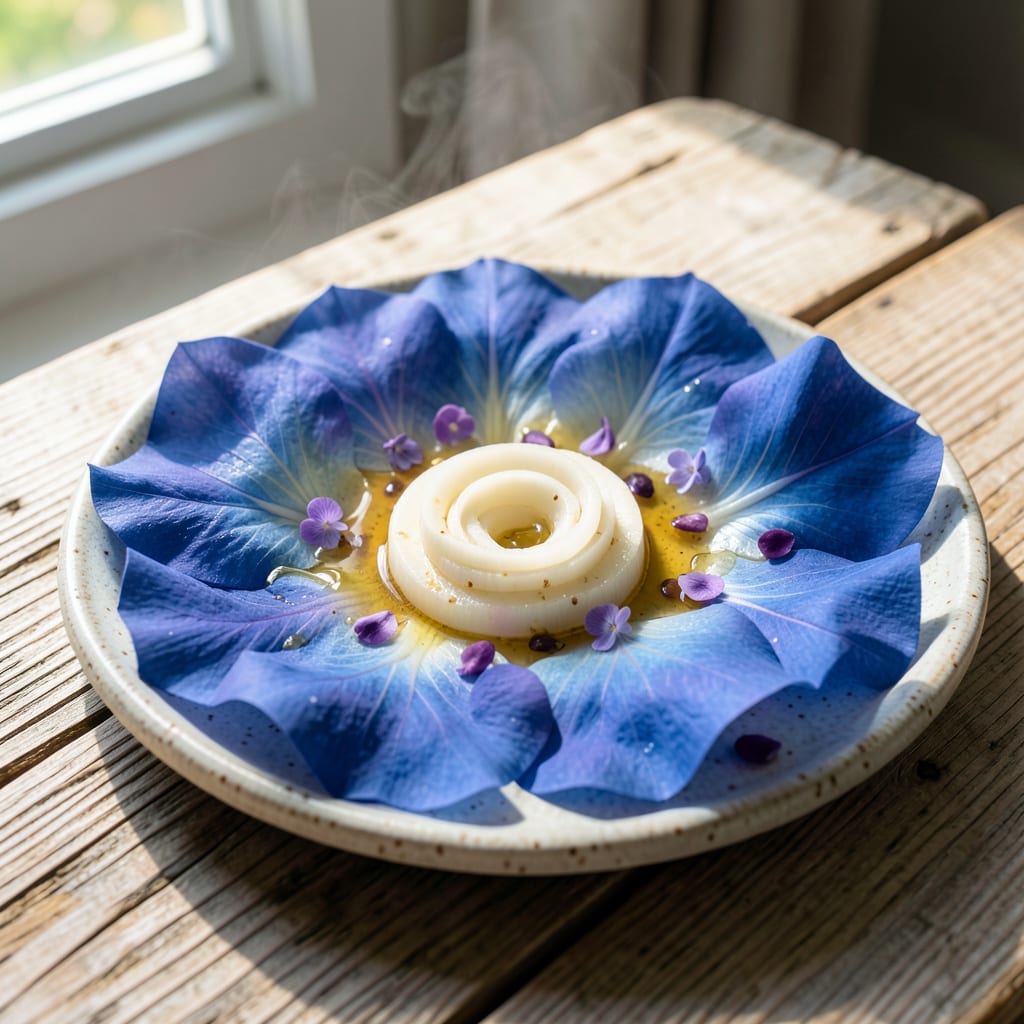
I fell for heavenly blue morning glories the first time I saw those heart-shaped leaves climbing my trellis. The foliage alone makes them worth growing, even before the famous sky-blue flowers appear.
They thrive with morning sun, consistent moisture, and something to climb. The leaves will tell you when they’re happy—deep green and vigorous. Get the basics right and you’ll have a wall of lush growth by midsummer.
📚 In This Guide
This method delivers vibrant foliage and abundant blooms with minimal fuss.
Select a spot with full sun—morning glories need at least 6-8 hours of direct sunlight daily to produce their signature deep green leaves and sky-blue flowers. I always check the area at different times of day to confirm it gets consistent light, especially in the afternoon when shadows can creep in.
Ensure the location has well-draining soil to prevent root rot. If your soil is heavy clay, amend it with compost or choose a raised bed. Morning glories aren’t picky, but they won’t tolerate soggy roots. A simple test: dig a 1-foot hole, fill it with water, and see if it drains within 1 hour.
Sow seeds directly into the soil after the last frost when temperatures are consistently above 60°F. Plant them ½ inch deep and 6 inches apart. Morning glory seeds have a hard coat, so I soak them in lukewarm water for 24 hours before planting to speed up germination.
If using seedlings, dig a hole slightly larger than the root ball and place the plant so the top of the root ball is level with the soil surface. Gently firm the soil around the base and water thoroughly. Seedlings should show 2-3 sets of true leaves before transplanting.
Keep the soil evenly moist during the first 2-3 weeks after planting while roots establish. Water deeply at the base, avoiding the leaves to prevent fungal diseases. I use a watering can with a long spout to direct water precisely where it’s needed.
Once established, morning glories are fairly drought-tolerant. Water when the top 1-2 inches of soil feel dry to the touch. Overwatering leads to yellowing leaves, so it’s better to err on the side of slightly dry. A good rule: if the leaves start to droop slightly in the heat of the day but perk up by evening, you’re watering just right.
Morning glories are natural climbers, so provide a trellis, fence, or other support structure at planting. I use a simple 5-foot bamboo trellis positioned at a slight angle. Gently twine the young vines around the support to encourage upward growth.
As the vines grow, they’ll twist around the support on their own. If left unsupported, they’ll sprawl across the ground, which increases the risk of disease and reduces flowering. Check weekly and redirect any wayward vines to keep growth tidy and vertical.
Morning glories aren’t heavy feeders, but a light application of balanced fertilizer (10-10-10) once a month promotes lush foliage. I mix the fertilizer at half-strength to avoid overfeeding, which can lead to excessive leaf growth at the expense of flowers.
Stop fertilizing once the plants start blooming heavily—too much nitrogen at this stage will give you more leaves but fewer flowers. If the leaves look pale or growth seems stunted, a quick side-dressing of compost can give them a boost without overdoing it.
Small adjustments in planting and care make a world of difference for healthy growth.
The Sunlight Factor: Don’t underestimate the importance of those 6-8 hours of direct sunlight daily. I learned this the hard way when my first batch produced sparse blooms. Check your planting spot at noon and late afternoon to ensure consistent light, especially if you have trees or buildings nearby.
Soil Test Tip: That 1-hour drainage test from Step 1 is critical. If water lingers beyond an hour in your 1-foot hole, amend the soil with compost or opt for a raised bed. Morning glories will struggle in soggy conditions, and you’ll notice yellowing leaves almost immediately.
Seed Soaking Secret: Soaking seeds in lukewarm water for exactly 24 hours before planting softens their hard coat and speeds up germination. I skipped this step once and waited an extra week for sprouts to appear. Trust me, the soaking time is worth it for faster, more reliable results.
Training Vines Early: In Step 4, start guiding vines around your 5-foot bamboo trellis as soon as they’re a few inches long. If you wait until they’re already sprawling, they’ll resist the change and may break when you try to redirect them. Weekly checks keep growth tidy and vertical.
Yellow leaves often signal overwatering or poor drainage. Ensure the soil is well-draining and water only when the top inch feels dry. Nutrient deficiencies can also cause this, so consider a balanced fertilizer.
Plant seeds after the last frost in spring when soil temperatures reach 60°F (15°C). In warmer climates, you can start earlier. Morning glories thrive in heat, so avoid cold snaps!
Yes! Use a container at least 12 inches deep with drainage holes. Provide a trellis or support for climbing. Containers dry out faster, so check moisture levels frequently.
Watch for aphids, spider mites, and whiteflies. Treat infestations with neem oil or insecticidal soap. Regularly inspect the undersides of leaves for early signs of trouble.
Ensure full sun (6+ hours daily) and avoid over-fertilizing, which can promote leaf growth over flowers. Deadhead spent blooms to encourage new ones. Consistent moisture also helps!
