
Beautiful Plants For Your Interior
Beautiful Plants For Your Interior
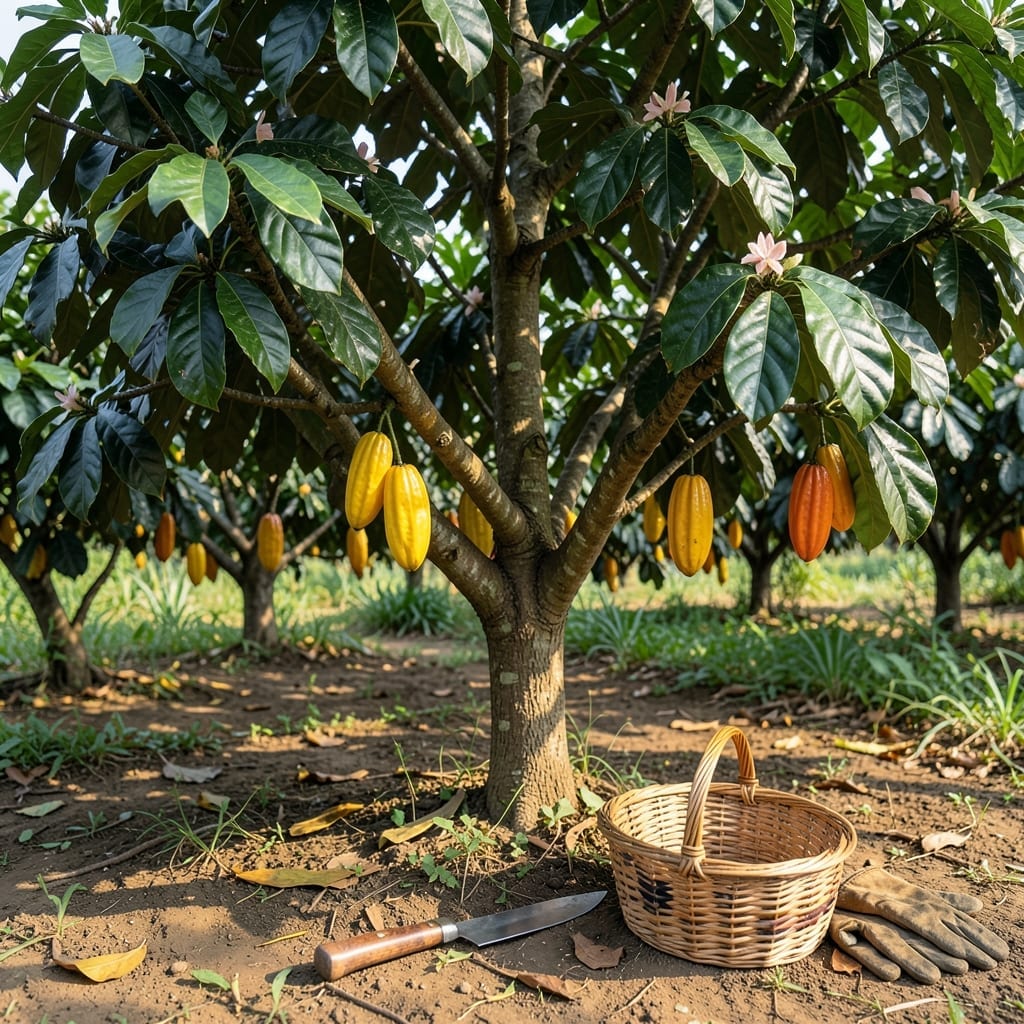
There’s nothing quite like the satisfaction of harvesting your own 🌱 Cocoa pods at the perfect moment. Timing is everything when it comes to this tropical tree that thrives in zones 10-12.
I remember the first time I picked a cocoa pod – the color change from green to vibrant yellow was my cue. That hollow sound when tapped confirmed it was ready for harvest between October and March.
Whether you’re a seasoned gardener or just starting with cocoa trees, knowing these signs makes all the difference. The right technique ensures you don’t damage the tree or the precious beans inside.
Discover how to identify ripe pods, use the proper tools, and handle your harvest like a pro. Your future chocolate creations will thank you for this careful attention to detail.

Harvesting cocoa pods at the perfect moment ensures the best flavor and quality. I always look for color changes from green to yellow, orange, or red, depending on the variety. This visual cue is your first sign that the pods are ready.
Another key indicator is the hollow sound when you tap the pod. If it sounds solid, it’s not ripe yet. I also check that the pod feels firm but not hard to the touch.
I recommend using a sharp machete or pruning shears to cut the pods from the tree. Dull tools can crush the pods or damage the flower cushion, which is where future pods will grow.
Always cut the pod stem cleanly, leaving a small portion attached to the tree. This helps prevent disease and ensures the flower cushion remains intact for future harvests.
Timing is everything. In my experience, the best time to harvest is during the dry season, typically from October to March. This period reduces the risk of mold and ensures the pods are at their peak ripeness.
After harvesting, handle the pods with care. I place them in a well-ventilated basket to avoid bruising. Bruised pods can lead to poor-quality beans, so gentle handling is key.
If you’re working with a large cocoa tree, consider using a harvesting pole with a cutting blade. This tool helps reach higher pods without damaging the tree or risking injury.
Remember, unripe pods are green and soft, while overripe pods may split open on the tree. Neither is ideal for harvesting, so timing your harvest is critical for the best results.
Finally, I always check the weather forecast before harvesting. Rain can make the pods slippery and difficult to handle, so I aim for dry, sunny days to ensure a smooth process.
By following these steps, you’ll maximize the flavor and quality of your cocoa beans, setting the stage for excellent post-harvest processing.☀️
When I first started harvesting cocoa pods, I quickly learned that timing and technique matter just as much as the tree’s health. Picking unripe pods leads to bitter, underdeveloped beans, while waiting too long risks over-ripening and spoilage on the tree.
Another common error I see is using dull harvesting tools. A sharp machete or pruning knife is essential to avoid crushing the delicate pods or damaging the tree’s bark, which can invite disease.
⚠️ Avoid These Cocoa Harvesting Pitfalls
I always check for visual cues like color change and that characteristic hollow sound when tapping. If the pod doesn’t easily detach with a gentle twist, I leave it for a few more days. Rushing this process often leads to lower-quality beans.
Proper handling after harvesting is just as crucial. I never toss pods into a pile—this can cause heat buildup and early fermentation. Instead, I spread them out in a single layer in a shaded area before processing.
For home gardeners, investing in a good pair of gloves is a game-changer. Cocoa pods have a tough exterior, and the sap can irritate skin. Safety and comfort make the harvesting process much more enjoyable.
Finally, I recommend keeping a harvesting journal. Tracking which trees produce the best pods and when they ripen helps refine your timing for future seasons. This small step has significantly improved my yield quality over time. 🌱