
Beautiful Plants For Your Interior
Beautiful Plants For Your Interior
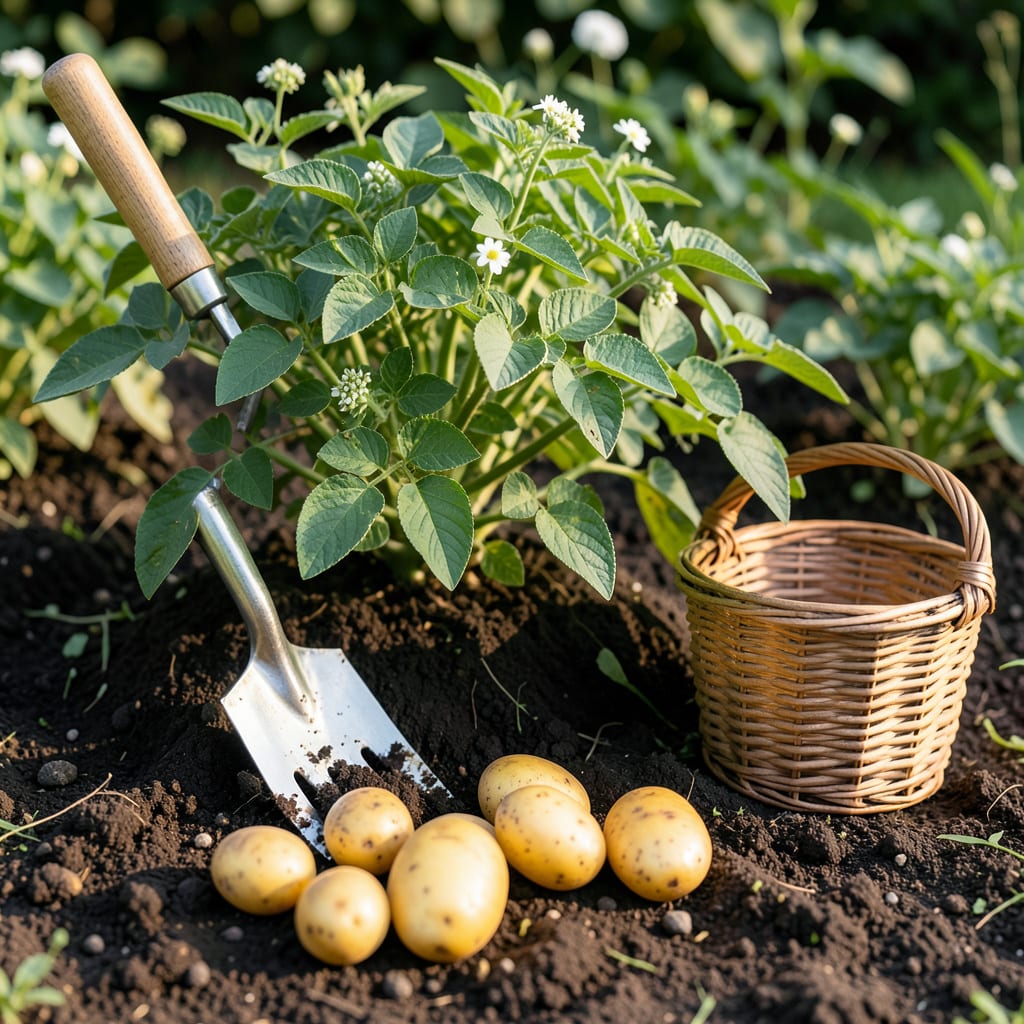
Knowing exactly when to dig up your 🥔 Yukon Gold potatoes can make all the difference between a mediocre harvest and a bumper crop of buttery, flavorful spuds.
I’ll show you the key signs to watch for and the best methods to ensure your potatoes come out of the ground in perfect condition. Let’s get started.


Timing your Yukon Gold potato harvest perfectly ensures the best flavor and texture. I always watch for foliage yellowing and die-back as the first signs that tubers are ready to come out of the soil. 🌱
These potatoes typically reach maturity in 90-120 days, but climate and planting time can shift this window. The skin set is crucial—it should resist rubbing off when gently handled. ☀️
| Harvest Indicator | What to Look For |
|---|---|
| Days to Maturity | 90-120 days after planting |
| Foliage Condition | Yellowing and dying back |
| Tuber Size | 2-3 inches in diameter |
| Skin Test | Firm skin that doesn’t rub off |
| Weather | Dry conditions for 2-3 days before |
I’ve found that morning harvesting works best when the soil is slightly cool and the tubers are firm. This reduces the risk of bruising during extraction. 🌿
If you’re growing in cooler climates, you might need to wait a bit longer for the skin to set. In warmer areas, early morning digging prevents heat stress on the exposed potatoes.
The size of your Yukon Golds matters too. For new potatoes, you can harvest when they’re 1-2 inches wide, but for full maturity, aim for 2-3 inches in diameter.
Another pro tip: stop watering your plants 1-2 weeks before harvest. This helps the skins toughen up, making them less prone to damage during digging and storage.
If you notice green skin on your potatoes, they’ve been exposed to too much sunlight. This can produce solanine, a toxin, so keep them covered with soil or mulch until ready to harvest. ✂️
For the best flavor, I recommend curing your Yukon Golds in a dark, well-ventilated area for 1-2 weeks after harvesting. This process helps the skins harden and the flavors develop fully.
Remember, gentle handling is key. Use a garden fork to lift the plants, not a shovel, to avoid slicing through the tubers. Work from the outside edges of the plant inward.
Harvesting your Yukon Gold potatoes the right way prevents bruising and preserves quality. I always start by watering the soil lightly the day before to make digging easier. ☀️
Choose a dry day for harvesting to avoid working with muddy soil. The best time is morning when tubers are firm and the soil is cool, reducing damage risk. 🌱
After lifting, I brush off excess soil with my hands but avoid washing the potatoes. Wet tubers can develop rot during curing. ✂️
Sort your Yukon Golds by size—small ones are great for immediate use, while larger tubers store better. Handle them gently to prevent bruises that lead to spoilage.
Curing is essential for long-term storage. Place potatoes in a dark, humid spot (60-70°F) for 10-14 days to toughen the skin and heal minor cuts.
Once cured, store your Yukon Golds in a cool, dark place (35-40°F). Avoid refrigeration, as cold temperatures convert starches to sugars, altering flavor. 🌿
Even experienced gardeners make harvesting mistakes that can ruin a Yukon Gold potato crop. I’ve seen premature digging lead to undersized tubers with thin skins that bruise easily. 🌱
Another common error is harvesting in wet soil, which makes potatoes more prone to rot. Always wait for dry conditions to minimize damage during extraction. ☀️
⚠️ Warning: Avoid these harvesting pitfalls to protect your Yukon Gold potatoes:
I’ve learned the hard way that rough handling causes bruising, which leads to spoilage. Always lift potatoes gently and sort them carefully by size. ✂️
Improper curing is another frequent issue. Skipping this step or doing it in a poorly ventilated area can result in soft, moldy potatoes. Give them 1-2 weeks in darkness.
Finally, storage mistakes are common. Never refrigerate Yukon Golds—cold temperatures convert starches to sugars. Instead, keep them in a cool, dark place at 35-40°F. 🌿
Look for yellowing foliage that starts to die back and firm skins that don’t rub off easily. Tubers should reach 2-3 inches in diameter for full maturity.
Use a garden fork instead of a shovel to avoid slicing through the potatoes. Work gently from the outside of the plant inward to lift the tubers intact.
Yes! You can dig up new potatoes when they’re 1-2 inches wide. Just be gentle—the skins will be thinner and more prone to damage.
Cure them in a dark, well-ventilated area for 1-2 weeks. Then store in a cool, dark place at 35-40°F to prevent sprouting.
