
Beautiful Plants For Your Interior
Beautiful Plants For Your Interior
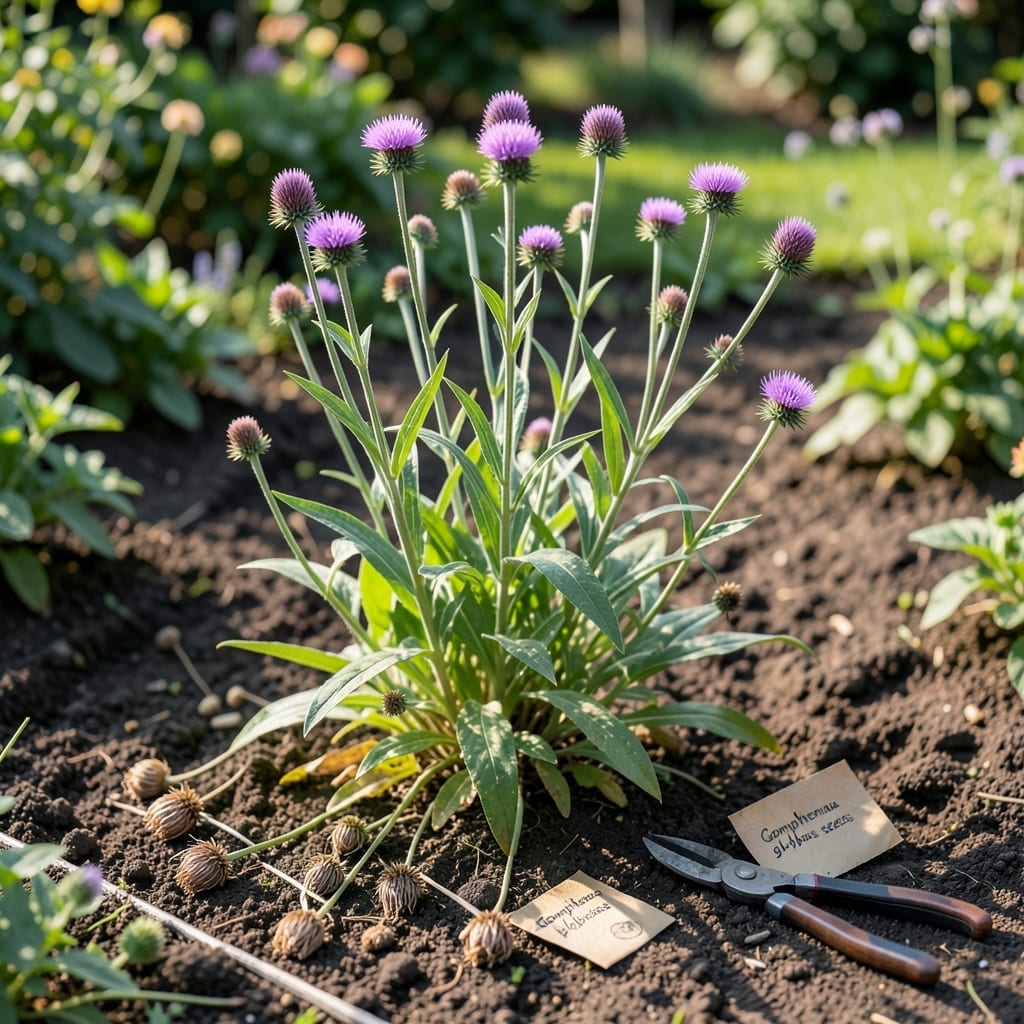
There’s something magical about saving seeds from your favorite flowers. With 🌸 Gomphrena, timing is everything to capture those tiny powerhouses for next year’s garden.
I’ve learned that waiting for the perfect moment makes all the difference. The papery bracts of Gomphrena hold their secrets until they’re fully ready to share.
Discover the simple yet effective techniques that ensure you collect viable seeds. It’s easier than you might think once you know what to look for.
From recognizing the right stage to proper storage, I’ll walk you through everything you need. Let’s make your next growing season even more colorful.


Timing is everything when it comes to harvesting gomphrena seeds. I’ve found that waiting for the perfect maturity stage ensures the best viability for next season’s garden. The papery bracts of Gomphrena hold their secrets until they’re fully ready to share.
Look for dry, brown flower heads and dark, hard seeds inside. These are clear signs that the seeds are mature and ready for collection. If the stems are brittle and snap easily, that’s another good indicator it’s time to harvest.
| Stage | Visual Cue |
|---|---|
| Ready | Flower heads brown and dry |
| Ready | Seeds dark and hard |
| Ready | Stems brittle and snap easily |
| Not Ready | Flower heads colorful and moist |
I always check for seeds rattling inside the flower head when shaken. This is a surefire sign they’re ready. If the flower heads are still colorful and moist, they’re not quite there yet. Patience is key here.
Gomphrena typically reaches seed maturity about 90-130 days after planting. In most regions, this falls between August and September. I like to mark my calendar to keep track of the timeline.
The best time of day to harvest is on a dry, sunny morning. This ensures the seeds are at their driest and least likely to be affected by moisture. Avoid harvesting after rain or in the evening when dew might be present.
If you notice the flower heads beginning to shatter or split, act quickly. This means the seeds are at risk of dispersing naturally. I’ve lost a few good batches by waiting just a day too long.
For those in cooler climates, keep an eye on the weather. An early frost can damage the seeds, so aim to harvest before the first frost hits. In warmer zones, you might get a second flush of seeds later in the season.
I’ve also learned that over-mature seeds can be just as problematic as under-mature ones. If the seeds have already started to drop, they may not be viable. Timing really is everything with Gomphrena.
By paying close attention to these visual and seasonal cues, you’ll maximize your seed yield and ensure a vibrant garden next year. It’s a simple process once you know what to look for.
Remember, the drier the conditions, the better your chances of collecting high-quality seeds. Happy harvesting!
🌸Once your gomphrena flowers show those perfect dry, papery bracts, it’s time to harvest. I always check for dark, hard seeds inside—this means they’re ready. A sunny, dry day is ideal for collection to prevent moisture issues.
Gather your flower heads by hand or use small scissors for a clean cut. The key is to work gently to avoid losing any seeds. I prefer collecting in the morning when the plants are dry from dew.
Follow These Steps:
After collecting, I spread the flower heads on a tray to dry further. This ensures any remaining moisture evaporates. A well-ventilated area works best—avoid direct sunlight, which can reduce seed viability.
For storage, I use paper envelopes or small glass jars. Label them with the date and variety to keep track. Properly stored, gomphrena seeds can remain viable for up to 3 years.
If you’re saving a lot of seeds, consider a mesh screen to separate them from chaff. This extra step makes sowing easier next season. I find it saves time and reduces waste.
Finally, test a few seeds by planting them in potting mix to check viability. This gives me confidence before committing to a full planting. Happy harvesting! 🌻