
Beautiful Plants For Your Interior
Beautiful Plants For Your Interior
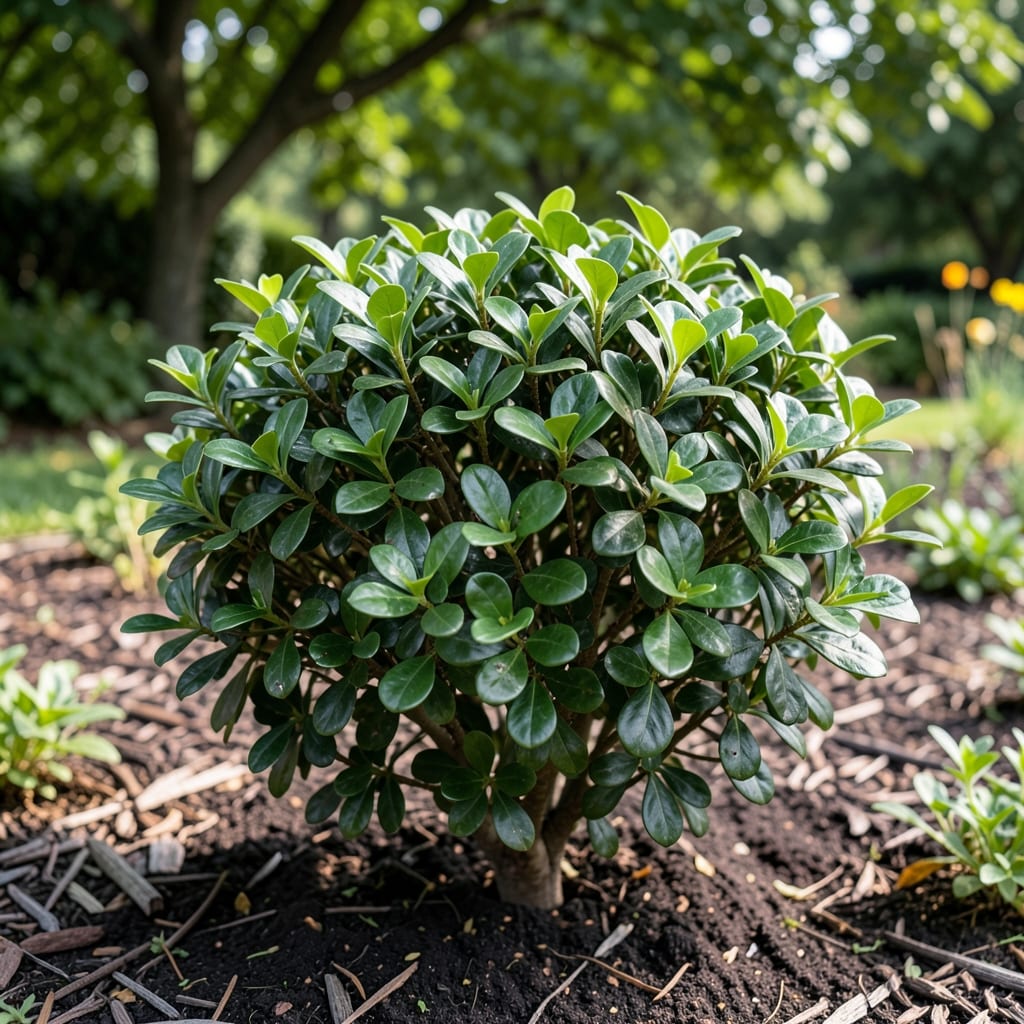
Glossy privet leaves should shine with health, not problems. I’ve seen too many gardens where these plants look sad when they should be thriving.
Yellowing, spots, or sticky residue usually point to pests, fungi, or water stress. The fix is often simpler than it looks—just takes a sharp eye and quick action.
📚 In This Guide
This method helps you spot issues early and restore your shrub’s vibrant, healthy foliage.
Start by examining the leaves closely for any yellowing, browning, or dark spots. Healthy glossy privet leaves should be deep green with a natural sheen. If you notice pale yellow patches or brown edges, it often signals nutrient deficiency or improper watering.
Check both the upper and lower surfaces of the leaves—some issues, like fungal infections, first appear as small, dark spots on the underside. A magnifying glass can help you confirm the presence of pests or disease. Don’t overlook the stems, either; blackened or mushy areas indicate rot or blight.
Privets prefer consistently moist but well-drained soil. Push your finger 1-2 inches into the soil near the base of the plant. If it feels bone dry, the shrub likely needs more frequent watering. Conversely, if the soil feels soggy or smells musty, you’re overwatering, which can suffocate roots and lead to leaf drop.
Look for standing water around the base or yellowing leaves that feel soft to the touch—these are classic signs of poor drainage. If your privet is planted in a low-lying area or heavy clay soil, consider amending the soil with organic matter to improve drainage.
Privets are susceptible to pests like aphids, scale, and spider mites, which can cause leaves to curl, yellow, or develop a sticky residue (honeydew). Inspect the leaves and stems for tiny insects, white cottony clusters, or webbing. Aphids often gather on new growth, while scale may appear as small, hard bumps on stems.
If you spot pests, treat the plant with a strong blast of water to dislodge them, or apply insecticidal soap or neem oil according to the product instructions. Focus on the undersides of leaves, where pests often hide. Repeat treatments every 7-10 days until the problem is resolved.
Glossy privets thrive in partial to full sun but can struggle in extreme conditions. If leaves appear scorched or bleached, the plant may be receiving too much direct sunlight, especially in hot climates. On the other hand, leggy growth with sparse foliage often indicates insufficient light.
Check for environmental stressors like drought, extreme heat, or cold drafts. Privets exposed to temperatures below 15°F may suffer leaf damage. If your plant is in a container, move it to a more sheltered location during harsh weather. For in-ground plants, mulch around the base to protect roots from temperature swings.
If you’ve identified diseased or heavily infested leaves, prune them immediately to prevent the problem from spreading. Use clean, sharp pruners to make cuts just above a leaf node or branch junction. This encourages new, healthy growth while removing the damaged portions.
After pruning, sanitize your tools with rubbing alcohol to avoid spreading pathogens to other plants. Dispose of the infected material in the trash—do not compost it, as this can reintroduce pests or diseases to your garden. Regular pruning also improves airflow, which helps prevent fungal issues in the future.
Small details make a big difference when diagnosing and treating your shrub.
Inspection Technique: In Step 1, use a magnifying glass to check the undersides of leaves—this is where fungal infections and pests first appear. I missed a scale infestation for weeks because I only looked at the top surfaces. Blackened stems are a red flag for rot that needs immediate attention.
Moisture Management: For Step 2, the 1-2 inch soil test is critical. Bone dry means underwatering, while soggy soil with a musty smell indicates overwatering. I learned the hard way that standing water at the base always leads to leaf drop, no matter how healthy the plant looks above soil.
Treatment Timing: When applying treatments in Step 3, that 7-10 day interval between applications is non-negotiable. Pests like aphids and spider mites reproduce quickly, and skipping the repeat treatment allows them to bounce back stronger. Focus especially on new growth where aphids love to cluster.
Climate Considerations: The 15°F temperature threshold in Step 4 is your warning sign. Below this, leaf damage is inevitable. For container plants, move them before temperatures drop. For in-ground plants, that mulch layer around the base makes a surprising difference in protecting roots from temperature swings.
Glossy leaves on privet often indicate overwatering, fungal infections, or excessive fertilization. Check soil moisture and reduce watering if soggy. Fungal issues may require fungicide treatment.
Treat issues early in the growing season (spring or early summer) for best results. Apply fungicides or prune affected areas in dry weather to prevent spread.
Yes! Neem oil or a baking soda solution can combat fungal problems. Improve airflow and avoid overhead watering to prevent recurrence.
Ensure proper drainage, space plants for airflow, and avoid over-fertilizing. Regularly inspect leaves for early signs of pests or disease.