
Beautiful Plants For Your Interior
Beautiful Plants For Your Interior
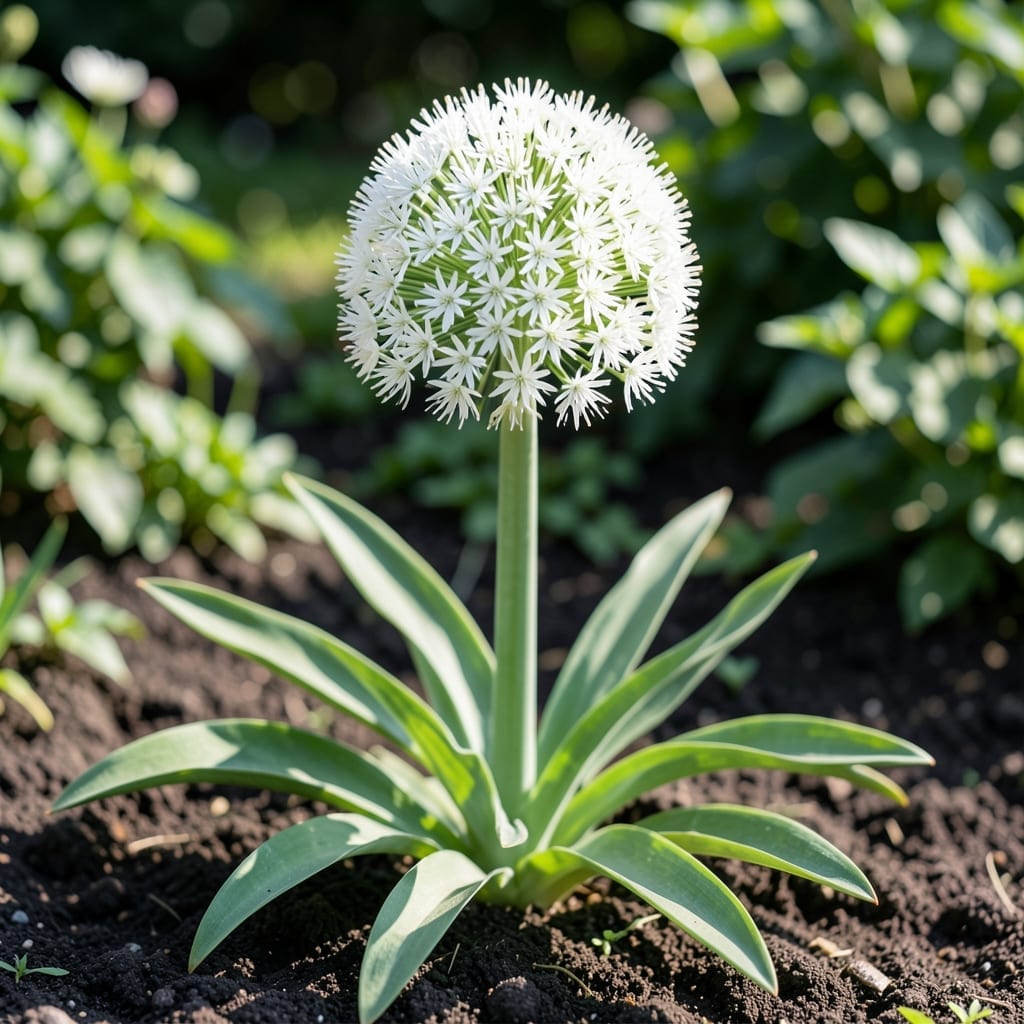
These towering white globes stopped me in my tracks last spring. Planting giant white alliums adds dramatic architecture to any garden with minimal effort.
They thrive in full sun with well-draining soil, returning bigger each year. The 3-4 foot stems create stunning focal points that pollinators adore, blooming when most spring flowers fade.
📚 In This Guide
This method delivers stunning globes of blooms with minimal fuss, even in challenging climates.
Choose a location with full sun exposure—giant alliums need a minimum of 6-8 hours of direct sunlight daily to produce their iconic spherical flower heads. The soil should be well-draining with a neutral to slightly acidic pH (6.0-7.0).
Loosen the soil to a depth of 12-15 inches and amend with compost to improve fertility and drainage. These plants despise waterlogged roots, so avoid low-lying areas where water pools. I always test drainage by digging a 1-foot hole, filling it with water, and ensuring it drains within 4 hours.
Plant bulbs in fall, about 4-6 weeks before the first hard frost, when soil temperatures drop below 60°F. This timing allows roots to establish before winter dormancy. Position bulbs with the pointed end facing upward, at a depth of 6-8 inches—roughly 3 times the bulb’s height.
Space bulbs 8-12 inches apart to give their mature foliage room to spread. For a dramatic display, plant in clusters of 3-5 bulbs rather than single specimens. After placing, backfill with soil and press gently to eliminate air pockets, then water thoroughly to settle the soil around the bulbs.
Water deeply after planting to encourage root growth, then maintain moderate moisture during the fall. Once the ground freezes, add a 2-3 inch layer of mulch (straw or shredded leaves) to insulate the soil and protect bulbs from freeze-thaw cycles. This is non-negotiable in colder climates.
In spring, remove mulch gradually as new growth appears. Resume watering when the top 1-2 inches of soil feels dry to the touch. Reduce watering once foliage begins to yellow after blooming, as the bulbs enter dormancy. Overwatering during dormancy is a common mistake that leads to bulb rot.
As stems emerge in spring, apply a balanced, low-nitrogen fertilizer (5-10-10) to support flower development. I scatter 1 tablespoon per square foot around the base of the plants and lightly work it into the soil, then water it in. Avoid high-nitrogen fertilizers, which promote leafy growth at the expense of blooms.
Stake tall stems if they begin to flop, especially in windy locations. Use bamboo stakes or decorative supports, tying stems loosely with soft twine. The flower heads can reach 4-5 inches in diameter and become top-heavy, so support is often necessary.
Allow foliage to die back naturally after blooming—this is critical, as the leaves photosynthesize to replenish the bulb for next year. Cutting it back prematurely results in smaller or no flowers the following season. I mark the location with small stakes so I don’t accidentally disturb the bulbs while they’re dormant.
Divide clumps every 3-4 years in early fall if blooms diminish or the center of the clump dies out. Dig up the bulbs, separate offsets, and replant the healthiest ones immediately. This rejuvenates the planting and ensures consistent, vibrant displays year after year.
These insights will help you avoid the most common pitfalls when cultivating these stunning ornamental onions.
Sunlight Requirement: Those 6-8 hours of direct sunlight daily in Step 1 are non-negotiable for achieving the characteristic spherical flower heads. Even partial shade can result in floppy stems and smaller blooms. I learned this the hard way after planting a batch in a spot that got afternoon shade.
Drainage Test: The 4-hour drainage test mentioned in Step 1 is your best insurance against bulb rot. If water doesn’t drain from that 1-foot hole within the specified time, consider raised beds or amending the soil with more compost. These plants will not tolerate soggy conditions.
Planting Timing: The 4-6 weeks before first frost window in Step 2 gives roots just enough time to establish without breaking dormancy. Plant too early and you risk premature sprouting; too late and roots won’t develop properly. Watch for soil temperatures to drop below 60°F as your planting cue.
Fertilization Strategy: When applying that 5-10-10 fertilizer in Step 4, remember that less is more. I use exactly 1 tablespoon per square foot as specified—over-fertilizing, especially with high-nitrogen products, will give you lush foliage but disappointing blooms.
Giant allium white typically reaches 3 to 4 feet in height, with its striking globular flower heads adding dramatic flair to gardens. Perfect for borders or as a focal point!
Plant bulbs in fall, 6-8 weeks before the first frost. This allows roots to establish before winter, ensuring vibrant blooms in late spring to early summer.
If you love the look but want variety, try Allium ‘Purple Sensation’ or Allium schubertii. Both offer unique shapes and colors while being equally low-maintenance.
Common issues include poor drainage, insufficient sunlight, or planting bulbs too shallow. Ensure well-draining soil and full sun exposure for best results.
Yes! Deer and rodents typically avoid alliums due to their onion-like scent. A great choice for gardens prone to wildlife visits.