
Beautiful Plants For Your Interior
Beautiful Plants For Your Interior
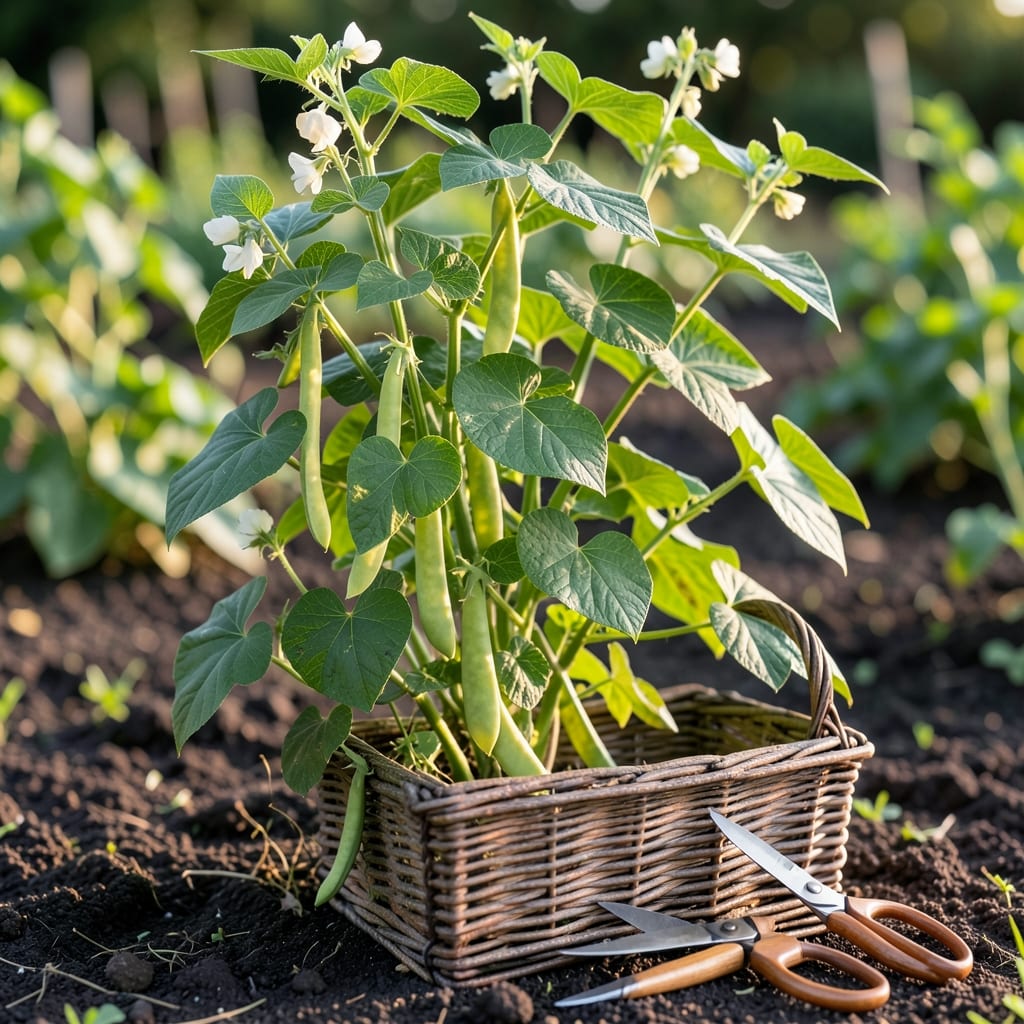
Yellow beans changed my garden game last summer. I went from sparse, stringy harvests to buckets of crisp, vibrant pods just by tweaking a few basics.
They thrive in warm soil with consistent moisture and minimal fuss. Plant them once, and you’ll be picking fresh beans for weeks with the right care and timing.
📚 In This Guide
Here’s the method I use to pick beans at their peak every single time.
Check the plants daily once they start producing. Yellow beans should be 4-6 inches long for best flavor and tenderness. I run my fingers along the vines gently, feeling for firm, smooth pods that snap easily when bent.
The color should be bright and uniform, without any bulging from overmature seeds inside. If you see pods starting to turn pale or develop visible seed bumps, harvest immediately—they’re past their prime and will be tough and stringy.
Always use two hands when picking. Hold the vine steady with one hand while using your other to snap the bean off at the stem end. This prevents damaging the plant or accidentally pulling up the entire vine.
I carry a small basket or bucket to collect the beans as I go. Real talk: pulling up on the pod instead of snapping cleanly will strip the blossom end and reduce future yields. The stem should remain attached to the pod after picking.
Yellow beans produce more when harvested regularly. I pick every 2-3 days during peak production. Missing a harvest window signals the plant to stop producing new pods.
Here’s the thing—leaving mature pods on the plant diverts energy to seed production rather than new bean growth. You’ll notice a dramatic drop in yield if you let even a few pods go too long between pickings.
Rinse the beans immediately after harvest to remove any garden debris or insects. I use cool water and pat them dry gently with a clean towel to prevent bruising the delicate pods.
Store unwashed beans in a perforated plastic bag in the refrigerator for up to 5-7 days. For best flavor, use them within 2-3 days of picking. The pods should still snap crisply when broken in half.
After each harvest, check the plants for signs of stress. Yellowing leaves often indicate it’s time to water deeply. I give my bean plants 1-1.5 inches of water per week, more during extreme heat.
Watch for pest damage too. Aphids love bean plants and cluster on new growth. A strong spray of water from the hose usually knocks them off, but severe infestations might require organic insecticidal soap.
These small adjustments make a huge difference in your harvest quality.
The Size Factor: Stick to harvesting beans when they’re 4-6 inches long as mentioned in Step 1. Any longer and they’ll start developing those tough seed bumps. I learned this the hard way after picking a few overmature pods that turned stringy and inedible.
Technique Tip: In Step 2, always use two hands when picking. Hold the vine steady with one hand while snapping the bean off at the stem end with the other. This prevents damaging the plant and ensures the stem stays attached to the pod, which keeps the blossom end intact for future growth.
Harvest Frequency: The 2-3 day picking schedule in Step 3 isn’t just a suggestion—it’s critical. Missing even one harvest window tells the plant to stop producing new pods. I’ve seen my yield drop dramatically when I let a week go by between pickings.
Storage Wisdom: For the best flavor as mentioned in Step 4, use your beans within 2-3 days of picking. While they’ll keep for 5-7 days in the fridge, the texture and sweetness decline noticeably after day three. Always store them unwashed in a perforated bag to maintain freshness.
Pick yellow beans when they’re firm, crisp, and about 4-6 inches long. The pods should snap easily and have a smooth texture. Harvest in the morning for the best flavor and tenderness.
Store unwashed beans in a perforated bag or container in the fridge for up to 5-7 days. Avoid moisture to prevent mold. For long-term storage, blanch and freeze them.
Overmature beans or irregular watering can cause toughness. Harvest them young and ensure consistent moisture. Some varieties are naturally stringless, so check your seed type.
Yes! Young, tender yellow beans can be eaten raw in salads or as a snack. Ensure they’re fresh and free from pesticides. Older beans may need light cooking to soften.