
Beautiful Plants For Your Interior
Beautiful Plants For Your Interior
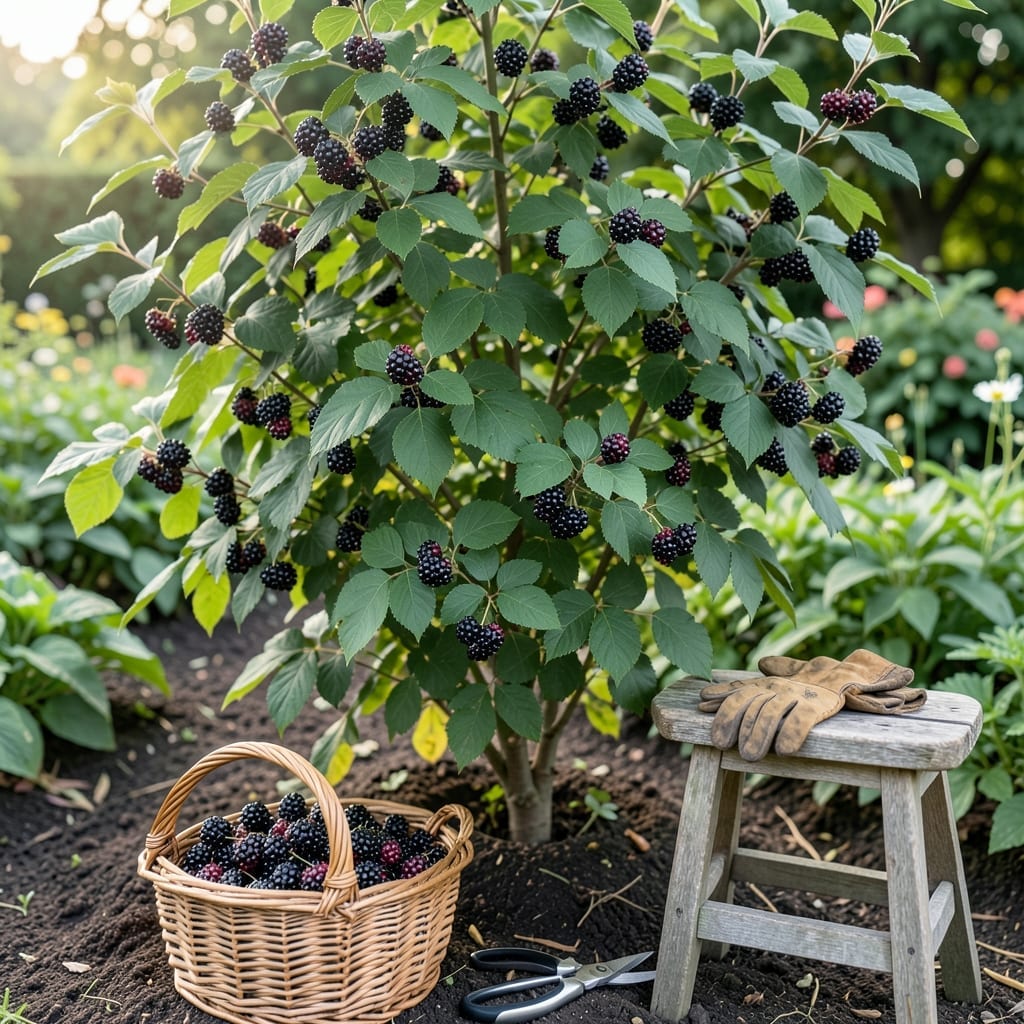
There’s a game-changing moment every elderberry grower waits for – when those clusters transform from green to deep purple-black. With 🌿 Elderberry, timing your harvest perfectly separates the experts from the beginners.
I remember my first attempt at picking them too early – the tartness was overwhelming. The difference between unripe and perfectly ripe berries is night and day, especially for jams and syrups.
What most don’t realize is that visual cues are your best guide. The berries will actually tell you when they’re ready if you know what to look for.
Discover the subtle signs that signal your elderberries are at their peak. These simple observations will ensure you never miss that sweet spot again.

Timing your elderberry harvest perfectly ensures the best flavor and yield. I always watch for deep purple-black color as the first sign. The berries should appear plump and shiny when ready for picking.
Another key indicator is the cluster droop. When the weight of ripe berries causes the stems to bend slightly, it’s nature’s way of saying they’re ready. I check for this late August through September in most zones.
| Sign | Description |
|---|---|
| Color | Deep purple or black |
| Texture | Slightly soft to touch |
| Cluster | Droops under weight |
| Stem | Berries separate easily |
Regional differences matter too. In cooler zones 4-5, harvest may start in early September. Warmer zones like 8-9 often see ripe berries by mid-August. I always adjust my schedule accordingly.
I avoid picking when berries are still green or red. These contain cyanogenic glycosides, which can be toxic. Safety first! Only the darkest clusters make it to my basket.
The time of day affects quality too. I harvest in the early morning after dew evaporates. This preserves freshness and flavor better than midday heat.
Weather plays a role as well. A dry spell can delay ripening, while excess rain may cause splitting. I monitor conditions closely in the weeks leading up to harvest.
For maximum yield, I use sharp scissors to snip entire clusters. Pulling by hand can damage the plant. I leave a bit of stem attached to avoid crushing the berries.
Don’t forget to check multiple clusters on the same bush. Ripening isn’t always uniform. I often find some ready while others need another week or two.
Finally, taste-test a few berries. Ripe ones will be sweet with a slight tartness. If they’re still bitter, I wait another 3-5 days before checking again. Patience pays off! 🌿
I’ve seen many gardeners lose their elderberry harvest by picking too early. Those green or red berries aren’t just unripe—they can contain toxic compounds that are unsafe to consume. Always wait for the deep purple-black color before harvesting.
Another critical error is harvesting during or after rain. Wet berries are prone to mold growth, which can ruin your entire batch. Check the forecast and aim for a dry, sunny morning to pick your clusters.
Birds love elderberries as much as we do, and they’ll strip your bushes bare if given the chance. I always recommend using fine-mesh netting over clusters as they begin to ripen. This simple step can save your harvest from feathered thieves.
Timing your harvest for the cool morning hours helps preserve freshness. The berries are firmer and easier to handle when temperatures are lower. Avoid the heat of midday, which can make them soft and messy to collect.
Never pull berries directly off the stem with your hands. This can damage the delicate clusters and leave behind unripe fruit. Instead, use sharp scissors or pruners to snip entire clusters cleanly.
Finally, don’t overlook the stem attachment. Ripe elderberries should separate easily from the stem with a gentle tug. If they resist, they’re not ready. Patience here ensures the sweetest, safest harvest every time. 🌿