
Beautiful Plants For Your Interior
Beautiful Plants For Your Interior
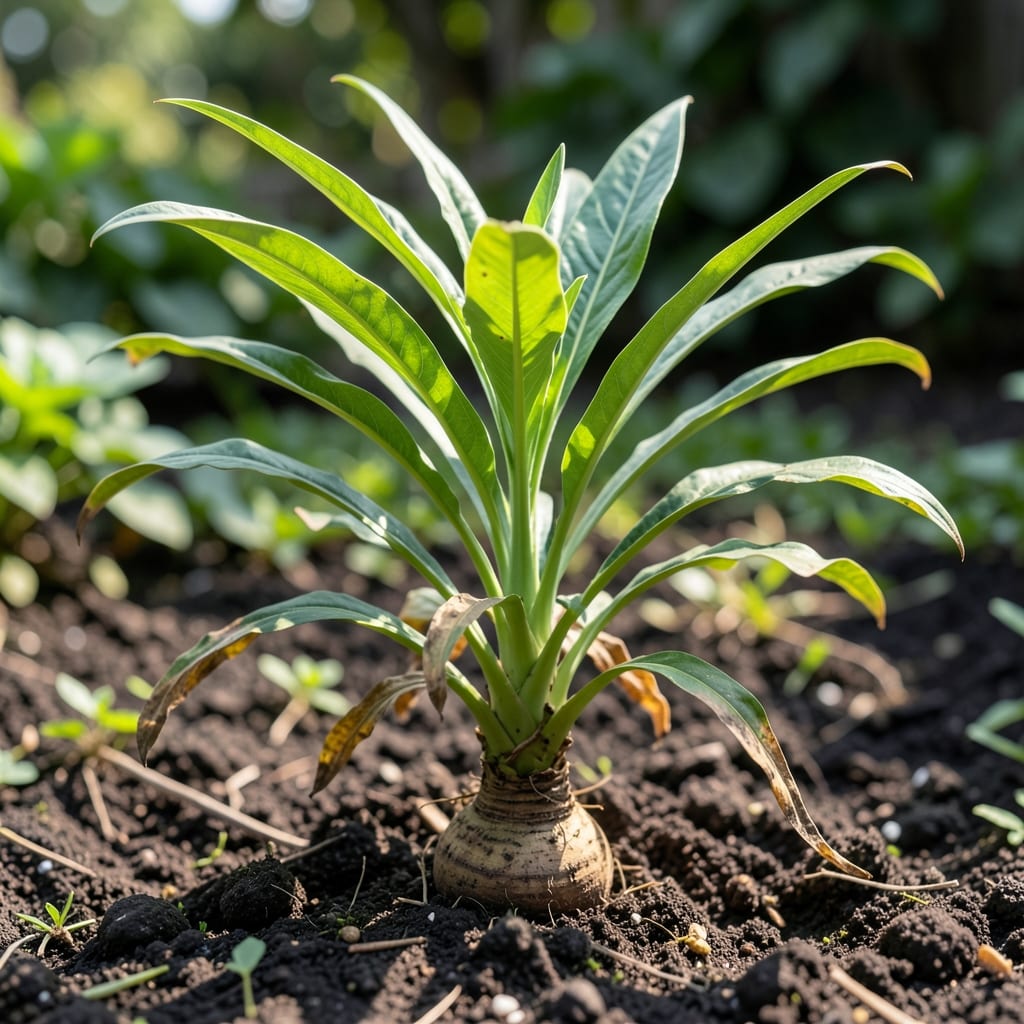
I never thought I’d grow turmeric until I saw those vibrant green leaves pushing through the soil last spring. This plant thrives with simple care and rewards you with both edible roots and aromatic foliage.
With the right soil mix and consistent moisture, you’ll harvest leaves ready for drying within months. The dried version packs a surprising depth of flavor that’s worth the minimal effort.
📚 In This Guide
Here’s the straightforward method I use to cultivate healthy plants and harvest flavorful leaves for drying.
Start with fresh turmeric rhizomes, which look like small, knobby roots. Plant them in loose, well-draining soil enriched with compost. I dig holes about 2 inches deep and space the rhizomes 6-8 inches apart to give roots room to expand.
Cover lightly with soil and water just enough to moisten the bed. Overwatering at this stage can cause rot, so I check that the top 1 inch of soil feels dry before the next watering. Within 2-3 weeks, you’ll see the first green shoots pushing through.
Turmeric thrives in warm temperatures between 75-85°F and prefers partial shade, especially in hotter climates. I place my plants where they get morning sun and afternoon shade to prevent leaf scorch.
If growing in containers, move them to a shadier spot when temperatures exceed 90°F. You’ll notice the leaves growing tall and lush—this is a sign the plant is happy. Yellowing or curling leaves often mean too much direct sun or not enough water.
Wait until the plant has produced several sets of mature leaves, usually after 3-4 months of growth. I harvest the outer leaves first, cutting them at the base with clean shears. This encourages new growth while keeping the plant productive.
Avoid removing more than one-third of the leaves at a time. The plant needs enough foliage to continue photosynthesizing and growing. You’ll know leaves are ready when they’re vibrant green and feel firm, not wilted or yellowed.
Rinse the leaves gently to remove dirt, then pat them dry with a clean towel. I lay them out in a single layer on a drying rack or a clean, flat surface. Place them in a well-ventilated area away from direct sunlight to preserve color and flavor.
Turn the leaves daily to ensure even drying. They’re ready when they’re brittle and crumble easily, usually after 5-7 days. Store the dried leaves in an airtight container in a cool, dark place to maintain freshness for up to 6 months.
Here’s what I’ve learned through trial and error to get the best results.
Planting Depth: Those 2 inches deep holes in Step 1 are critical—too shallow and rhizomes dry out, too deep and they struggle to sprout. I use a ruler to check until I got the feel for it.
Watering Discipline: The 1 inch of dry soil rule from Step 1 prevents rot but requires patience. I watered too enthusiastically at first and lost two rhizomes. Now I stick my finger in the soil—if it feels dry at the tip, it’s time.
Temperature Sweet Spot: Turmeric really does need that 75-85°F range from Step 2. If temperatures climb above 90°F, I move my container plants to a cooler porch immediately. Yellow leaves tell you you’re too late.
Drying Patience: The 5-7 days drying time in Step 4 can’t be rushed. I tried a food dehydrator once and the leaves lost their vibrant color. Slow, natural drying preserves both color and aromatic oils.
Yes, but dried leaves have a more concentrated flavor and longer shelf life. Fresh leaves work well in teas or cooking but may require adjusting quantities due to higher moisture content.
Properly stored in an airtight container away from light and moisture, they can last up to 12 months without losing potency or aroma.
They’re great for infusions, curries, or herbal teas. You can also grind them into a powder for seasoning or use them in traditional remedies.
Exposure to sunlight or humidity can fade color and flavor. Store them in a cool, dark place to preserve their vibrant hue and potency.
Freezing is an option, though it changes texture. For long-term storage, drying remains the best method to retain flavor and benefits.