
Beautiful Plants For Your Interior
Beautiful Plants For Your Interior
I’ll be real with you: the first time aphids destroyed my rose bushes, I reached for chemical sprays—until I discovered neem oil. This natural solution changed everything, letting me protect plants without harsh chemicals or worrying about pets and pollinators. Making your own neem oil spray takes 10 minutes with ingredients you probably already have. […]
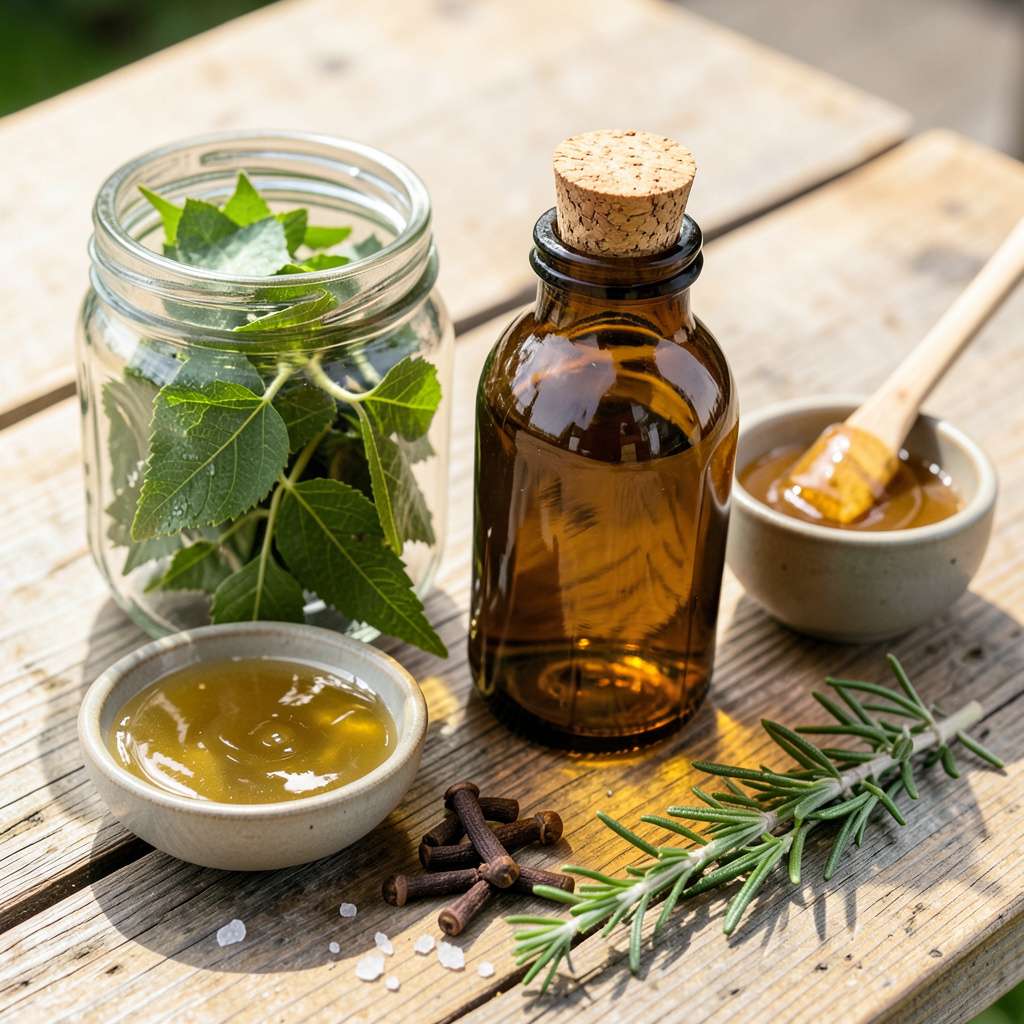
I’ll be real with you: the first time aphids destroyed my rose bushes, I reached for chemical sprays—until I discovered neem oil. This natural solution changed everything, letting me protect plants without harsh chemicals or worrying about pets and pollinators.
Making your own neem oil spray takes 10 minutes with ingredients you probably already have. The key is proper dilution and application timing—get it right, and you’ll see pests disappear within 48 hours while beneficial insects stay safe. I’ve used this exact method for five seasons now.
What you end up with is a versatile spray that works on everything from vegetable gardens to houseplants. The plants recover faster, new growth comes in healthier, and you avoid the chemical residue that builds up with store-bought products. My garden’s never looked better since switching.
Fair warning: the smell isn’t pleasant at first, but it fades quickly. The tradeoff—healthy plants without synthetic pesticides—is worth it every time. Here’s exactly how to mix and apply it for best results.
📚 In This Guide
This simple process transforms raw neem oil into a powerful, garden-safe pest deterrent you can use immediately.
Begin with 100% cold-pressed neem oil—this preserves the azadirachtin content that disrupts insect life cycles. Avoid processed or diluted versions, as their efficacy drops dramatically. I source mine from reputable organic suppliers to ensure maximum potency against soft-bodied pests like aphids and whiteflies.
You’ll need an emulsifier to blend the oil with water. Pure Castile soap (1 tsp per quart) works perfectly, though commercial horticultural emulsifiers are available. The emulsifier prevents oil droplets from burning plant leaves by creating a stable suspension—this is non-negotiable for foliar applications.
In a clean glass container, combine 1 tablespoon neem oil with 1 teaspoon emulsifier per quart of planned spray. Warm the mixture slightly (place container in warm water) to improve blending—neem oil thickens below 70°F and won’t incorporate properly. Stir vigorously until the solution turns milky white, indicating proper emulsification.
This concentrated base stores for 3-6 months in a cool, dark place. I label mine with the date and potency notes (“2% solution”). Never use metal containers, as neem oil reacts with certain alloys over time, compromising the mixture’s stability and potentially harming plants.
When ready to use, mix 1-2 teaspoons of stock solution per quart of water in your sprayer. Use lukewarm water (75-85°F) to maintain emulsion stability. Shake the sprayer before and during application—you’ll see the mixture separate within minutes if left idle.
Test-spray a small area of foliage first and wait 24 hours for phytotoxicity signs (leaf burn, yellowing). Neem’s mode of action requires thorough coverage, so prioritize undersides of leaves where pests hide. Early morning applications minimize UV degradation of the active compounds.
Spray until leaves glisten but don’t drip—excess runoff wastes product and risks soil contamination. Focus on new growth and pest hotspots; neem works systemically when absorbed but requires direct contact for immediate knockdown. Reapply every 7-14 days or after rain, as the residual effect lasts about 2 weeks under ideal conditions.
Avoid spraying in direct sunlight or when temperatures exceed 90°F—this causes rapid evaporation and potential leaf scorch. I use a fine-mist nozzle for even distribution and wear gloves during application, as neem can irritate skin. Never apply to stressed plants or during drought conditions.
Observe treated plants for 3-5 days post-application. You should see reduced pest activity within 24-48 hours, though complete eradication may require multiple treatments. Beneficial insects like ladybugs and bees are largely unaffected when applied correctly (avoid spraying open flowers).
If pest populations persist, increase concentration slightly (up to 1 tablespoon stock solution per quart) or add 1/4 teaspoon cayenne pepper to enhance deterrence. Store unused diluted spray for no more than 8 hours—neem degrades quickly in water. For long-term storage, keep your concentrated stock solution in an amber glass bottle away from light sources.
Mastering this Pest Control Solution“>natural pest control solution comes down to a few critical details that make all the difference in effectiveness and plant safety.
Temperature Control: The 70°F threshold mentioned in Step 2 isn’t arbitrary—neem oil literally solidifies below this temperature, creating clumps that clog sprayers and leave oily deposits on leaves. I’ve ruined batches by working in a cold garage. Warm your mixing container in a water bath until the oil flows like honey, then maintain that lukewarm 75-85°F water temperature during dilution. This simple step prevents the separation issues that frustrate so many gardeners.
Storage Wisdom: That 3-6 month storage window for your concentrated solution assumes perfect conditions. Real talk: I’ve had solutions degrade in half that time when stored improperly. Amber glass bottles are non-negotiable—clear containers let light break down the azadirachtin compounds. Label yours with the mix date and potency, and store it where temperatures stay below 75°F. A basement shelf works better than a sunny windowsill.
Application Precision: The “glisten but don’t drip” guidance in Step 4 deserves elaboration. You want leaves uniformly coated with microscopic droplets, like morning dew. I use a fine-mist nozzle held 12-18 inches from plants, moving in steady sweeps. Pay special attention to leaf undersides where pests congregate—this is where most people underapply. Remember that thorough coverage now means fewer applications later.
Timing Strategy: Those 24 hours after your test spray aren’t just caution—they’re critical. Neem can cause phytotoxicity in sensitive plants, and you won’t see the yellowing or spotting until a full day has passed. I learned this after treating an entire rose bush that developed unsightly leaf burn. Always test on a single leaf first, and observe for the full 24 hours before proceeding with full application.
Got questions about making or using DIY neem oil? You’re not alone! Here are the most common queries—answered simply so you can get back to gardening with confidence.
For prevention, spray every 2–3 weeks. If treating an active pest infestation (like aphids or mites), apply every 5–7 days until the problem clears. Always spray in the early morning or late evening to avoid leaf burn from sun exposure.
Most plants tolerate neem oil well, but avoid using it on delicate herbs like basil, cilantro, or dill. Test a small area first on edibles (e.g., tomatoes, peppers) and ornamentals. Never apply to plants stressed by drought or extreme heat.
A fresh DIY mix lasts 1–2 days at room temperature (the water and oil separate quickly). For longer storage, keep undiluted neem oil in a cool, dark place for up to 1–2 years. Add emulsifiers (like mild soap) just before use for best results.
Yes! Try insecticidal soap (for soft-bodied pests), horticultural oil (dormant-season use), or garlic/chili pepper sprays (natural repellents). For fungal issues, baking soda solutions (1 tbsp/gallon of water) work well.
This happens if the oil isn’t properly emulsified (mixed with water + soap). Shake vigorously before spraying, and use 1 tsp mild liquid soap per quart of water. Rinse leaves with plain water after 24 hours if residue persists. Tip: Filtered water reduces mineral buildup too!
DIY neem oil is your affordable, eco-friendly secret weapon for a thriving garden and pest-free home! 🌿 With just a few simple ingredients and steps, you can harness its natural power to protect plants, deter bugs, and even tackle household nuisances—without harsh chemicals.
Ready to give it a try? Start with a small batch to test on your plants, then scale up as you see results. For even more tips, check out our guide on companion planting to boost your garden’s defenses naturally! 🌱
