
Beautiful Plants For Your Interior
Beautiful Plants For Your Interior
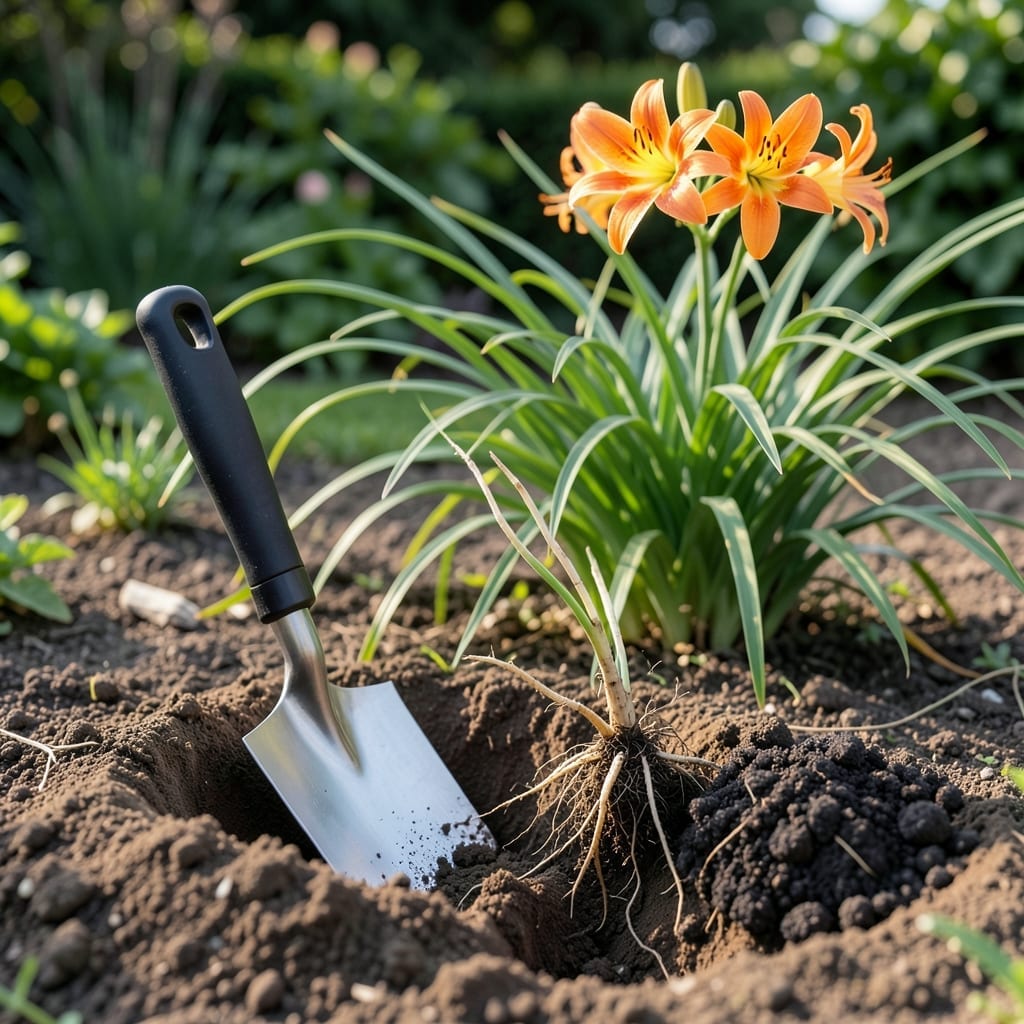
Want to transform your garden with minimal effort? The 🌼 Daylily is your perfect partner, thriving in zones 3-9 with stunning results.
These hardy perennials bring vibrant color to any landscape, and the best part? They’re incredibly forgiving for gardeners at any level.
Discover how to plant them properly for maximum impact. I’ll walk you through the simple steps to ensure your Daylilies flourish beautifully.
Planting daylilies is straightforward if you follow a few key steps. I always start by choosing a sunny location with well-draining soil, as these plants thrive in 6+ hours of sunlight daily.
Preparing the soil is crucial. I loosen the earth to about 12-15 inches deep and mix in organic compost to improve fertility and drainage. This gives your daylilies a strong foundation for growth.
Once planted, I
Daylilies are drought-tolerant once established, but consistent moisture during their first growing season is key. I check the soil regularly and water when the top 1-2 inches feel dry. 🌿
For ongoing care, I apply a balanced fertilizer every 4-6 weeks during the growing season. This encourages vibrant blooms and healthy foliage. Always follow the package instructions for proper dosage.
One thing I love about daylilies is their low-maintenance nature. After planting, they require minimal care. Just remove spent blooms to encourage more flowers and cut back foliage in late fall.
If you notice yellowing leaves, it might indicate overwatering or poor drainage. I adjust my watering schedule and ensure the soil drains well to prevent root rot.
To maximize blooms, I plant daylilies in groups of 3-5 plants. This creates a stunning visual impact and ensures continuous color throughout the growing season.
With these simple steps, you’ll enjoy beautiful, vibrant daylilies that brighten your garden year after year. Happy planting! 🌼
Choosing the right spot is key for vibrant daylily blooms. I always look for locations with full sun to partial shade, as these plants need 6+ hours of sunlight daily to thrive.
Well-draining soil is a must. Daylilies hate soggy roots, so I avoid low-lying areas where water pools. A slight slope or raised bed works perfectly for proper drainage.
| Requirement | Specification |
|---|---|
| Sunlight | 6+ hours daily |
| Soil Type | Loamy, well-draining |
| Soil pH | 6.0-7.0 |
| Spacing | 18-24 inches apart |
| USDA Zones | 3-9 |
I’ve found that morning sun with afternoon shade works wonderfully, especially in hotter climates. This protects the blooms from scorching while still providing enough light.
For soil, I aim for a loamy texture with good organic content. If your soil is heavy clay, amending it with compost or peat moss will improve drainage and fertility.
Daylilies are adaptable, but they perform best in slightly acidic to neutral soil. A simple soil test can help you determine if adjustments are needed before planting.
Remember, these plants are drought-tolerant once established, but they’ll reward you with more blooms if given consistent moisture during their first growing season. 🌼