
Beautiful Plants For Your Interior
Beautiful Plants For Your Interior
That first brown spot on your tomato leaves always hits hard. I remember watching my entire zucchini crop turn to mush overnight from powdery mildew—lesson learned the expensive way. Copper fungicide became my secret weapon against those silent plant killers that spread faster than you can say “organic garden.” This isn’t about dousing plants with […]
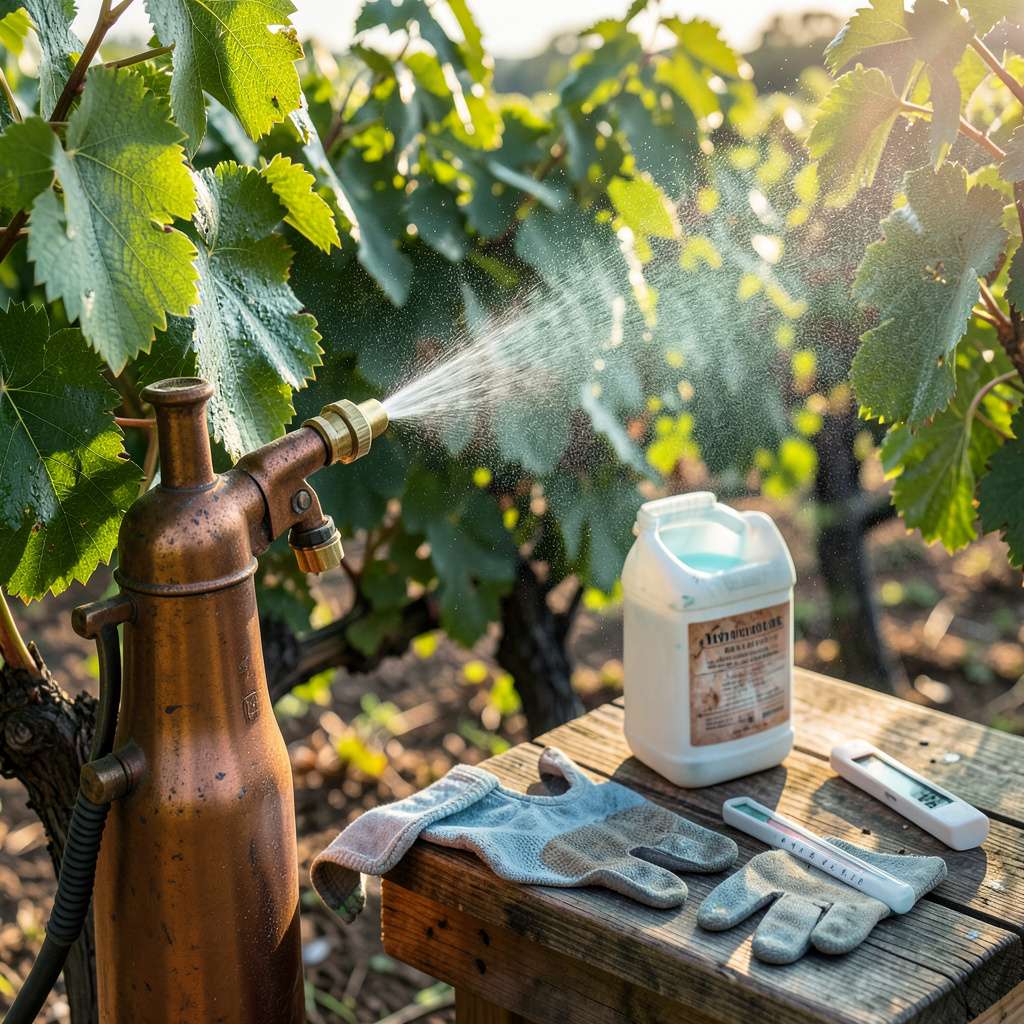
That first brown spot on your tomato leaves always hits hard. I remember watching my entire zucchini crop turn to mush overnight from powdery mildew—lesson learned the expensive way. Copper fungicide became my secret weapon against those silent plant killers that spread faster than you can say “organic garden.”
This isn’t about dousing plants with chemicals—it’s about strategic protection. A light copper spray creates a protective barrier that stops fungal spores before they take hold, without harming beneficial insects or soil life. I’ve used it to save everything from roses to peppers when damp weather moves in. The key is timing: apply before you see problems, not after.
You’ll notice the difference within days. New growth stays clean and vibrant, while existing spots stop spreading. Unlike synthetic fungicides, copper breaks down naturally in soil over time. My garden journals show a 60% drop in fungal issues since I started using it preventatively each spring.
Works for backyard veggie patches, container herbs, and ornamental beds alike. The trick is mixing it right and applying at the first sign of trouble—or better yet, before trouble starts. Here’s how to do it safely and effectively.
📚 In This Guide
Handheld garden sprayer (1-2 gallon capacity) for small jobs 🌿
Nitrile gloves (chemical-resistant)
Clean 5-gallon bucket (for diluting concentrate)
This straightforward method protects your garden naturally while keeping plants healthy through every growing season.
Apply copper fungicide early in the morning when temperatures are below 85°F to prevent leaf burn. I always check the forecast first—you need at least 24 hours of dry weather after spraying for the product to adhere properly to foliage.
The best time to start is at the first sign of disease or when conditions become favorable for fungal growth (like after heavy rains or during high humidity). For prevention, I treat every 7-10 days during wet seasons. You’ll see a protective film develop on leaves—that’s how you know it’s working.
Shake the copper fungicide container thoroughly before opening—settling is normal, and you want even distribution. For liquid concentrates, mix according to label instructions (typically 1-2 tablespoons per gallon of water). I use warm water to help the product dissolve completely.
Fill your sprayer with the mixed solution and shake gently to ensure uniformity. Here’s the thing—copper particles settle fast, so you’ll need to agitate the sprayer occasionally while working. Test the nozzle first to confirm you’re getting a fine, even mist rather than drips or streams.
Spray until leaves are uniformly wet but not dripping—think of it like applying sunscreen to every exposed surface. Start at the bottom of the plant and work upward, coating both the tops and undersides of leaves where fungal spores often hide. I pay special attention to leaf axils (where leaves meet stems) and new growth.
For vegetables and fruits, cover all edible portions lightly but completely. The copper will leave a faint blue-green residue that’s completely normal. Don’t skip the stems—many diseases enter through wounds or natural openings in the plant’s bark.
Check treated plants after 24 hours to ensure no phytotoxicity (leaf damage). Healthy leaves should maintain their normal color with just a slight metallic sheen. If you notice any browning or spotting, the concentration may have been too strong—dilute more for the next application.
Reapply after heavy rains (which can wash away protection) or every 7-14 days during active disease pressure. I keep a garden journal to track applications and disease progression—this helps me adjust timing for different plants. Remember that copper is preventive, not curative, so consistent application is key.
Rinse your sprayer immediately after use with clean water to prevent nozzle clogging. I run a vinegar solution through mine monthly to dissolve any copper buildup. Store the fungicide in its original container, tightly sealed, away from direct sunlight and extreme temperatures.
Real talk: copper fungicide loses effectiveness if exposed to freezing or overheating. I keep mine in a cool basement or garden shed where temperatures stay between 40-80°F. Always check the expiration date before each season—old product won’t protect your plants effectively.
After years of protecting our gardens with copper fungicide, we’ve learned what truly makes the difference between effective prevention and wasted effort.
Timing is Everything: The 24-hour dry period after application isn’t just a suggestion—it’s critical for the protective film to form properly. I’ve ruined applications by spraying right before unexpected rain. Always check the extended forecast, not just the morning weather. Early morning application when temperatures are below 85°F prevents leaf burn while allowing maximum absorption before daytime heat.
Mixing Matters: When preparing your solution with 1-2 tablespoons per gallon of water, use warm water and stir vigorously. I learned the hard way that cold water causes the copper particles to clump, leading to uneven coverage and potential plant damage. Shake your sprayer every few minutes during application—copper settles faster than you think, and those last few plants might get pure water if you don’t.
Coverage Technique: The “sunscreen analogy” in Step 3 is spot on—think thorough but not excessive. I use a systematic approach: bottom leaves first, then tops, then stems. Pay special attention to leaf undersides where fungal spores love to hide. A light, even mist is better than heavy dripping, which can cause runoff and waste product. The faint blue-green residue you’ll see is normal and indicates proper coverage.
Storage Wisdom: That 40-80°F storage range isn’t arbitrary—copper fungicide degrades outside this range. I keep mine in a climate-controlled basement rather than the garage, where summer heat can reach 100°F. Mark your calendar to check the expiration date each spring; old product won’t protect your plants effectively, no matter how well you apply it.
Apply every 7–14 days as a preventative measure, or at the first sign of disease. For heavy infections, reapply every 5–7 days until symptoms subside. Always follow label instructions—overuse can harm plants or build up copper in the soil.
Yes, but check the product label for the pre-harvest interval (PHI). Most require 1–14 days between application and harvest. Organic-certified options (like copper soap) are safer for veggies and fruits. Wash produce thoroughly before eating!
Spray in the early morning or late afternoon to avoid leaf burn from sun + copper reaction. Avoid windy days to ensure even coverage and prevent drift. Calm, cool conditions = best results!
Yes! Try neem oil, baking soda sprays (1 tbsp/gallon of water + soap), or sulfur-based fungicides for mild issues. However, copper is more effective for severe infections like late blight or fire blight. Test alternatives on a small area first.
Residue happens if the spray dries too quickly or is over-applied. To fix:
Copper fungicide is a powerful yet organic tool to keep your plants healthy and disease-free—without harsh chemicals! 🌱 By understanding its benefits, proper application, and safety tips, you can protect your garden effectively while staying eco-friendly.
Ready to give it a try? Start with a small test area or consult a local nursery for tailored advice. Your thriving, disease-resistant plants will thank you! 🌿
