
Beautiful Plants For Your Interior
Beautiful Plants For Your Interior
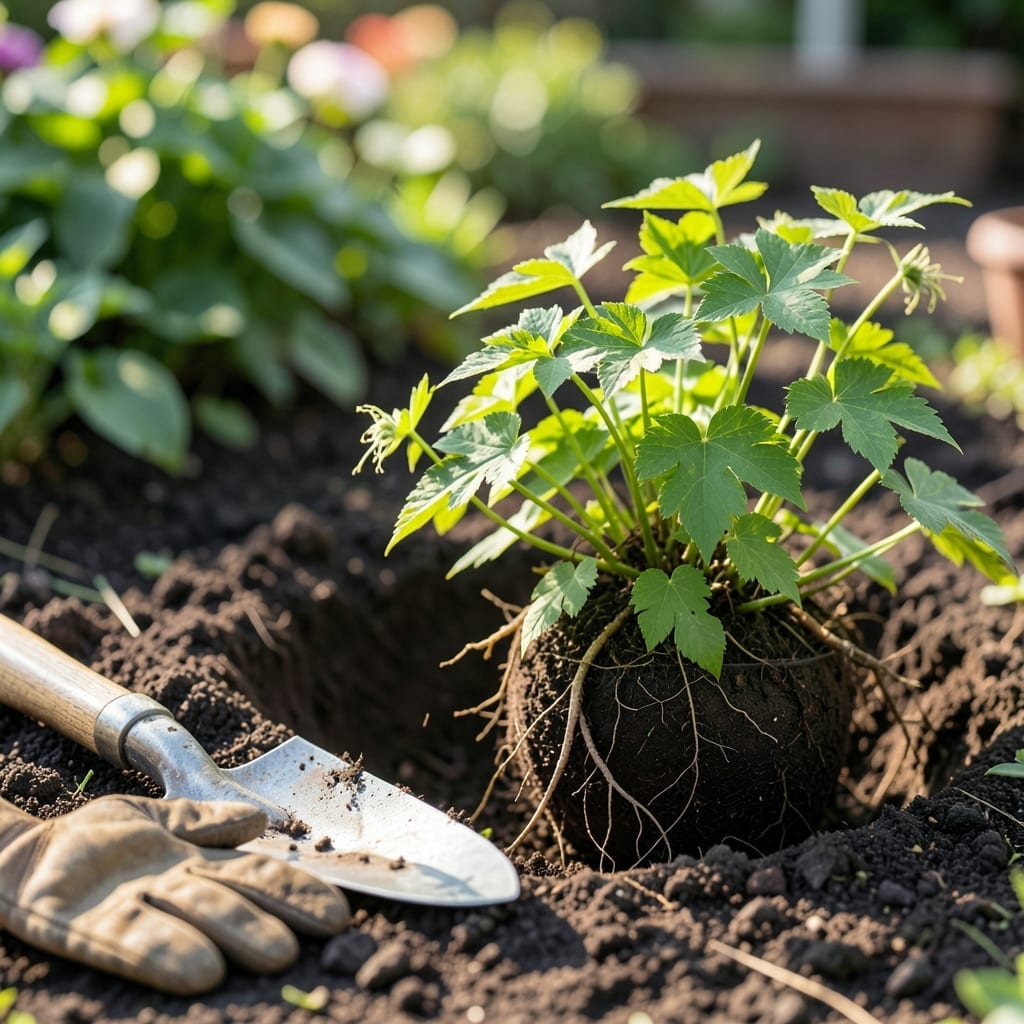
Planting a clematis root ball right means years of vibrant blooms instead of a struggling vine. I learned the hard way that proper depth is everything—bury it too shallow and it dries out, too deep and it rots.
Get the soil mix light and the hole wide, then plant that root ball 2 inches deeper than it sat in the pot. First season’s growth will surprise you with how fast it takes off.
📚 In This Guide
Here’s how I plant clematis root balls for the strongest, healthiest vines that return year after year.
Place the clematis root ball in a bucket of lukewarm water for 15-20 minutes. This rehydrates the roots and helps the plant transition from dormancy to active growth. You’ll see air bubbles stop rising when it’s fully soaked.
Don’t skip this step (I learned the hard way)—dry root balls struggle to establish, and you’ll notice slower growth or even wilting in the first weeks. The soil around the roots should feel uniformly moist, not soggy.
Dig a hole that’s at least 12 inches deep and 18 inches wide. Clematis roots need room to spread, and a shallow hole restricts growth. I loosen the soil at the bottom and sides with a trowel to encourage root penetration.
Mix a handful of compost into the backfill soil for a nutrient boost. This gives your plant a healthy start without overwhelming it with fertilizer. The hole should be deep enough that the root ball sits 2 inches below the surrounding soil level—this protects the base from drying out.
Place the soaked root ball in the hole, ensuring the crown (where roots meet stems) is at least 2 inches below the soil surface. This depth provides insulation and prevents the plant from drying out during hot spells.
Backfill with the amended soil, pressing gently to eliminate air pockets. Water lightly halfway through to settle the soil around the roots. Once filled, create a slight mound to help direct water toward the root zone.
After planting, water deeply until the soil is saturated and the water pools briefly at the surface. This ensures the root ball and surrounding soil are evenly moist. You’ll know it’s enough when the top 6 inches of soil feels damp.
Apply a 2-inch layer of organic mulch, like shredded bark or straw, around the base. Keep it 3 inches away from the stems to prevent rot. Mulch retains moisture and regulates soil temperature, which clematis roots love.
Install a trellis, arbor, or other support structure at planting. Clematis vines start climbing immediately, and delaying this step can lead to tangled, weak growth. Position the support so the plant can twine naturally—clematis don’t cling like ivy, so they need something to wrap around.
Tie the main stems loosely to the support with soft twine if needed. Check weekly and adjust ties as the vine grows. You’ll see new shoots emerging within 2-3 weeks if the root ball was planted correctly.
Small details make a huge difference when planting these vines.
The Soaking Step: That 15-20 minute soak in lukewarm water is non-negotiable for rehydrating the roots. I skipped it once and spent weeks nursing a struggling plant back to health. You’ll know it’s ready when the bubbles stop rising—this means the roots are fully saturated and ready for planting.
Hole Depth Matters: Digging a hole that’s at least 12 inches deep and 18 inches wide gives clematis roots the space they need to establish. The crown should sit 2 inches below soil level in both Step 2 and Step 3—this protects the base from drying out and provides insulation during temperature swings.
Watering Technique: In Step 4, when you water deeply, check that the top 6 inches of soil feels damp. This ensures the root ball and surrounding soil are evenly moist. The slight mound you create helps direct water right where it’s needed most.
Support Timing: Don’t wait to install that trellis or arbor—clematis vines start climbing immediately. Delaying this step, as mentioned in Step 5, can lead to tangled, weak growth. Position the support so the plant can twine naturally, and check those ties weekly as new shoots emerge within 2-3 weeks.
Plant the root ball about 2–3 inches deeper than its current container level. This encourages strong root growth and protects the base from temperature swings.
Early spring or fall is ideal, as cooler temperatures reduce stress on the plant. Avoid planting during extreme heat or frost.
Yes! Choose a large pot (at least 18 inches deep) with drainage holes. Use well-draining soil and ensure the container gets 6+ hours of sunlight daily.
Check for overwatering, poor drainage, or insufficient sunlight. Clematis thrives in moist but not soggy soil and needs support (like a trellis) to climb.