
Beautiful Plants For Your Interior
Beautiful Plants For Your Interior
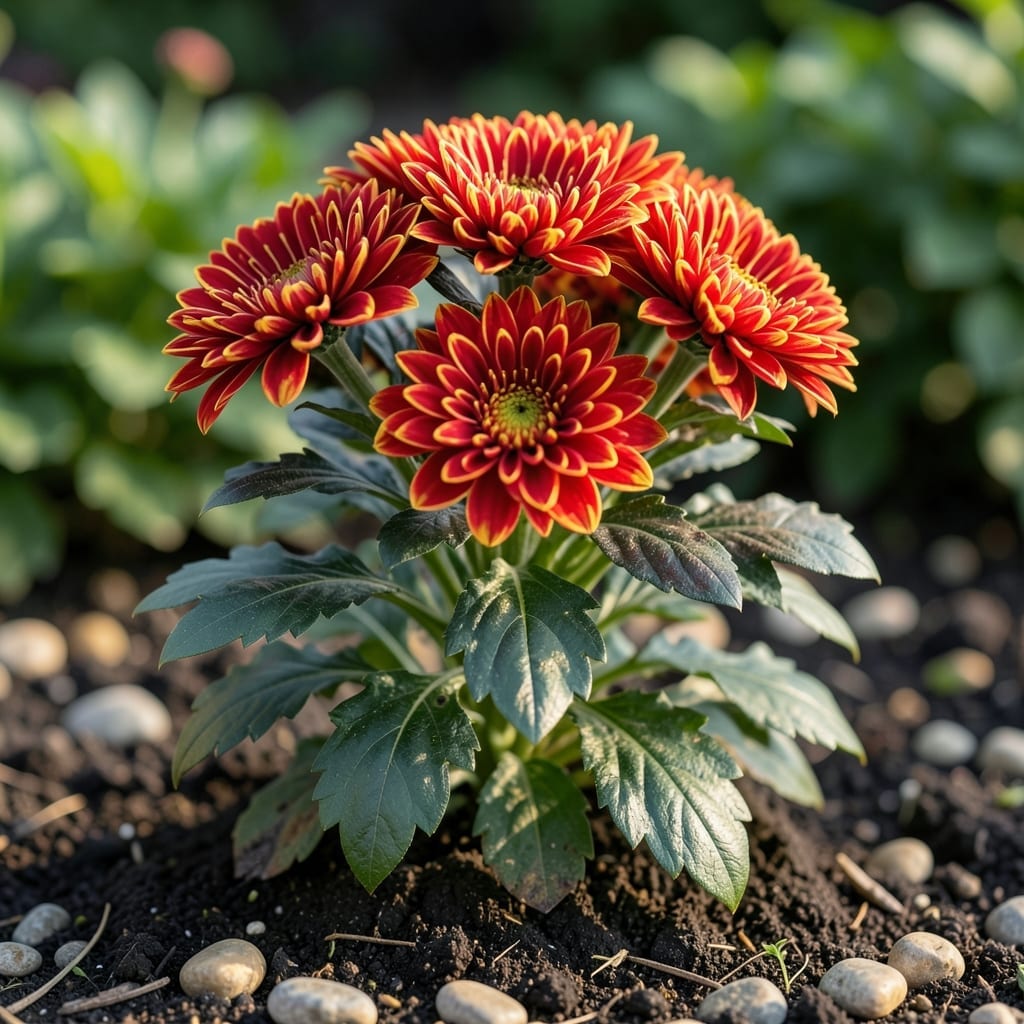
Late summer color explosion without the fuss. I’ve turned my fall garden into a vibrant showstopper with these hardy blooms that laugh at cooler temperatures.
Red varieties pack bold drama while yellows brighten shady corners. Both thrive with morning sun and well-draining soil, pushing out dozens of blooms per plant from August through first frost.
📚 In This Guide
Here’s the method I rely on to grow stunning red and yellow chrysanthemums with robust stems and abundant blooms.
Choose a location with full sun exposure, as chrysanthemums require at least 6 hours of direct sunlight daily for vibrant blooms. The soil should be well-draining with a slightly acidic to neutral pH (6.5-7.0). I always test the soil first—amend with compost if it’s too dense or sandy.
Loosen the soil to a depth of 12-15 inches to encourage deep root growth. Remove any weeds or debris that could compete with your plants for nutrients. This step ensures your chrysanthemums establish quickly and thrive through the season.
Dig a hole twice as wide as the root ball but no deeper. Place the plant in the hole so the top of the root ball sits slightly above the soil level—this prevents water from pooling around the stem. Backfill with soil and press gently to remove air pockets.
Space plants 18-24 inches apart to allow for airflow and prevent disease. Water thoroughly after planting to settle the soil and hydrate the roots. I’ve found that a deep watering at this stage helps the roots establish faster.
Keep the soil consistently moist but not soggy. Water at the base of the plant, avoiding the leaves to reduce the risk of fungal diseases. A good rule of thumb is to water when the top inch of soil feels dry to the touch.
Fertilize every 2-3 weeks with a balanced, water-soluble fertilizer (10-10-10 or 5-10-5). I stop fertilizing once the buds begin to form, as too much nitrogen at this stage can delay flowering and produce more foliage than blooms.
Pinch back the tips of the stems when the plant reaches 6 inches tall to encourage bushier growth. Repeat this process every 2-3 weeks until mid-summer. This step is crucial for producing a compact, full plant with more flowers.
For taller varieties, stake the stems early to prevent them from flopping over under the weight of the blooms. Use soft ties to secure the stems to the stakes, allowing room for growth. I’ve learned that this small effort saves a lot of heartache later.
Keep an eye out for common pests like aphids, spider mites, and leaf miners. Regularly inspect the undersides of leaves and stems. If you spot any pests, a strong blast of water or insecticidal soap usually does the trick.
Prevent fungal diseases by ensuring good airflow around the plants and avoiding overhead watering. Remove any diseased or yellowing leaves immediately to keep the plant healthy. Real talk: early intervention is key to a thriving garden.
Small adjustments in your approach can make a dramatic difference in your garden’s success.
The Sunlight Requirement: Those 6 hours of direct sunlight daily aren’t just a suggestion—they’re essential for vibrant red and yellow blooms. I’ve seen plants struggle with only 4-5 hours, producing weak stems and pale flowers. If your garden has partial shade, consider container planting so you can move pots to follow the sun. Between us, this single factor determines 80% of your success.
Soil Depth Matters: When you loosen the soil to 12-15 inches as in Step 1, you’re not just preparing a bed—you’re creating a foundation for robust root systems. Shallow preparation leads to shallow roots, which means your plants will topple over in wind or heavy rain. I learned this the hard way after losing several mature plants to a summer storm.
Pinching Precision: The instruction to pinch back stems at 6 inches tall and repeat every 2-3 weeks until mid-summer isn’t arbitrary. This timing creates the perfect branching structure for maximum bloom production. Skip this step and you’ll end up with leggy plants that produce fewer, smaller flowers. Trust me on this.
Watering Wisdom: That rule about watering when the top inch of soil feels dry is your best defense against both drought stress and root rot. Chrysanthemums hate soggy feet but also suffer when too dry. I check soil moisture first thing in the morning—if it’s dry an inch down, I water deeply at the base, never overhead.
Red chrysanthemums often represent love and deep passion, while yellow ones symbolize joy, happiness, and long life. They’re perfect for brightening gardens or gifting to convey heartfelt emotions!
Plant chrysanthemums in early spring or fall for the best results. This timing allows roots to establish before extreme heat or cold, ensuring lush red and yellow blooms during their peak season.
Water them regularly but avoid soggy soil, and provide full sunlight. Prune leggy stems and fertilize lightly every few weeks. Watch for pests like aphids—early treatment keeps your flowers thriving!
Yellow leaves often signal overwatering, poor drainage, or nutrient deficiencies. Check soil moisture and ensure proper drainage. A balanced fertilizer can help restore their vibrant green color.
Yes! Choose dwarf varieties and place them near a sunny window. Ensure good air circulation and consistent watering. With care, you can enjoy their red and yellow blooms indoors too!