
Beautiful Plants For Your Interior
Beautiful Plants For Your Interior
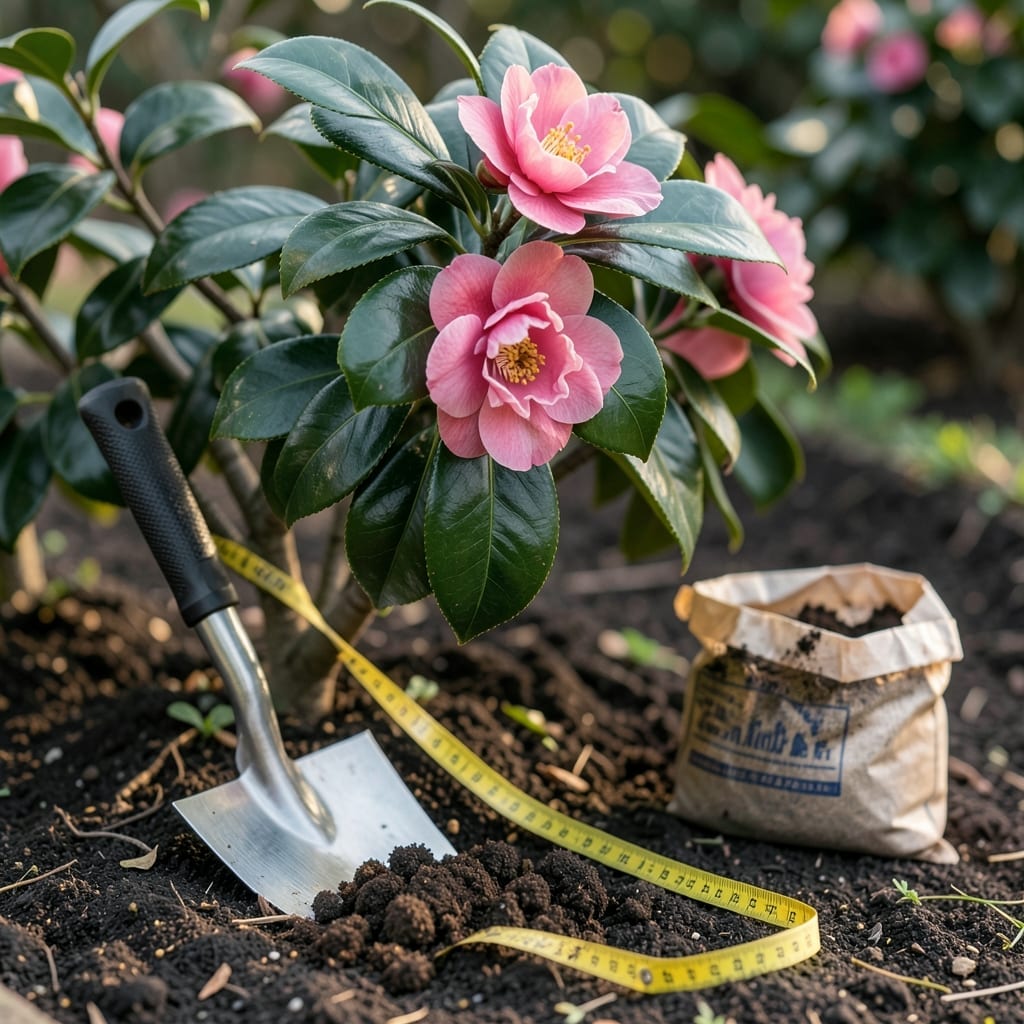
Creating a lush, privacy-providing Camellia 🌸 hedge starts with one critical decision: proper spacing. Get it wrong, and you’ll face gaps, uneven growth, or overcrowded plants struggling for sunlight.
I’ve seen too many gardeners plant their Camellias too close, only to regret it later. The right spacing ensures dense foliage without stunting growth. It’s the foundation of a thriving hedge.
Whether you’re planting a short border or a tall privacy screen, spacing determines how quickly your hedge fills in. And trust me, a little planning now saves years of frustration later.
Let me walk you through the perfect approach to spacing your Camellia hedge for maximum density and health. The results will speak for themselves.
Getting your camellia hedge spacing right ensures a lush, gap-free privacy screen. I’ve seen too many gardens where plants were too close or too far apart, leading to weak growth or bare spots. Proper spacing depends on the mature size of your camellia variety. 🌿
For dwarf camellias like ‘Yuletide,’ space plants 3 feet apart. This allows room for their compact growth while ensuring dense foliage. If you plant them closer, they’ll compete for sunlight and nutrients. ✂️
| Variety | Mature Width | Spacing |
|---|---|---|
| Dwarf (Sasanqua) | 3-4 ft | 3 ft apart |
| Standard (Japonica) | 5-7 ft | 4-5 ft apart |
| Large (Reticulata) | 8-10 ft | 5-6 ft apart |
For standard camellias like ‘Kramer’s Supreme,’ I recommend 4-5 feet between plants. This gives them enough space to reach their 5-7 foot width without crowding. Planting too close can lead to disease issues from poor airflow. 🌱
If you’re using large camellia varieties such as ‘Lady Vansittart,’ aim for 5-6 feet apart. These can grow 8-10 feet wide, so they need more room. Remember, proper spacing also reduces pruning later on. ☀️
When planting near a fence or wall, keep camellias 2-3 feet away. This prevents roots from damaging structures and allows for easy maintenance. I’ve seen roots lift pavers when planted too close! 🌿
For a double-row hedge, stagger the plants in a zigzag pattern. Space rows 3-4 feet apart and plants 4-5 feet apart within each row. This creates a thicker, fuller hedge faster. ✂️
Don’t forget to consider the desired hedge height. If you want a 6-foot-tall hedge, space plants closer to encourage upward growth. For a lower hedge, slightly wider spacing works well. 🌳
Finally, always check the mature size on the plant tag. Some camellias grow wider than tall, so adjust spacing to match their natural shape. This small step can save you years of frustration! 🌷
I’ve seen many gardeners plant their Camellia hedges too close together, thinking it’ll create instant privacy. This often leads to stunted growth and poor air circulation.
Another common error is spacing plants too far apart, which results in gaps that take years to fill. The key is finding the sweet spot for your variety.
⚠️ Avoid These Spacing Errors:
Planting too close causes overcrowding and disease risk.
Spacing too far leads to slow, patchy hedge formation.
Ignoring mature width results in costly transplanting later.
I always recommend measuring the mature width of your Camellia variety before planting. For example, Sasanqua types typically need 3-4 feet between plants.
Another mistake is neglecting to account for soil preparation. Camellias thrive in acidic, well-draining soil, so test and amend your soil before planting.
Don’t forget to consider the hedge’s purpose. A privacy screen may need tighter spacing than a decorative border. Plan accordingly.
Finally, remember that pruning affects spacing. Regular trimming encourages bushier growth, helping your hedge fill in faster. ✂️