
Beautiful Plants For Your Interior
Beautiful Plants For Your Interior
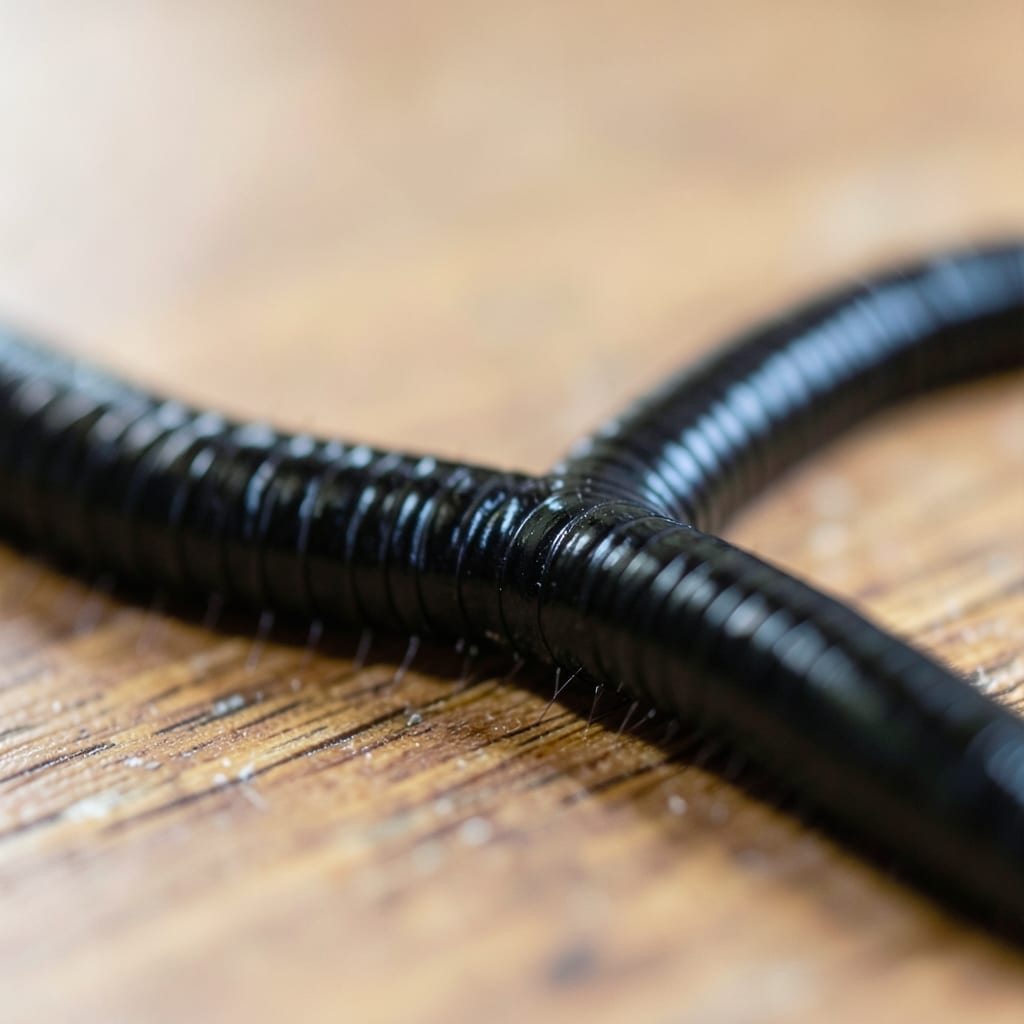
Spotted a black worm slithering across your floor? Don’t panic—this happens more often than you think. I’ve dealt with my share of unexpected houseguests, and these little intruders usually have a simple explanation.
They’re typically harmless soil dwellers that hitch a ride indoors on plants, shoes, or even pets. The most common culprits are earthworms or millipedes, both of which prefer damp, dark spaces. Identifying them is the first step to solving the problem.
Removal starts with locating their entry point and reducing moisture. A few targeted fixes usually send them packing for good. No fancy equipment required—just some observation and basic household items.
You’ll sleep easier knowing your home is worm-free. Let’s break down exactly what you’re dealing with and how to handle it.
Black worms in your house are often a sign of underlying moisture or organic decay. Here’s why they appear:
These pests thrive in damp environments. Leaky pipes, poor ventilation in basements, or excess humidity can create ideal breeding grounds. Drain fly larvae (often mistaken for black worms) hatch in moist, organic-rich areas like sink drains or shower grates.
Black worms feed on decomposing plant material. Potted plants with overwatered soil, rotting wood, or accumulated leaf litter near entry points attract them. Earthworms or millipedes may wander indoors if their outdoor habitat is disturbed.
Cracks in foundations, gaps under doors, or open windows allow worms to migrate inside, especially after heavy rain. They may also hitchhike on firewood, mulch, or potted plants brought indoors.
Kitchen scraps, pet food left uncovered, or unsealed trash bins provide sustenance. Fruit flies or fungus gnats lay eggs in these areas, leading to larval infestations that resemble tiny black worms.
Dealing with black worms in your house can be unsettling, but don’t worry—there are simple, effective ways to tackle the problem. Below are targeted solutions based on the most common causes, along with prevention tips to keep them from coming back.
Black worms thrive in damp environments. Fix leaks under sinks, in basements, or around pipes. Use a dehumidifier in humid areas like bathrooms or crawl spaces. Pro tip: Seal cracks in walls or floors where moisture might seep in. Keep areas well-ventilated to discourage their return.
Worms feed on decaying plant matter, food scraps, or even dust bunnies. Vacuum and mop floors regularly, especially in kitchens and storage areas. Focus on: under appliances, behind furniture, and in pantries. Store food in airtight containers to eliminate their food source.
Inspect your home for tiny gaps around windows, doors, or utility lines. Use caulk or weatherstripping to seal these entry points. Check foundation vents and ensure screens are intact. Bonus: Install door sweeps to block pests at ground level.
If worms are migrating from outside, treat your yard. Remove leaf litter, mulch, or standing water near your home’s foundation. Natural fix: Sprinkle diatomaceous earth (food-grade) along entry points—it’s harmless to humans but dehydrates worms.
Prevention tip: 💡 Schedule seasonal deep cleans and reapply seals as needed. A little maintenance goes a long way in keeping your home worm-free!
Most black worms found indoors are harmless. They don’t bite, sting, or transmit diseases. However, some larvae can trigger allergies in sensitive individuals.
Drain fly larvae are tiny, 1/4-inch long, and thrive in moist drains. They’re dark with a slightly fuzzy texture. Check sink and shower drains if you spot them.
Remove moisture sources first—fix leaks and use a dehumidifier. Then vacuum them up and seal entry points with caulk. 24 hours of dry conditions usually forces them out.