
Beautiful Plants For Your Interior
Beautiful Plants For Your Interior
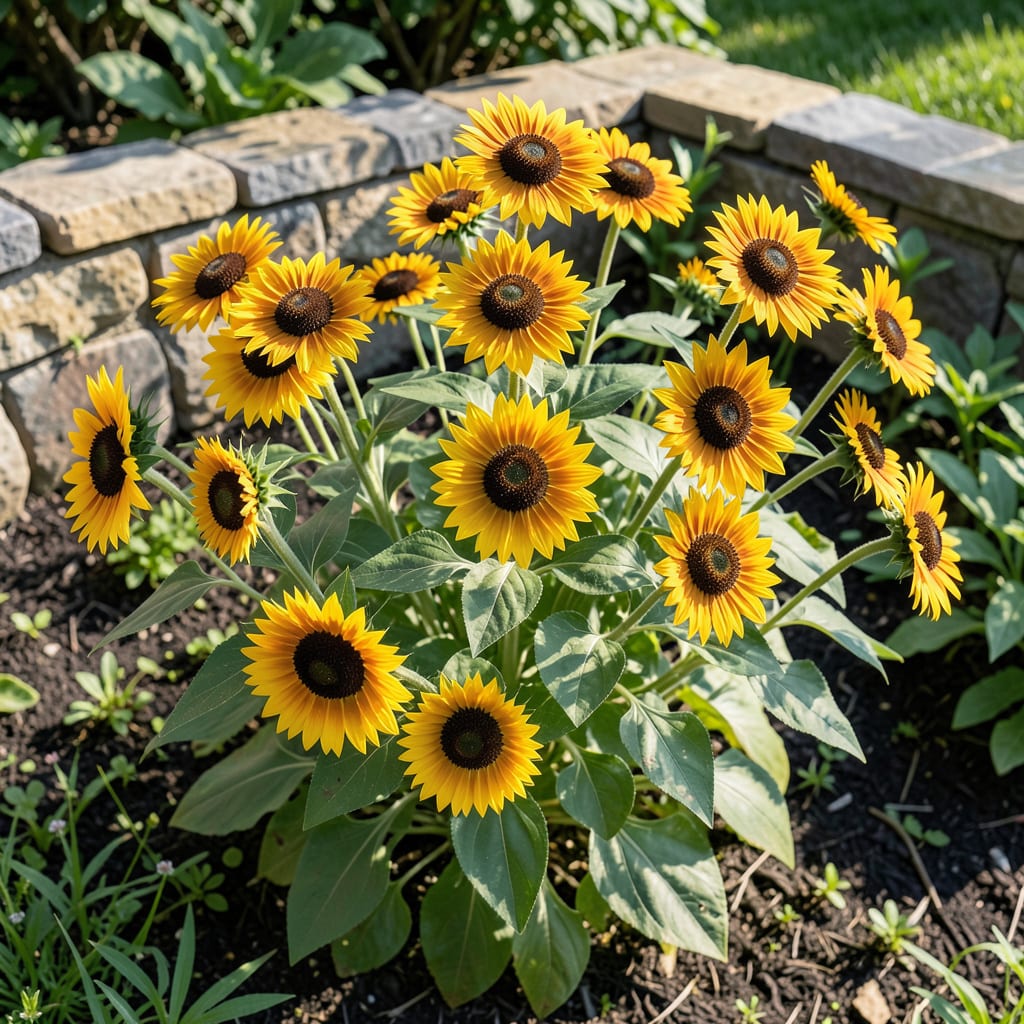
Golden blooms that keep coming back, year after year. Black Eyed Susan shrubs bring that sunshine-yellow color to your garden with almost no fuss from you.
I’ve watched mine thrive in full sun with minimal water once established, and they still look stunning through three seasons. Plant them once, and you’ll get reliable color with barely any maintenance.
📚 In This Guide
Here is my proven method for establishing these vibrant shrubs with minimal fuss and maximum impact.
Select a site with full sun to partial shade, as this species thrives with at least 6 hours of direct sunlight daily. I always test the spot by observing sunlight patterns throughout the day—morning sun with afternoon shade works surprisingly well in hotter climates.
Avoid low-lying areas where water pools after rain. Black Eyed Susans despise soggy roots, so ensure the location has well-draining soil. If your soil is heavy clay, amending with compost will dramatically improve drainage before planting.
Dig a hole that is twice as wide as the root ball but no deeper. The extra width loosens surrounding soil, allowing roots to establish quickly. I use the root ball itself as a measuring guide—placing it in the hole to check depth is foolproof.
Rough up the sides of the hole with your shovel. This simple step breaks through compacted soil layers, giving roots an easier path outward. Mix a handful of compost into the removed soil to give your new shrub an initial nutrient boost.
Place the shrub in the hole, ensuring the top of the root ball sits 1 inch above the surrounding soil level. This slight elevation prevents water from pooling around the stem. Backfill with your amended soil, pressing gently to eliminate air pockets.
Water deeply immediately after planting until the soil is saturated and water pools briefly at the surface. This initial soaking settles the soil around roots and removes air gaps. I always create a 3-inch high water ring around the base to help direct moisture to the roots during the first few weeks.
Apply a 2-3 inch layer of organic mulch around the base, keeping it 3 inches away from the stem to prevent rot. This conserves moisture and suppresses weeds that compete with your new shrub. I prefer shredded bark as it decomposes slowly while improving soil structure.
Water 2-3 times weekly for the first month, then taper to once weekly as the plant establishes. You’ll know it’s time to water when the top inch of soil feels dry. After the first growing season, these shrubs become remarkably drought-tolerant.
After the first blooming season, prune back the shrub by one-third in early spring before new growth appears. This encourages bushier growth and more abundant blooms. I always use sharp bypass pruners for clean cuts that heal quickly.
Remove any dead or diseased branches throughout the year as you notice them. This isn’t just about appearance—it prevents potential problems from spreading. The plant will reward you with vigorous new growth within weeks of proper pruning.
These insights will help you avoid the most common pitfalls when establishing your shrubs.
Sunlight Strategy: The requirement for at least 6 hours of direct sunlight daily isn’t just a suggestion—it’s critical for vibrant blooms. I learned the hard way that morning sun with afternoon shade works best in hotter climates to prevent scorching.
Drainage Detail: Black Eyed Susans absolutely cannot tolerate soggy roots. When testing your planting site, pour a bucket of water into your proposed hole and watch how quickly it drains. If it’s still standing after 30 minutes, you’ll need to amend the soil with compost or choose a different location.
Planting Precision: That 1 inch elevation above soil level in Step 3 might seem minor, but it’s your first defense against stem rot. I’ve seen too many gardeners lose plants by planting too deep—don’t make this common mistake.
Watering Wisdom: The 3-inch water ring mentioned in Step 3 is a game-changer during establishment. It funnels water directly to the root zone where it’s needed most, rather than letting it run off. After the first month, taper to once weekly watering as directed.
Water it weekly during the first growing season, then reduce to occasional watering once established. Prune in late winter or early spring to encourage new growth, and fertilize lightly in spring. Full sun and well-drained soil are ideal.
This shrub typically blooms from mid-summer to early fall, producing vibrant golden-yellow flowers with dark centers. Deadheading spent blooms can encourage additional flowering.
Consider Rudbeckia fulgida (perennial black eyed Susan) for a similar look, or Echinacea (cone flowers) for drought-tolerant, pollinator-friendly blooms. Both thrive in similar conditions.
Lack of flowers may be due to insufficient sunlight, over-fertilizing (especially with high nitrogen), or pruning at the wrong time. Ensure it gets 6+ hours of sun and avoid heavy pruning after buds form.
Yes! While no plant is 100% deer-proof, Rudbeckia hirta (black eyed Susan) is often avoided by deer due to its rough foliage, making it a great choice for deer-prone gardens.
