
Beautiful Plants For Your Interior
Beautiful Plants For Your Interior
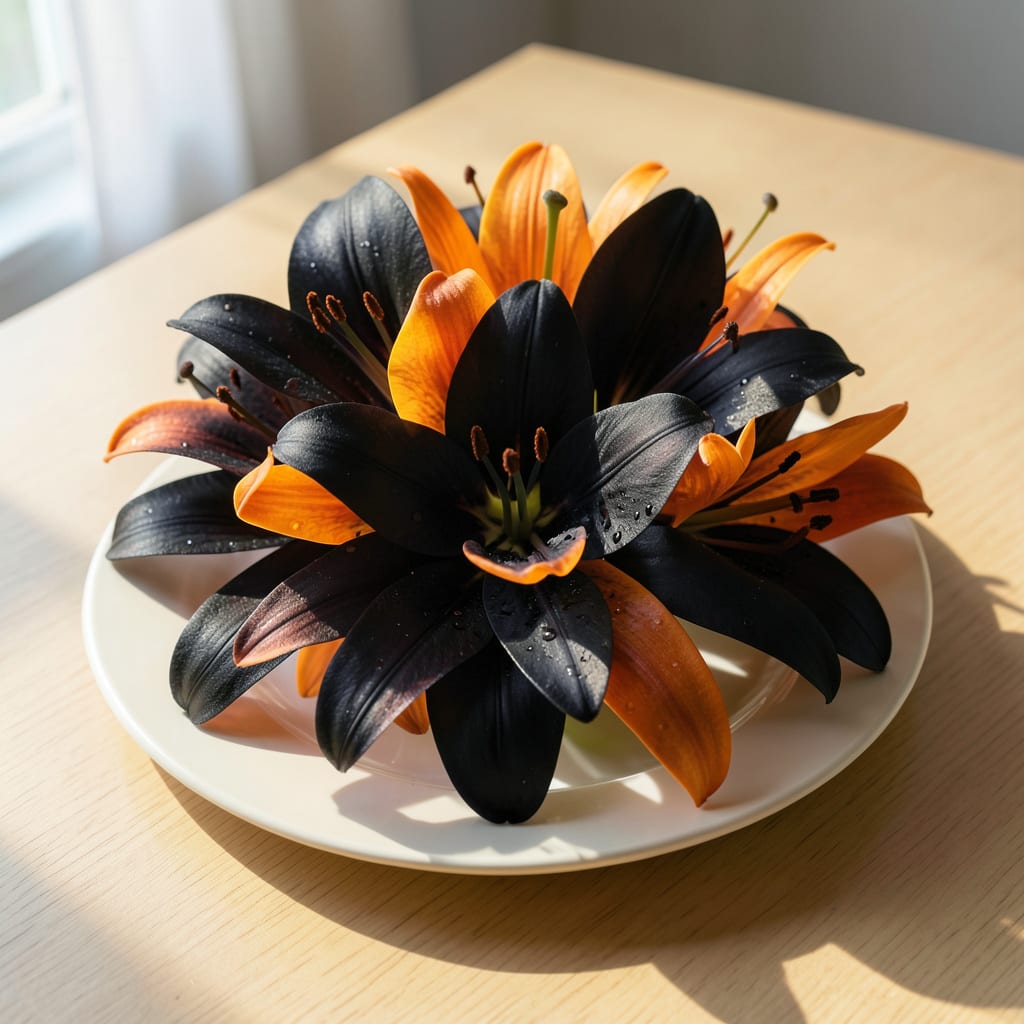
That first glimpse of deep purple-black petals with fiery orange centers stopped me in my tracks. These lilies create garden drama that neighbors actually stop to photograph.
They thrive in full sun with well-draining soil, and the bulbs multiply yearly with minimal effort. By midsummer, you’ll have bold, 3-4 foot stems loaded with blooms that look like they belong in a painting.
📚 In This Guide
This method ensures bold, healthy blooms that create garden drama every season.
Choose a spot with full sun to partial shade—these lilies thrive with at least 6 hours of direct sunlight daily. Avoid low-lying areas where water pools, as soggy soil rots bulbs quickly. Well-draining soil is non-negotiable; if your garden has heavy clay, amend with compost or create raised beds.
Real talk: morning sun with afternoon shade works wonders in hotter climates. You’ll see stronger stems and more vibrant colors when plants aren’t scorched by midday heat. Test drainage by digging a 12-inch hole and filling it with water—if it drains within 1 hour, you’re good to go.
Loosen the soil to a depth of 12-15 inches and mix in 2-3 inches of organic matter, like aged compost or well-rotted manure. Lilies prefer slightly acidic to neutral soil (pH 6.0-7.0). A soil test kit removes the guesswork—I learned the hard way that assuming your soil is perfect usually ends in disappointment.
Work the amendments thoroughly into the native soil so there’s no sharp line between layers. This prevents water from pooling at the interface. If your soil is sandy, add a bit of peat moss to improve moisture retention without sacrificing drainage.
Plant bulbs 4-6 inches deep (about 3 times the bulb’s height) and space them 8-12 inches apart. Deeper planting protects bulbs from temperature swings, while proper spacing ensures good air circulation, which wards off fungal diseases.
Place the bulb with the pointed end facing upward. If you’re unsure which end is up, plant it on its side—the shoot will find its way. Water immediately after planting to settle the soil and eliminate air pockets around the bulb. Don’t fertilize yet; wait until shoots emerge in spring.
Water deeply after planting, then provide 1 inch of water weekly during the growing season, especially if rainfall is scarce. Lilies are drought-tolerant once established, but consistent moisture during the first season helps roots establish strongly.
Apply a 2-3 inch layer of organic mulch, like shredded bark or straw, around the plants. This retains moisture, suppresses weeds, and insulates the soil. Keep mulch 1 inch away from stems to prevent rot. You’ll notice fewer weeds and more vigorous growth within a few weeks.
Deadhead spent flowers to prevent seed formation, which redirects energy toward bulb growth and next year’s blooms. However, leave the foliage intact until it yellows naturally in fall—this is when the bulb stores energy for the next season. Cutting it back too early results in weaker plants.
After flowering, apply a balanced, slow-release fertilizer to encourage reblooming. Divide clumps every 3-4 years in early fall if blooms diminish or the center of the clump dies out. This rejuvenates the planting and keeps your display looking its best.
These insights will help you avoid common pitfalls and ensure your lilies thrive.
Sunlight Strategy: Those 6 hours of direct sunlight daily are non-negotiable for vibrant blooms. In hotter climates, morning sun with afternoon shade prevents scorching while still delivering the energy these lilies need. I’ve seen plants struggle in full shade—they produce weak stems and pale flowers.
Drainage Test: The 1-hour drainage test in Step 1 is your best insurance against bulb rot. Dig that 12-inch hole, fill it with water, and watch the clock. If water lingers beyond an hour, amend with compost or consider raised beds. Confession: I skipped this once and lost half my bulbs to rot.
Planting Depth: Planting bulbs 4-6 inches deep—about 3 times the bulb’s height—protects them from temperature extremes. Any shallower, and they’re vulnerable to freezing; deeper, and they may struggle to emerge. The pointed-end-up rule is simple but critical for proper growth.
Mulching Technique: That 2-3 inch layer of organic mulch in Step 4 does triple duty: it retains moisture, suppresses weeds, and insulates roots. Just remember to keep it 1 inch away from stems to prevent rot. Shredded bark or straw work beautifully, and you’ll notice the difference in soil temperature consistency.
Black and orange lilies thrive in well-draining soil and full sun to partial shade. Water moderately, keeping the soil moist but not soggy. Fertilize monthly during the growing season for vibrant blooms.
These lilies typically bloom in mid to late summer, adding bold color to your garden. Plant bulbs in spring or fall for the best results the following season.
Pair with white or yellow flowers like daisies or daylilies for contrast. Ornamental grasses or purple salvia also complement their dramatic hues beautifully.
Brown flowers may indicate overwatering, poor drainage, or fungal disease. Reduce watering, ensure proper airflow, and remove affected blooms to prevent spread.
No, deer often find lilies irresistible. Use fencing or repellents to protect your plants if deer are common in your area.
