
Beautiful Plants For Your Interior
Beautiful Plants For Your Interior
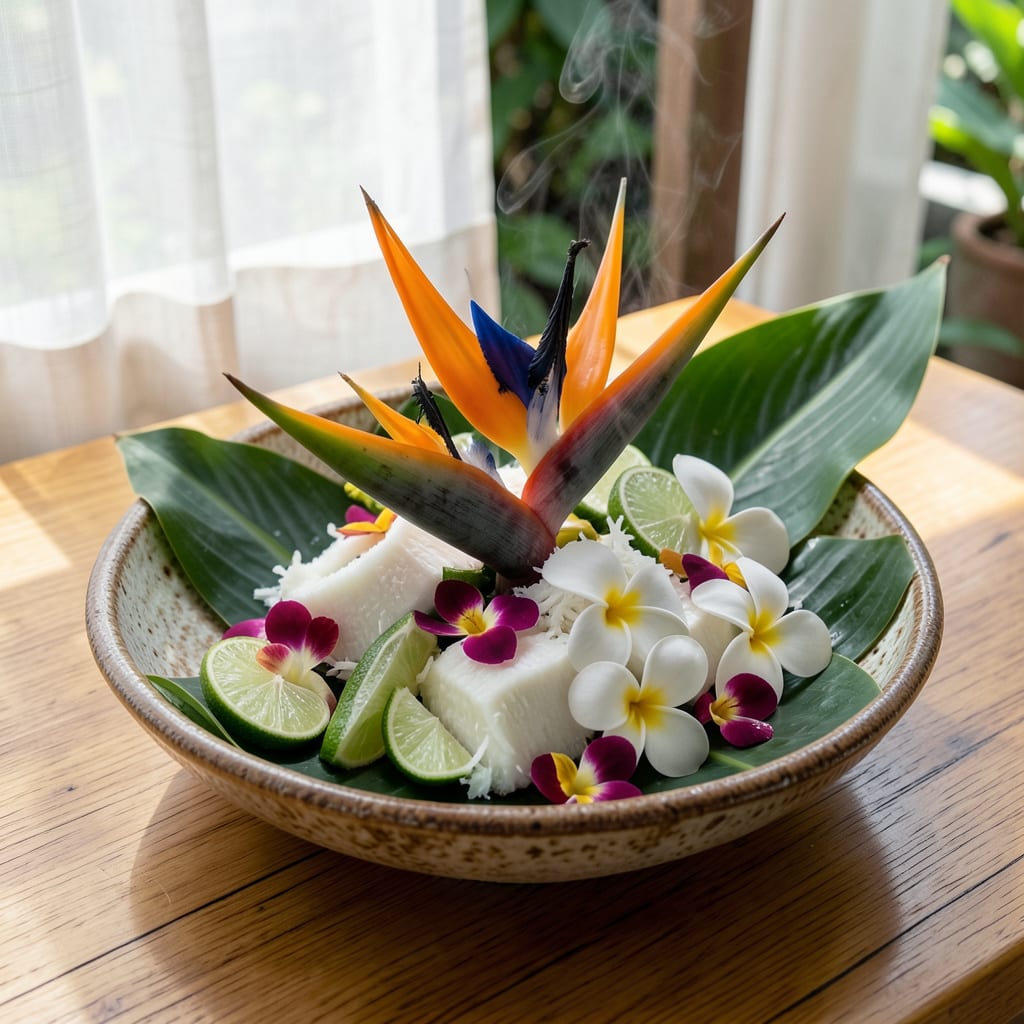
This plant brings the tropics to your backyard with its dramatic, bird-like blooms. I fell in love with mine the first time I saw those vibrant orange and purple flowers against the glossy green leaves.
It thrives with full sun and well-draining soil, and once established, it’s surprisingly drought-tolerant. You’ll get exotic beauty with minimal fuss—perfect for adding a touch of paradise to any garden.
📚 In This Guide
This method ensures your tropical beauties establish strong roots and thrive in their new home.
Select a spot with full sun to partial shade—Bali Bird of Paradise prefers 6-8 hours of direct sunlight daily but tolerates afternoon shade in hotter climates. The soil should be well-draining and rich in organic matter. I always test drainage by digging a 12-inch hole and filling it with water; if it empties within 2-3 hours, you’re good to go.
Avoid low-lying areas where water pools after rain. These plants hate soggy roots, and poor drainage leads to root rot faster than you’d expect. If your soil is heavy clay, amend it with compost or consider planting in raised beds for better aeration.
Dig a hole that’s twice as wide and just as deep as the root ball. This gives the roots room to spread out without circling, which is critical for long-term growth. I loosen the soil at the sides of the hole with a garden fork to encourage outward root growth.
If your soil is poor, mix in a generous amount of well-aged compost or organic matter. This improves fertility and drainage. Place the plant in the hole to check the depth—the top of the root ball should sit 1 inch above the surrounding soil to allow for settling.
Gently remove the plant from its container and loosen any circling roots with your fingers. This step is often overlooked, but it prevents girdling roots that can strangulate the plant as it matures. Position the plant in the hole and backfill with the amended soil, tampling lightly as you go to eliminate air pockets.
Create a 3-inch-high watering ring around the base of the plant with the remaining soil. This helps direct water to the roots where it’s needed most. Water deeply immediately after planting to settle the soil and hydrate the roots—you’ll see the soil level drop slightly as air pockets collapse.
Water thoroughly after planting, giving the plant 1-2 inches of water to saturate the root zone. For the first 2-3 weeks, keep the soil consistently moist but not waterlogged. I check the soil daily by sticking my finger 2 inches deep—if it feels dry, it’s time to water.
Apply a 2-3 inch layer of organic mulch around the base, keeping it 6 inches away from the stem to prevent rot. Mulch conserves moisture, suppresses weeds, and regulates soil temperature. You’ll notice the plant establishes faster with this simple step.
After planting, keep an eye out for wilting or yellowing leaves, which can indicate transplant shock. If this happens, don’t panic—it’s normal. Just ensure the plant receives consistent moisture and protection from harsh afternoon sun for the first week.
Begin a regular watering schedule once the plant shows new growth, typically within 3-4 weeks. Reduce watering frequency as the plant establishes, but increase it during dry spells. You’ll know it’s thriving when you see new leaves unfurling and the stem thickening.
Planting success often comes down to a few critical details that separate thriving plants from struggling ones.
Sunlight Strategy: The specified 6-8 hours of direct sunlight is non-negotiable for optimal growth. In hotter climates, that afternoon shade tolerance becomes crucial—it prevents leaf scorch while still delivering the light energy these tropical plants crave. I’ve seen plants languish in full shade that could have flourished with just a few hours more sun.
Drainage Test: That 12-inch hole test mentioned in Step 1 is your best insurance against root rot. If water doesn’t drain within the 2-3 hours, don’t plant yet. Amend the soil with compost or consider raised beds—this plant will thank you with faster establishment and fewer problems down the road.
Planting Depth: The 1 inch above soil level positioning in Step 2 isn’t arbitrary. It accounts for settling, which can bury the stem too deep if you plant flush with the ground. This small elevation prevents stem rot and encourages proper root development outward rather than circling in the hole.
Watering Ring: That 3-inch-high watering ring in Step 3 is a game-changer for directing moisture exactly where it’s needed. Without it, water tends to run off rather than soaking into the root zone. It’s a simple step that makes a noticeable difference in how quickly your plant establishes.
Yes! It thrives in well-draining soil, full sun to partial shade, and regular watering. Once established, it’s quite drought-tolerant, making it low-maintenance for gardeners.
This tropical beauty typically blooms from late spring to early fall, producing striking orange and blue flowers. Warm climates may see blooms year-round!
Absolutely! Use a large pot with drainage holes, and place it in a sunny spot. Just ensure it’s protected from frost in colder regions.
Check for insufficient light, overwatering, or nutrient deficiencies. Fertilize with a balanced feed during growing season to encourage blooms.
