
Beautiful Plants For Your Interior
Beautiful Plants For Your Interior
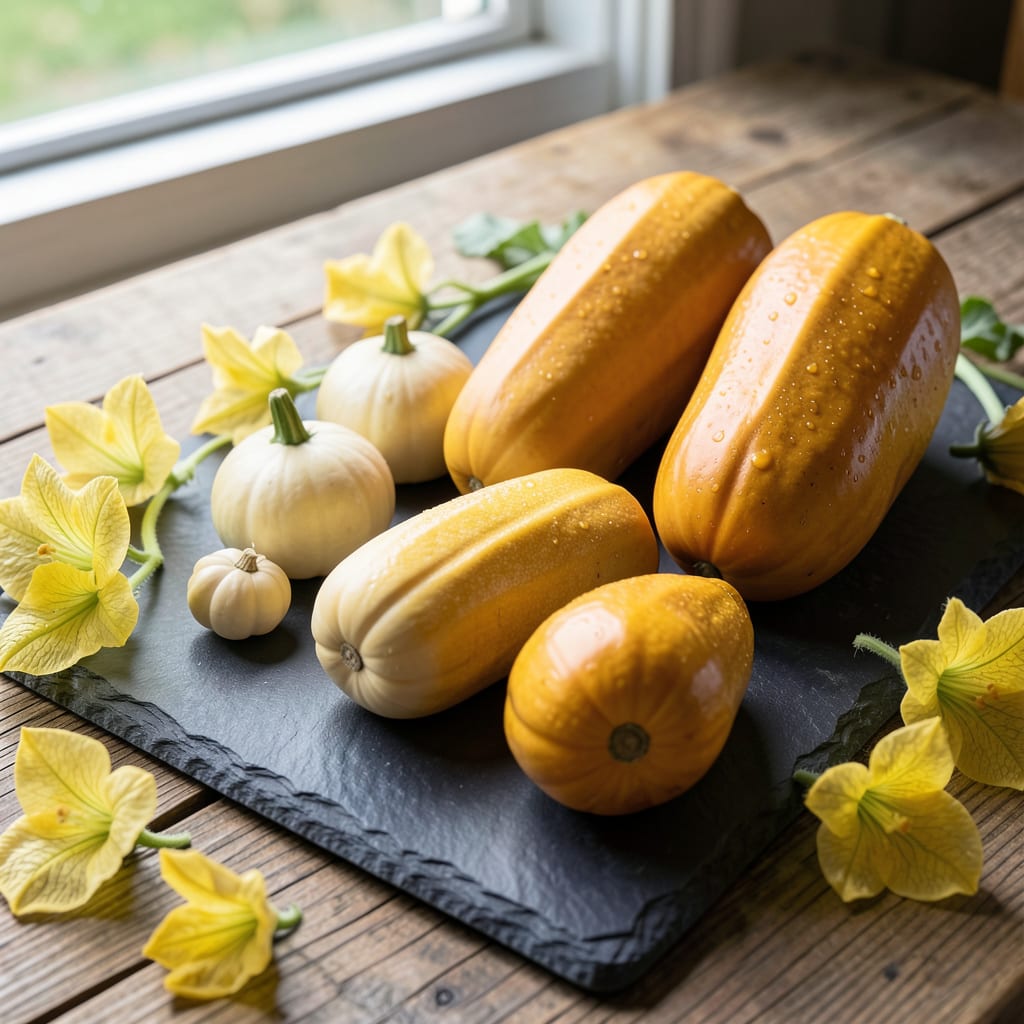
Watching yellow squash progress from seed to harvest is like nature’s time-lapse. I still remember the first time I spotted those bright blooms—knew the real show was just beginning.
From tiny sprouts to sprawling vines, each stage has its own rhythm. With the right care at the right time, you’ll be picking tender squash in 45-55 days. No guesswork, just steady growth.
📚 In This Guide
Track each phase closely and you’ll know exactly when to expect flowers, fruits, and harvest time.
Squash seeds sprout quickly when soil stays consistently at 70-85°F. I plant seeds 1 inch deep and see the first green shoots poking through in 5-10 days. This is when the seed leaves (cotyledons) unfold—they look heart-shaped and aren’t true leaves yet.
Keep the soil evenly moist but not soggy. You’ll know you’re doing it right when the surface feels like a wrung-out sponge. If the soil dries out completely at this stage, the fragile roots can’t recover. Watch for the first true leaves to appear after the cotyledons.
Once true leaves emerge, the plant shifts into rapid growth. In 2-3 weeks, you’ll have a bushy plant with several large leaves. The stems thicken and vines begin spreading—some varieties can grow 6 inches per day in ideal conditions.
This is the moment that matters: check daily for pests like squash bugs hiding under leaves. I handpick any I find (drop them in soapy water). The plant needs 1 inch of water weekly now, delivered at soil level to avoid wetting the leaves, which invites powdery mildew.
About 4-6 weeks after planting, bright yellow flowers appear. Male flowers come first on long stems, followed by female flowers with tiny squash at their base. Bees usually handle pollination, but I give nature a hand by using a paintbrush to transfer pollen.
Flowers open early in the morning and close by afternoon. You’ll see pollination was successful when the female flower’s base begins swelling within a day. If flowers drop without forming fruit, it typically means poor pollination—try hand-pollinating the next morning.
The tiny squash at the flower base grows rapidly, often reaching harvest size in 4-8 days after pollination. Yellow squash is ready when the skin is firm, the color is bright yellow, and the stem is still soft enough to pierce with a fingernail.
Check plants every other day during peak production. I use a knife to cut the stem rather than twisting, which can damage the vine. Harvesting regularly encourages more fruit production—if you leave mature squash on the vine, the plant slows new growth.
As temperatures cool in early fall, the plant’s productivity slows. Leaves may yellow and vines begin to die back after 8-12 weeks of active growth. This is normal—squash plants have a finite lifespan.
Remove any remaining fruit if it’s not maturing properly. I pull up the entire plant when the vines are completely brown and dry, then compost the material (unless it showed signs of disease). This clears space for fall crops and prevents pest overwintering.
Here’s what I’ve learned from seasons of growing squash—small details make a big difference.
Temperature Matters: Soil temperature is critical in Step 1. If your soil isn’t consistently at 70-85°F, germination can take longer than the 5-10 days mentioned. Use a soil thermometer to check—cold soil delays sprouting, and seeds may rot if it’s too wet and chilly.
Watering Wisdom: In Step 2, the 1 inch of water weekly rule is a guideline, not a rigid schedule. Check soil moisture by sticking your finger in—if the top inch is dry, it’s time to water. Avoid overhead watering to prevent mildew, as wet leaves are a powdery mildew magnet.
Pollination Pro Tip: During Step 3, if you notice flowers dropping without forming squash, hand-pollinating can save your harvest. Use a small paintbrush to transfer pollen from male to female flowers in the early morning when they’re open. Bees do this naturally, but sometimes they need a little help.
Harvest Timing: Step 4’s 4-8 days from pollination to harvest can vary by variety and weather. Check daily once flowers appear—yellow squash grows fast and can go from perfect to oversized in just a day or two. The fingernail test for the stem is the most reliable sign it’s ready.
Yellow squash typically matures in 45-55 days from planting. Varieties like ‘Straightneck’ or ‘Crookneck’ reach harvest size quickly, but check seed packets for exact timelines.
Harvest when squash is 4-6 inches long, firm, and glossy. The skin should be tender enough to pierce with a fingernail. Overripe squash becomes tough and seedy.
Lack of pollination is a common issue. Ensure bees or other pollinators visit your garden, or hand-pollinate flowers. Also, check for proper sunlight (6-8 hours/day) and consistent watering.
Yes! Choose compact or bush varieties and use a large container (at least 5 gallons) with well-draining soil. Provide support like a trellis to save space and improve air circulation.
Space plants for airflow, water at the base (not leaves), and avoid overhead irrigation. Apply fungicide or a DIY mix of water and baking soda (1 tsp/gallon) if signs appear.
