
Beautiful Plants For Your Interior
Beautiful Plants For Your Interior
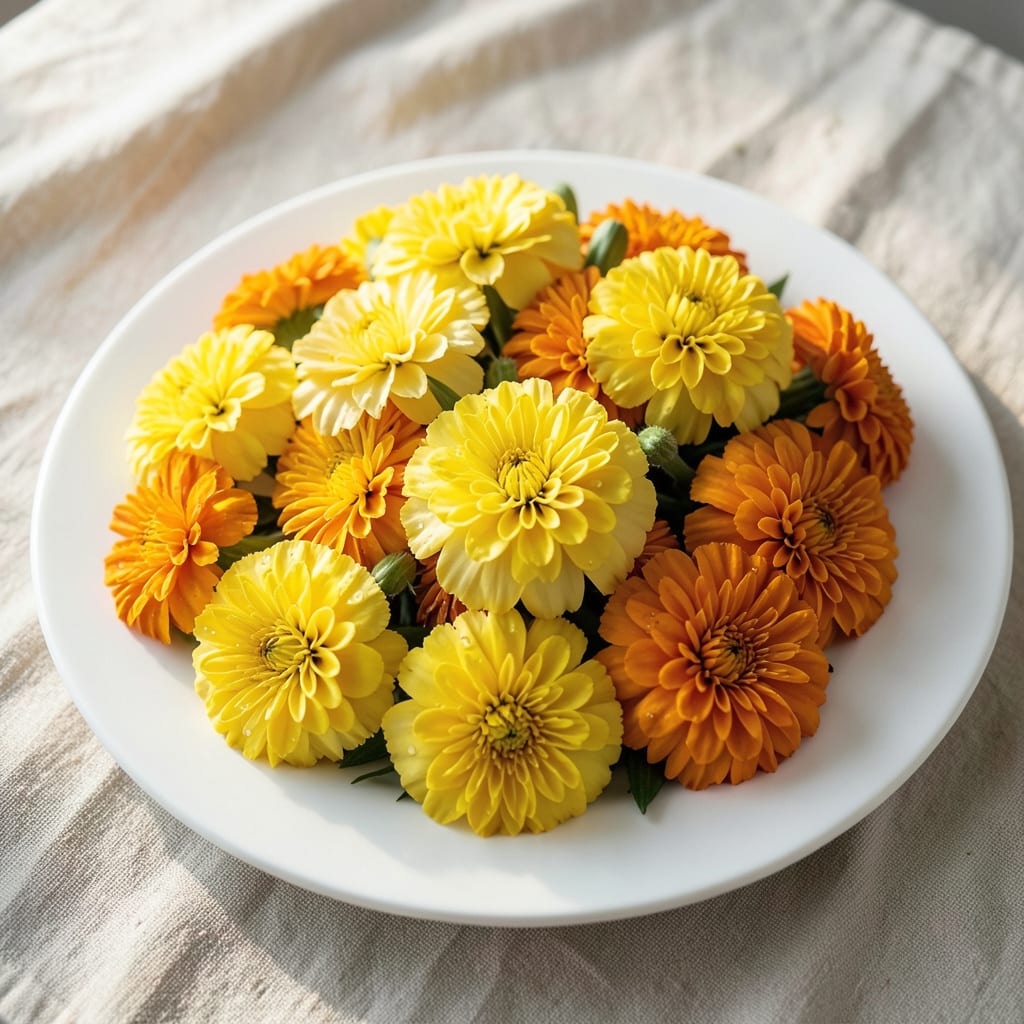
Sun-kissed blooms that keep bees buzzing all season. I’ve filled my garden with these cheerful flowers, and they’re the easiest way to attract pollinators while repelling pests naturally.
They thrive in full sun with minimal care—just plant, water, and watch them transform your space into a vibrant haven for butterflies and beneficial insects.
📚 In This Guide
Here’s my foolproof method for cultivating vibrant blooms that pollinators can’t resist.
Choose a spot with full sun exposure—marigolds thrive with at least 6-8 hours of direct sunlight daily. The more sun they receive, the more abundant and vivid the yellow and orange blooms will be. I always test the location by observing where shadows fall throughout the day.
Avoid low-lying areas where water might pool after rain. Marigolds prefer well-draining soil, and soggy roots will rot quickly. If your garden has heavy clay, consider planting in raised beds or containers instead.
Work the soil to a depth of 8-10 inches, breaking up any compacted areas. Marigolds aren’t particularly fussy about soil quality, but they perform best in loose, fertile ground. I mix in a 2-inch layer of compost to provide nutrients without over-fertilizing.
Test the soil pH if possible—marigolds prefer a slightly acidic to neutral range of 6.0-7.0. If your soil is too alkaline, amend it with sulfur or peat moss. This ensures the plants can absorb nutrients efficiently.
For direct sowing, plant seeds ¼ inch deep and 1 inch apart in rows spaced 12 inches apart. If using transplants, space them 8-10 inches apart to allow for air circulation, which prevents fungal diseases. I always water the soil before planting to prevent disturbing the seeds.
After planting, lightly firm the soil to ensure good seed-to-soil contact. This helps with germination, which typically occurs within 5-7 days when soil temperatures are 70-75°F. Keep the soil consistently moist but not waterlogged during this period.
Once established, marigolds are quite drought-tolerant. Water deeply once a week, allowing the top 1 inch of soil to dry out between waterings. This encourages deep root growth. I water at the base of the plants to keep foliage dry and prevent disease.
Avoid over-fertilizing, which can lead to lush foliage but fewer blooms. A light application of balanced fertilizer (like 10-10-10) every 4-6 weeks is sufficient. Deadhead spent blooms regularly to encourage continuous flowering throughout the season.
Pinch back the growing tips when plants are about 6 inches tall to promote branching. This results in bushier, more compact plants with more flowers. I use clean, sharp scissors to make a clean cut just above a set of leaves.
Monitor for pests like aphids or spider mites, which can sometimes trouble marigolds. A strong blast of water often dislodges them, but if necessary, treat with insecticidal soap. Regularly removing faded blooms keeps the plants looking tidy and encourages new flower production.
Master these details to ensure your marigolds thrive with vibrant blooms all season long.
The Sunlight Requirement: Those 6-8 hours of direct sunlight daily aren’t just a suggestion—they’re essential for the vivid yellow and orange blooms that attract pollinators. I learned this the hard way when my first attempt in partial shade produced sparse, pale flowers. Test your spot by tracking shadows throughout the day to confirm full sun exposure.
Soil Depth Matters: When working the soil to 8-10 inches deep in Step 2, don’t cut corners. Shallow preparation leads to compacted roots and stunted growth. The 2-inch layer of compost you mix in at this stage provides the nutrient boost marigolds need without overwhelming them with fertilizer later.
Precision Planting: For direct sowing in Step 3, that ¼ inch planting depth is critical—any deeper and seeds may struggle to germinate. The 1 inch apart spacing allows for thinning later, while the 12-inch row spacing ensures proper air circulation. I’ve found that transplant spacing of 8-10 inches apart produces the bushiest plants with the most flowers.
Temperature Timing: Germination within 5-7 days only happens when soil temperatures hit that 70-75°F sweet spot. If your soil is cooler, consider starting seeds indoors or waiting until temperatures rise. This single factor makes the difference between quick sprouting and frustrated waiting.
Plant marigolds in spring after the last frost, when soil temperatures reach at least 60°F. They thrive in warm weather and bloom best with full sun exposure.
Water marigolds deeply once or twice a week, allowing the soil to dry slightly between waterings. Overwatering can lead to root rot, so ensure good drainage.
Yes! Marigolds adapt well to pots. Use well-draining soil and ensure containers have drainage holes. Dwarf varieties like ‘Taishan’ work especially well in smaller spaces.
Yellow leaves may indicate overwatering, poor drainage, or nutrient deficiencies. Check soil moisture and ensure the plants receive balanced fertilizer.
Yes! Consider zinnias, sunflowers, or cosmos. These bright, nectar-rich flowers also attract bees and butterflies while adding vibrant color to your garden.
