
Beautiful Plants For Your Interior
Beautiful Plants For Your Interior
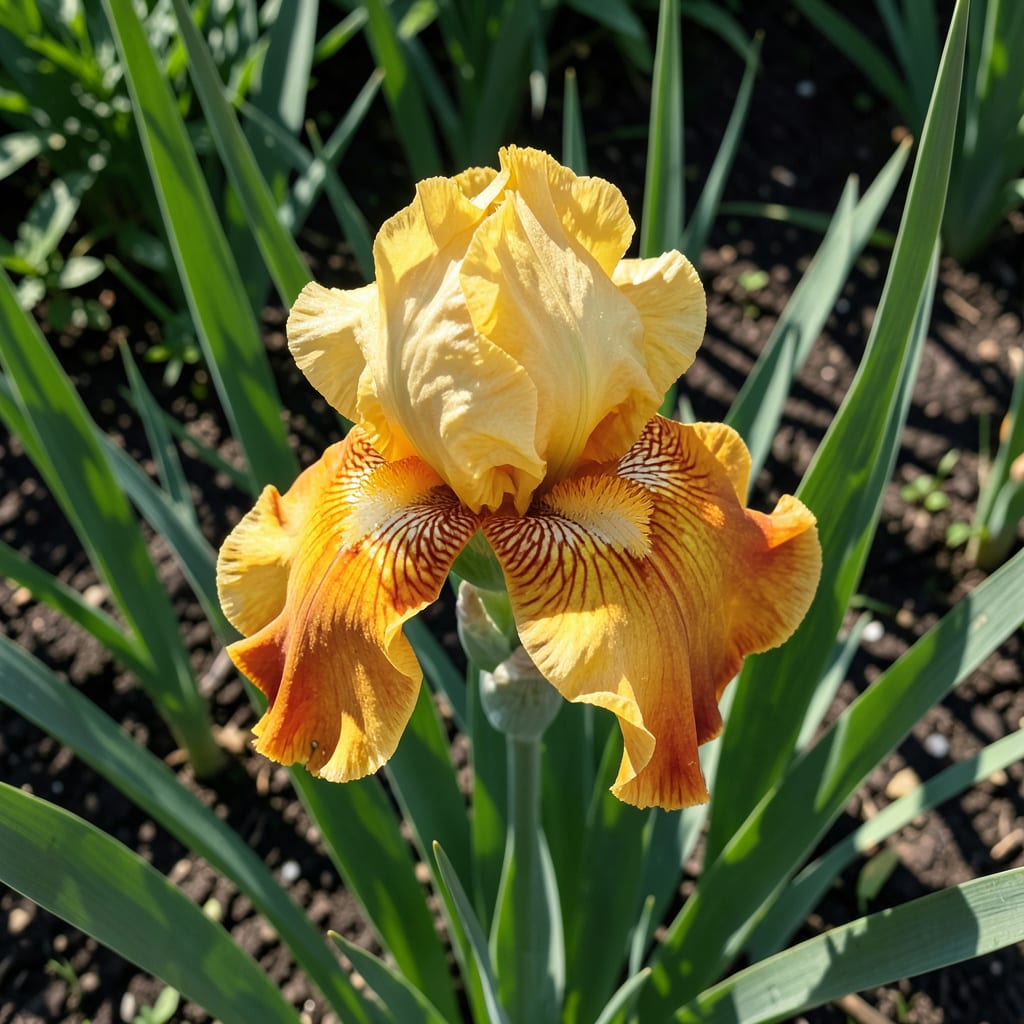
Sun-kissed yellow and fiery orange irises bring a painter’s palette to your garden. I fell for these bicolor stunners after seeing them light up a neighbor’s border with their bold, cheerful blooms.
They thrive in well-drained soil with full sun, rewarding you with weeks of flowers in late spring. Minimal care, maximum impact—just plant the rhizomes shallowly and let them work their magic.
📚 In This Guide
Here’s the method I rely on to establish vibrant bicolor irises that return year after year.
Select a site with full sun to partial shade, as irises thrive with at least 6 hours of direct sunlight daily. Avoid low-lying areas where water pools, as soggy soil will rot the rhizomes. I always test drainage by digging a 1-foot-deep hole, filling it with water, and checking if it drains within 1-2 hours.
The soil should be well-draining and slightly acidic to neutral (pH 6.8-7.0). If your soil is heavy clay, amend it with compost or sand to improve texture. Yellow and orange iris varieties, like ‘Butterscotch Kiss’ or ‘Orange Harvest’, prefer these conditions for optimal color development.
Loosen the soil to a depth of 12-15 inches and mix in a 2-3 inch layer of organic matter like well-rotted compost. This improves fertility and drainage. Remove any weeds or debris that could compete with your irises for nutrients.
Inspect the rhizomes for soft spots or signs of disease before planting. Healthy rhizomes should feel firm and have a slightly dry surface. If you’re dividing existing clumps, use a sharp knife to separate them, ensuring each division has at least one fan of leaves and a portion of the rhizome.
Dig shallow holes, about 2-4 inches deep, and space the rhizomes 12-24 inches apart to allow for growth. Place each rhizome horizontally in the hole, with the top slightly exposed to sunlight. This prevents rot and encourages healthy blooming.
Gently firm the soil around the rhizomes to eliminate air pockets, but avoid pressing too hard. Water lightly after planting to settle the soil, but don’t oversaturate. You’ll see new growth emerge within 2-3 weeks, signaling that the rhizomes have taken root.
Keep the soil evenly moist but not waterlogged for the first 3-4 weeks after planting. Once established, irises are drought-tolerant and only need watering during prolonged dry spells. I water deeply once a week, allowing the soil to dry slightly between sessions.
Apply a 2-inch layer of organic mulch, such as shredded bark or straw, around the plants to retain moisture and suppress weeds. Keep the mulch a few inches away from the rhizomes to prevent rot. This step ensures your irises stay healthy and vibrant throughout the growing season.
Remove spent blooms regularly to encourage more flowers and prevent seed formation, which can drain the plant’s energy. Cut back the flower stalks to the base after blooming, but leave the foliage intact to nourish the rhizomes for next year’s growth.
Every 3-4 years, divide the clumps in late summer after flowering has finished. This rejuvenates the plants and prevents overcrowding, which can reduce blooming. Replant the divisions immediately, following the same steps as initial planting, and you’ll enjoy a continuous display of yellow and orange irises for years to come.
These practical insights will help you avoid pitfalls and ensure healthy, vibrant blooms.
The Sunlight Factor: The 6 hours of daily direct sunlight mentioned in Step 1 is non-negotiable for optimal color development in bicolor varieties. I learned this the hard way when my first batch under partial shade produced pale, weak blooms. Full sun brings out the rich yellows and oranges these irises are known for.
Drainage Test: That 1-2 hour drainage test in Step 1 isn’t just a suggestion—it’s your insurance against rhizome rot. If water sits longer than 2 hours, consider raised beds or additional soil amendments. Soggy rhizomes are the number one killer of irises in my experience.
Planting Depth: In Step 3, planting rhizomes 2-4 inches deep with the top exposed might feel counterintuitive, but it’s crucial. Burying them too deep causes rot, while shallow planting prevents blooming. I use a ruler to check depth until it became second nature.
Spacing Strategy: The 12-24 inch spacing in Step 3 allows for mature growth without competition. Confession: I initially planted mine too close together and had to divide them after just one season. Give them room to thrive from the start.
The ideal time is late summer to early fall, allowing roots to establish before winter. In warmer climates, plant in early fall or late winter for spring blooms.
Yes, they thrive in full sun (6+ hours daily) but tolerate partial shade. More sun means more vibrant blooms and healthier growth.
Deadhead spent blooms, but leave foliage until it yellows. Divide clumps every 3-4 years to prevent overcrowding and maintain vigor.
Absolutely! Use a large pot with well-draining soil and full sun exposure. Ensure the container has drainage holes to prevent root rot.
Common issues include too much shade, overcrowding, or poor soil drainage. Fertilize lightly in early spring and ensure the rhizomes aren’t buried too deep.
