
Beautiful Plants For Your Interior
Beautiful Plants For Your Interior
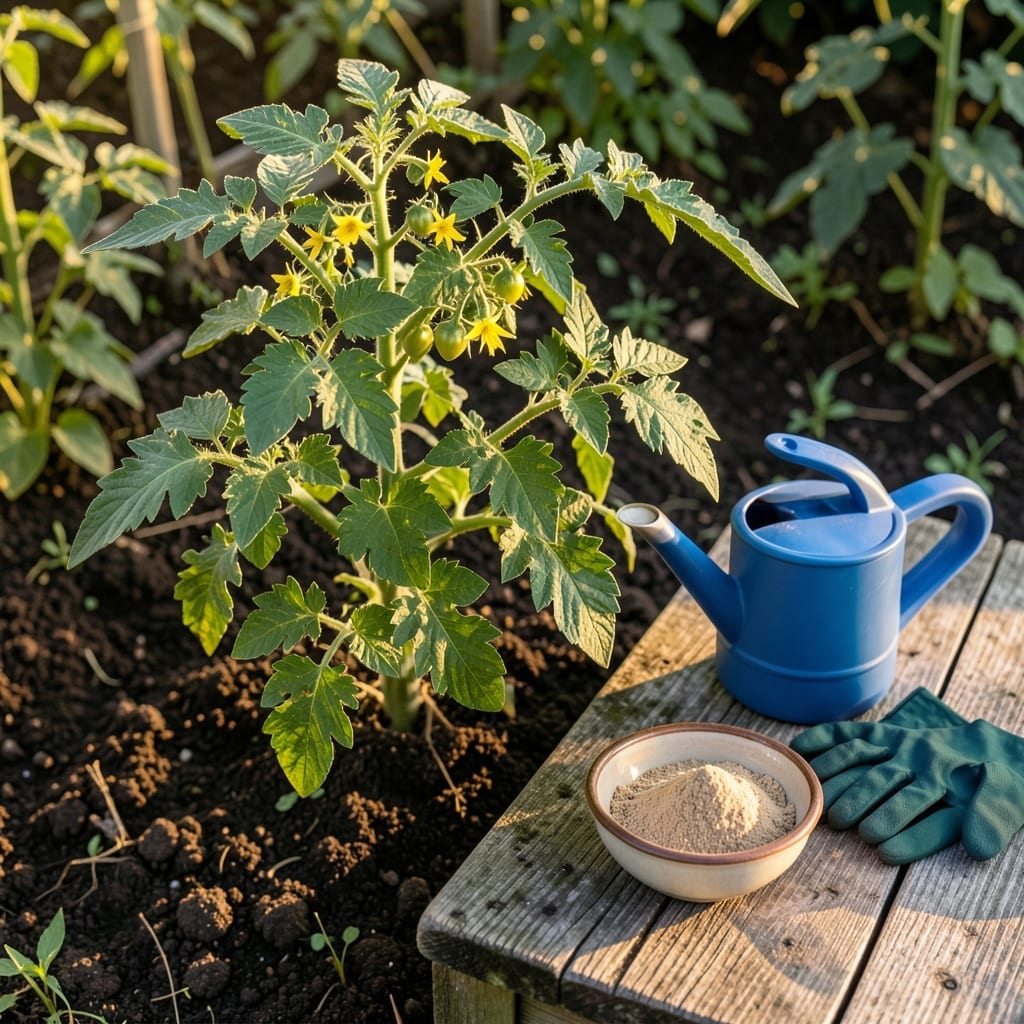
Tired of expensive fertilizers that don’t deliver? There’s a natural, budget-friendly alternative hiding in your kitchen. I discovered this method completely by accident while experimenting with organic gardening.
Yeast isn’t just for baking – it can transform your 🌱 General Plants with nutrients they crave. The results speak for themselves: healthier soil, stronger roots, and more vibrant growth.
Find out how to harness this simple yet powerful technique to give your garden the boost it needs. Let’s get started.
I was skeptical at first, but the science behind yeast fertilizer is undeniable. Yeast contains natural enzymes and B vitamins that stimulate root growth and improve nutrient uptake in plants.
It also boosts microbial activity in the soil, creating a healthier environment for your plants to thrive. This means better soil structure and more efficient nutrient cycling.
| Benefit | Effect on Plants |
|---|---|
| Natural Enzymes | Boosts nutrient absorption |
| Nitrogen Boost | Promotes leafy growth |
| Microbial Activity | Improves soil health |
| Root Development | Strengthens plant foundation |
Unlike synthetic fertilizers, yeast fertilizer doesn’t risk chemical burn. It’s a gentle yet effective way to provide essential nutrients without harming your plants or the environment.
I’ve seen dramatic improvements in my garden since switching. Plants grow faster and appear more vibrant with regular use. It’s particularly effective for leafy greens and flowering plants.
Another advantage is its cost-effectiveness. A small amount of yeast can treat a large garden area, making it a budget-friendly alternative to commercial fertilizers.
The fermentation process in yeast also helps break down organic matter in the soil, making nutrients more accessible to plant roots. This creates a self-sustaining ecosystem in your garden.
For organic gardeners, yeast fertilizer is a perfect fit. It aligns with natural growing principles while delivering impressive results. I’ve completely eliminated synthetic fertilizers from my routine.
Remember, moderation is key. Overuse can lead to fungal growth in the soil. I recommend starting with a diluted solution and monitoring your plants’ response.
In my experience, early morning applications work best. This allows the plants to absorb the nutrients before the heat of the day. Always water your plants thoroughly after applying yeast fertilizer.
🌱Creating your own yeast fertilizer is simpler than you might think. I start with just 3 basic ingredients: dry baker’s yeast, sugar, and warm water. The sugar feeds the yeast, activating its beneficial properties for your plants.
The process begins by dissolving 1 tablespoon of yeast and 2 tablespoons of sugar in 5 liters of warm water. Let this mixture sit for 1-2 hours to allow fermentation to begin.
After fermentation, I dilute the mixture with 10 parts water before application. This prevents over-concentration, which could harm your plants. You can use it as a soil drench or foliar spray.
For leafy vegetables like lettuce or spinach, I recommend using the foliar spray method. The nutrients absorb quickly through the leaves, giving an almost immediate boost to growth.
The key is consistency. I apply my yeast fertilizer every 7-10 days during the growing season. This regular feeding schedule maintains steady nutrient levels in the soil.
🌱