
Beautiful Plants For Your Interior
Beautiful Plants For Your Interior
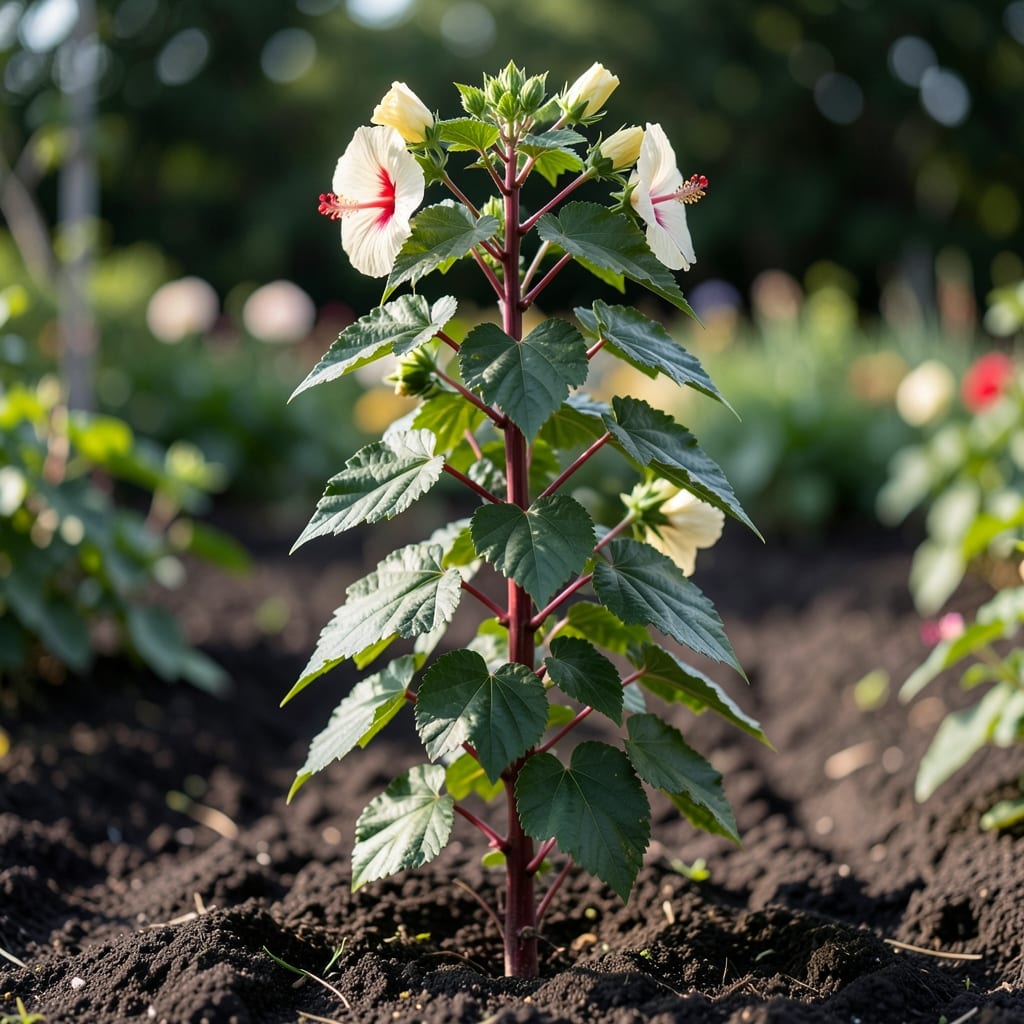
This tropical stunner stops visitors in their tracks. White roselle hibiscus brings dinner-plate blooms and glossy foliage that thrive in heat most plants can’t handle.
I’ve grown these in zones 8-11 with minimal fuss—just well-draining soil, full sun, and consistent moisture. The payoff is months of dramatic flowers that attract hummingbirds by the dozen.
📚 In This Guide
This method delivers vibrant blooms and thriving plants with minimal fuss.
White Roselle Hibiscus thrives in full sun to partial shade, so choose a spot receiving at least 6-8 hours of direct sunlight daily. The soil should be well-draining and rich in organic matter. I always test drainage by digging a 12-inch deep hole and filling it with water—if it drains within 1 hour, you’re good to go.
Avoid low-lying areas where water pools after rain. These plants despise soggy roots, which quickly lead to root rot. If your soil is heavy clay, amend it with compost or consider planting in raised beds for better drainage.
Loosen the soil to a depth of 18-24 inches and mix in a generous amount of compost or well-rotted manure. This tropical beauty prefers slightly acidic to neutral soil with a pH between 6.0 and 7.0. A soil test kit can confirm this, but I often rely on the presence of earthworms as a good sign.
Space plants 3-4 feet apart to allow for their mature spread. If you’re planting multiple specimens, arrange them in a staggered pattern for optimal air circulation. This reduces the risk of fungal diseases, which can be a problem in humid climates.
Dig a hole twice as wide and just as deep as the root ball. Place the plant in the hole, ensuring the top of the root ball is level with the surrounding soil. Backfill with the amended soil, pressing down gently to remove air pockets. Water thoroughly after planting to settle the soil around the roots.
Apply a 2-3 inch layer of organic mulch around the base of the plant, keeping it a few inches away from the stem to prevent rot. Mulch helps retain moisture and suppresses weeds, but avoid piling it up against the trunk—this is a common mistake that can suffocate the plant.
Water deeply 2-3 times per week for the first month, then reduce to once a week once established, unless you’re experiencing a drought. The goal is to keep the soil consistently moist but never waterlogged. I check soil moisture by sticking my finger 2 inches deep—if it feels dry, it’s time to water.
Fertilize lightly with a balanced, water-soluble fertilizer every 4-6 weeks during the growing season. Avoid over-fertilizing, which can lead to excessive leafy growth at the expense of blooms. Prune leggy stems or dead branches as needed to encourage bushier growth and more flowers.
Keep an eye out for common pests like aphids, whiteflies, and spider mites, which can stress the plant and reduce flowering. A strong blast of water from the hose can dislodge many of these pests, but for severe infestations, I use insecticidal soap or neem oil, applying it in the early morning or late evening to avoid harming beneficial insects.
Yellowing leaves or stunted growth often indicate nutrient deficiencies or overwatering. If you notice these signs, reassess your watering schedule and consider a soil test to check for imbalances. Early intervention is key to keeping your White Roselle Hibiscus healthy and blooming abundantly.
Small adjustments make a big difference in growing this tropical beauty.
Sunlight Strategy: The 6-8 hours of direct sunlight daily mentioned in Step 1 is non-negotiable for abundant blooms. I’ve learned that morning sun is ideal, as harsh afternoon rays can scorch the delicate petals in peak summer. If your garden gets intense midday heat, dappled shade during those hours actually protects the flowers while still meeting the daily requirement.
Drainage Test: That 1-hour drainage test from Step 1 saved me from disaster more than once. Digging a 12-inch deep hole and timing the water absorption reveals exactly how your soil behaves. Here’s what nobody tells you—if it drains too quickly (under 30 minutes), the soil may be too sandy and need more organic matter to retain moisture.
Spacing Matters: The 3-4 feet apart spacing in Step 2 isn’t just about aesthetics. Planting too close leads to competition for nutrients and poor air circulation, which invites fungal issues. I once crowded mine at 2 feet apart and spent the season battling powdery mildew. Staggered planting also maximizes space while maintaining that critical airflow.
Watering Wisdom: Those first 2-3 times per week waterings in Step 4 establish the root system. The key is deep watering—soak the soil to a depth of 18-24 inches each time rather than frequent shallow watering. This encourages roots to grow downward, making the plant more drought-resistant once established. And that 2-inch finger test? Press into the soil near the base, not the surface—surface soil dries out much faster.
Start seeds indoors 8-10 weeks before the last frost. Plant in well-draining soil, keep moist, and provide warmth (70-75°F). Transplant outdoors after frost risk passes, spacing plants 2-3 feet apart. Germination takes 10-14 days.
Harvest calyces (the fleshy part) when they’re plump and bright, usually 5-6 months after planting. Pick in the morning for the best flavor. Avoid overripe pods, as they turn woody.
Watch for aphids, whiteflies, or fungal diseases like powdery mildew. Use neem oil or insecticidal soap for pests, and ensure good airflow to prevent fungal issues. Remove infected leaves promptly.
Yes! Use a large pot (12+ inches deep) with drainage holes. Dwarf varieties work best. Place in full sun and water regularly, as containers dry out faster. Fertilize lightly every 4-6 weeks.
Yellowing leaves often signal overwatering, poor drainage, or nutrient deficiencies (like nitrogen). Check soil moisture and improve drainage. A balanced fertilizer can help restore vitality.