
Beautiful Plants For Your Interior
Beautiful Plants For Your Interior
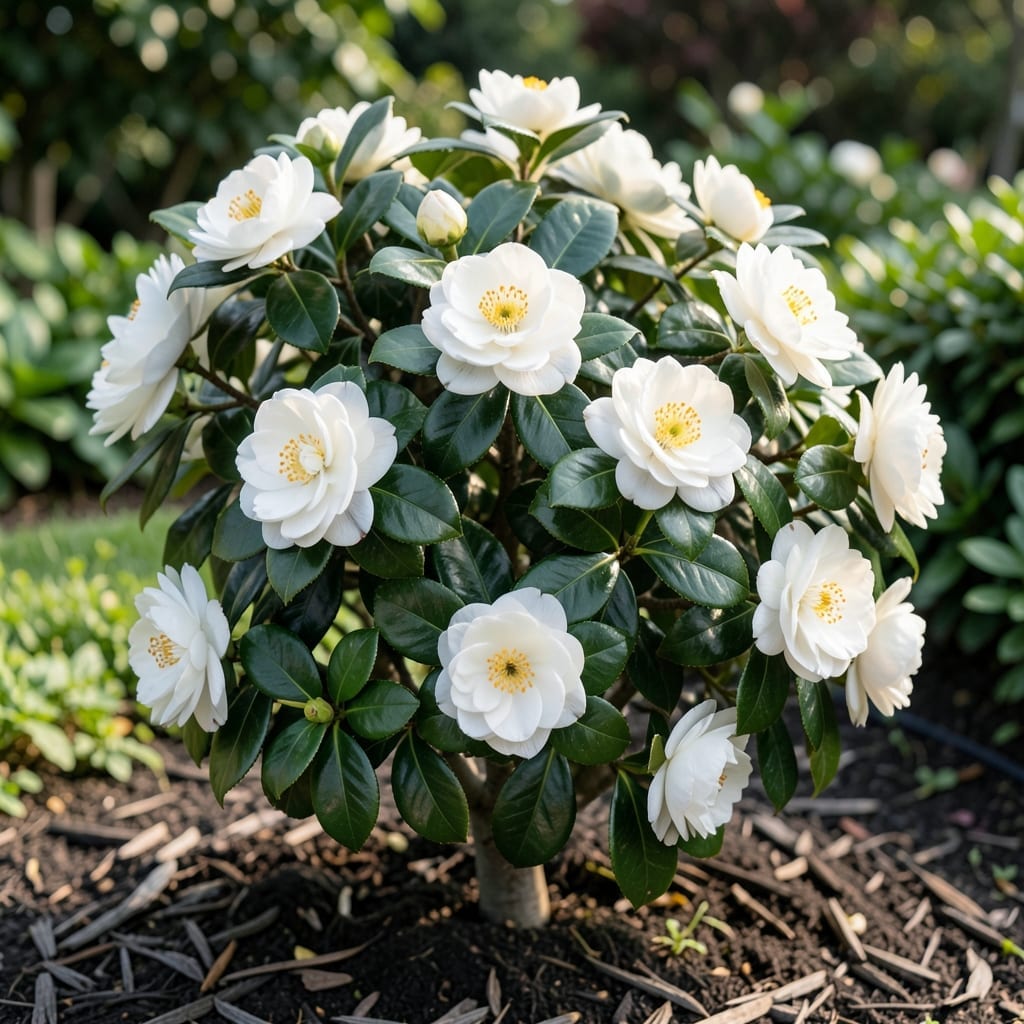
First time I saw White Empress Camellia bloom, I understood why gardeners obsess over it. Those pristine white petals against glossy evergreen leaves stop people in their tracks.
It’s simpler to grow than its royal name suggests. Partial shade, acidic soil, and consistent moisture are all it asks for. The payoff is winter blooms when everything else looks dormant.
📚 In This Guide
Here’s the method I trust to establish healthy, blooming camellias with minimal stress to the plant.
Choose a site with partial shade to full shade, as White Empress camellias thrive in protected spots away from harsh afternoon sun. Morning light with dappled afternoon shade produces the most abundant blooms and prevents petal scorch during hot months.
Ensure the location has well-draining, acidic soil (pH 5.5–6.5). I test my soil with a simple kit before planting—camellias won’t tolerate alkaline conditions. Avoid low-lying areas where water pools, as soggy roots are the quickest way to lose a camellia.
Space multiple plants 5–7 feet apart to allow for mature spread. This air circulation prevents fungal issues and gives each shrub room to develop its natural, rounded form.
Dig a hole that’s twice as wide as the root ball but no deeper. Camellias are shallow-rooted, and planting too deep suffocates the crown. I use the root ball itself as a measuring guide—set it in the hole to check depth before backfilling.
Loosen the soil at the sides of the hole to encourage outward root growth. If your native soil is heavy clay, amend the backfill with 50% organic matter like compost or peat moss to improve drainage and acidity.
Don’t add fertilizer at planting time—fresh roots are sensitive, and concentrated nutrients can burn them. A slow start is better than shocking the plant.
Gently remove the camellia from its container and inspect the roots. If they’re circling tightly, tease them apart with your fingers to prevent girdling as the plant grows. I’ve found that even vigorous camellias can struggle if roots are left bound.
Place the plant in the hole so the top of the root ball sits 1–2 inches above the surrounding soil level. This accounts for settling. Backfill with the amended soil, tamping lightly as you go to eliminate air pockets.
Form a 3-inch-high water ring around the base to help direct moisture to the roots during the first year. Water immediately after planting to settle the soil.
Apply a 2–3 inch layer of organic mulch like pine bark or wood chips, keeping it 3 inches away from the trunk. Mulch conserves moisture, regulates soil temperature, and slowly acidifies the soil as it breaks down.
Water deeply 2–3 times per week for the first month, then taper to once weekly unless rainfall is scarce. The goal is consistently moist—but never soggy—soil. I check by sticking my finger 2 inches into the soil; if it feels dry, it’s time to water.
Reduce watering in late summer to encourage flower bud formation. Overwatering then can cause buds to drop before they open.
After planting, watch for signs of stress like yellowing leaves (often a pH issue) or wilting (usually under- or overwatering). I adjust my care routine based on the plant’s response, not a rigid schedule.
Fertilize lightly in early spring with a camellia-specific, acid-forming formula, following label rates. Avoid high-nitrogen fertilizers, which promote leafy growth at the expense of flowers. Prune only after blooming, as White Empress sets next year’s buds in summer.
With proper placement and initial care, your camellia will reward you with glossy evergreen foliage and those pristine white blooms for decades.
Here’s what I’ve learned through trial and error to keep these plants thriving.
Soil Testing Insight: Confession: I skipped the soil test once and lost a plant within months. Always verify that pH 5.5–6.5 range before planting—alkaline soil will slowly kill your camellia, no matter how well you care for it. A simple kit from the garden center is all you need.
Planting Depth Caution: The 1–2 inches above soil level placement in Step 3 isn’t arbitrary. Camellias are shallow-rooted, and planting too deep suffocates the crown. I’ve seen even experienced gardeners make this mistake, assuming deeper is better. Trust the process.
Watering Discipline: That 2-inch finger test in Step 4 is your best guide. Overwatering is just as dangerous as underwatering, especially in late summer when flower buds are forming. I learned this the hard way after watching buds drop before they could open.
Root Preparation Tip: In Step 3, when you see those circling roots, take the extra minute to tease them apart. It’s tempting to skip this, but bound roots will eventually girdle the plant, stunting its growth. I’ve found that even vigorous camellias can struggle if this step is rushed.
Late fall or early spring is ideal, allowing roots to establish before extreme temperatures. Avoid planting in summer heat or winter frost for best results.
Yellow leaves often signal overwatering, poor drainage, or nutrient deficiency. Check soil moisture, improve drainage, and test soil pH (ideal: 5.5–6.5). A balanced camellia fertilizer can help restore health.
Consider Camellia japonica ‘Alba Plena’ or ‘Snow Flurry’ for similar white blooms. For evergreen alternatives, try Gardenia or Pieris japonica.
Water deeply 1–2 times per week during the first year, then reduce to weekly during dry spells. Mulch helps retain moisture. Avoid soggy soil to prevent root rot.
Aphids, scale, and spider mites may appear. Use horticultural oil or insecticidal soap for control. Regularly inspect leaves and maintain plant health to deter pests.