
Beautiful Plants For Your Interior
Beautiful Plants For Your Interior
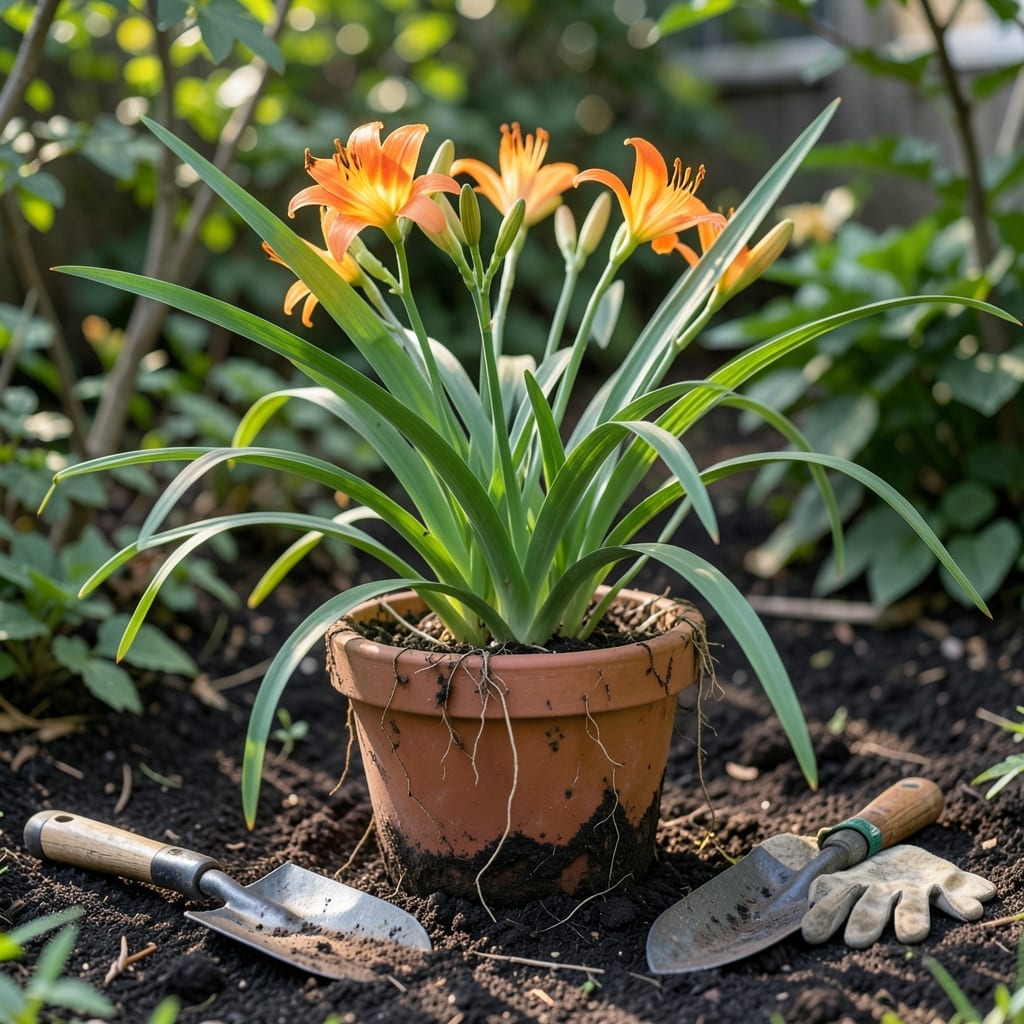
Moving your 🌸 Day Lily at the right time can mean the difference between thriving blooms and a struggling plant. I learned this the hard way after a few failed attempts that left me with wilted foliage.
Timing is everything when it comes to transplanting these hardy perennials. The key is working with the plant’s natural rhythm, not against it.
Let me share the best seasons and conditions to ensure your Day Lily transitions smoothly and comes back stronger than ever.


Choosing the right season to transplant day lilies can make all the difference. I’ve found that early spring or early fall are the best windows for this task.
These periods allow the plant to establish strong roots before facing extreme heat or cold. The goal is to minimize transplant shock and give your lilies the best chance to thrive. 🌱
| Season | Months | Temperature Range | Soil Condition |
|---|---|---|---|
| Early Spring | March-April | 50-70°F | Moist, workable |
| Early Fall | August-September | 60-80°F | Well-drained, warm |
In early spring, the soil is beginning to warm, which encourages new root growth. This gives your day lilies a head start before the summer heat kicks in.
I always aim to transplant before new growth appears. This dormant period reduces stress on the plant and helps it adapt to its new location more easily.
Early fall is another excellent time because the soil is still warm from summer, but the air temperature is cooler. This combination allows roots to establish without the stress of high heat.
Just
If you’re in a warmer climate, you might have a slightly longer window. However, avoid transplanting during the peak of summer or the dead of winter, as extreme temperatures can shock the plant. 🌿
Another tip I’ve learned is to choose a cloudy day for transplanting. This reduces the risk of sunburn on the leaves and helps the plant retain moisture as it adjusts.
Finally, always water your day lilies thoroughly a day before transplanting. This ensures the roots are hydrated and the soil holds together when you dig up the clump. ✂️
Transplanting day lilies doesn’t have to be stressful for the plant—or for you. I’ve refined my approach over the years to minimize root damage and ensure a smooth transition.
Start by selecting a cloudy day and preparing the new planting hole before digging up the clump. This reduces the time roots spend exposed to air.
When digging up the day lily clump, use a sharp spade to slice through the soil in a wide circle. This helps preserve as many feeder roots as possible.
If your clump is large, this is a perfect time to divide it. I separate mine into smaller sections with 3-5 fans each, ensuring each division has healthy roots attached.
Place each division in its new hole, making sure the crown sits at the same depth as before. Planting too deep can lead to rot, while too shallow may cause drying out.
After planting, water deeply to settle the soil and eliminate air pockets. I also add a 2-3 inch layer of mulch to retain moisture and regulate soil temperature. ✂️