
Beautiful Plants For Your Interior
Beautiful Plants For Your Interior
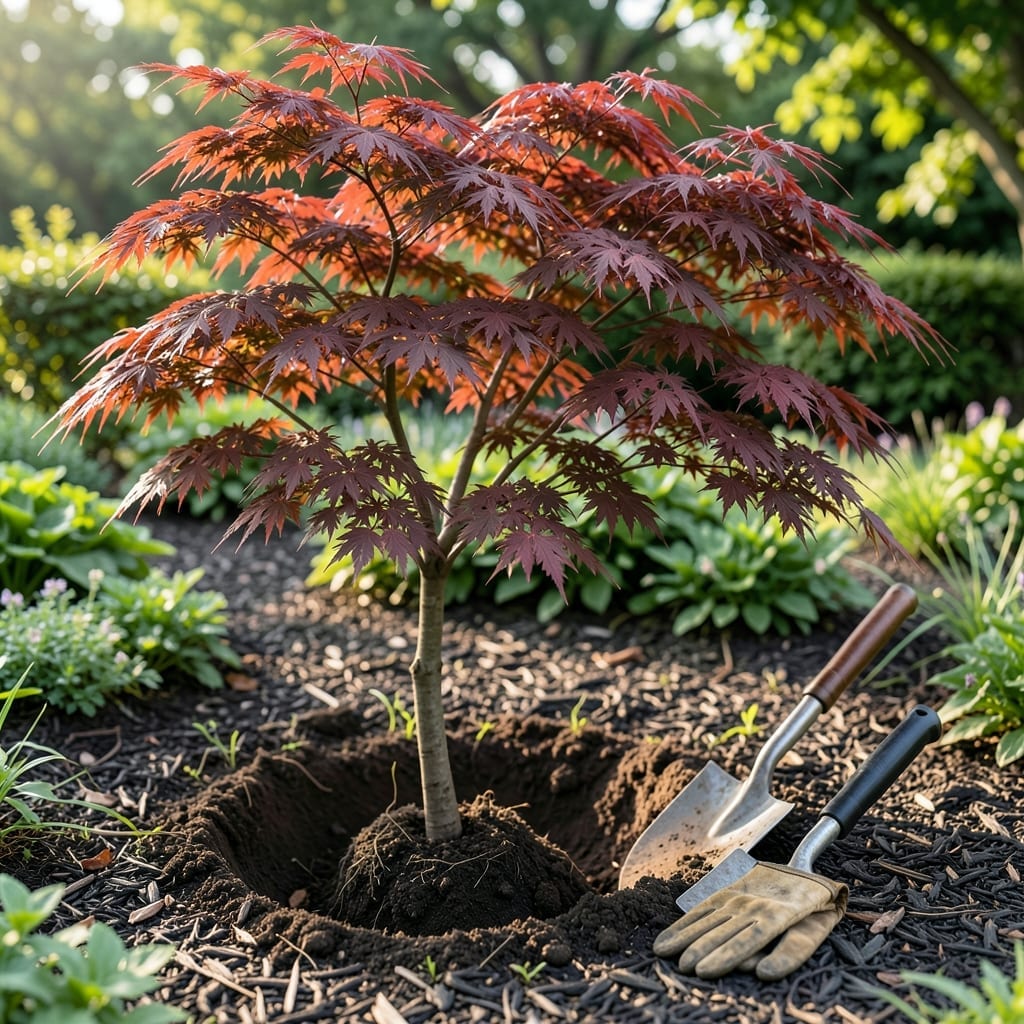
Transplanting a Japanese Maple at the wrong time can stress the tree and stunt its growth for years. Timing is everything to ensure a smooth transition and vibrant, healthy foliage.
I learned this the hard way with my own 🌳 Japanese Maple Tree. The difference between a thriving tree and one that struggles often comes down to choosing the best season for the move.
Discover why early spring or fall is ideal, how to prep the soil, and the care tips that make all the difference for your tree’s future.


The ideal time to transplant a Japanese maple is during dormancy. This is when the tree isn’t actively growing, reducing transplant shock and helping it establish faster.
I’ve found that early spring (before bud break) or late fall (after leaf drop) works best. These periods give the tree time to settle before extreme heat or cold sets in. 🌳
| Season | Best Months | USDA Zones | Why It Works |
|---|---|---|---|
| Early Spring | March, April | 5-8 | Cool temps, dormant tree |
| Late Fall | September, October | 5-8 | Soil still warm, less stress |
| Avoid | May-August | All | Heat stress, active growth |
Avoid transplanting in summer when the tree is in active growth. The stress of moving combined with heat can lead to leaf scorch or even death.
In USDA zones 5-8, early spring is often the safest bet. The soil is workable, and the tree has the entire growing season to recover. I’ve had great success with this timing.
If you’re in a warmer climate, late fall is another excellent option. The soil stays warm longer, giving roots a chance to establish before winter dormancy.
Watch for frost dates in your area. Transplant at least 4-6 weeks before the first frost to allow the tree to settle. This buffer is critical for survival.
For container-grown Japanese maples, you have a bit more flexibility. However, dormant seasons still reduce stress and improve success rates significantly.
Always check the weather forecast before transplanting. A stretch of mild, rainy days is perfect for helping the tree adjust to its new home.
Remember, the root ball should stay moist but not soggy during the process. This small detail makes a big difference in reducing shock. 🌿
Transplanting a Japanese maple requires careful preparation to minimize stress. I always start by watering the tree deeply 2-3 days before moving it. This ensures the root ball stays intact.
Next, prune the roots a few months before transplanting. This encourages new root growth and makes the move less shocking. Use sharp pruners for clean cuts. 🌳
When digging, go wide rather than deep. Japanese maples have shallow root systems, so a broad hole protects more roots. Aim for a root ball at least 12-18 inches in diameter.
Use a tarp or burlap to lift the tree. This keeps the root ball from breaking apart. Never lift by the trunk—this can damage the tree permanently.
Plant the tree at the same depth it was growing before. The root flare should be visible above soil. Backfill with native soil mixed with compost for best results.
After planting, water thoroughly and add 2-3 inches of mulch. Keep the soil consistently moist for the first year. This helps the tree establish quickly. 🌿
Finally, avoid fertilizing for the first month. The tree needs time to recover. Watch for wilting or yellowing leaves, which may signal transplant shock. Act quickly if you see these signs.