
Beautiful Plants For Your Interior
Beautiful Plants For Your Interior
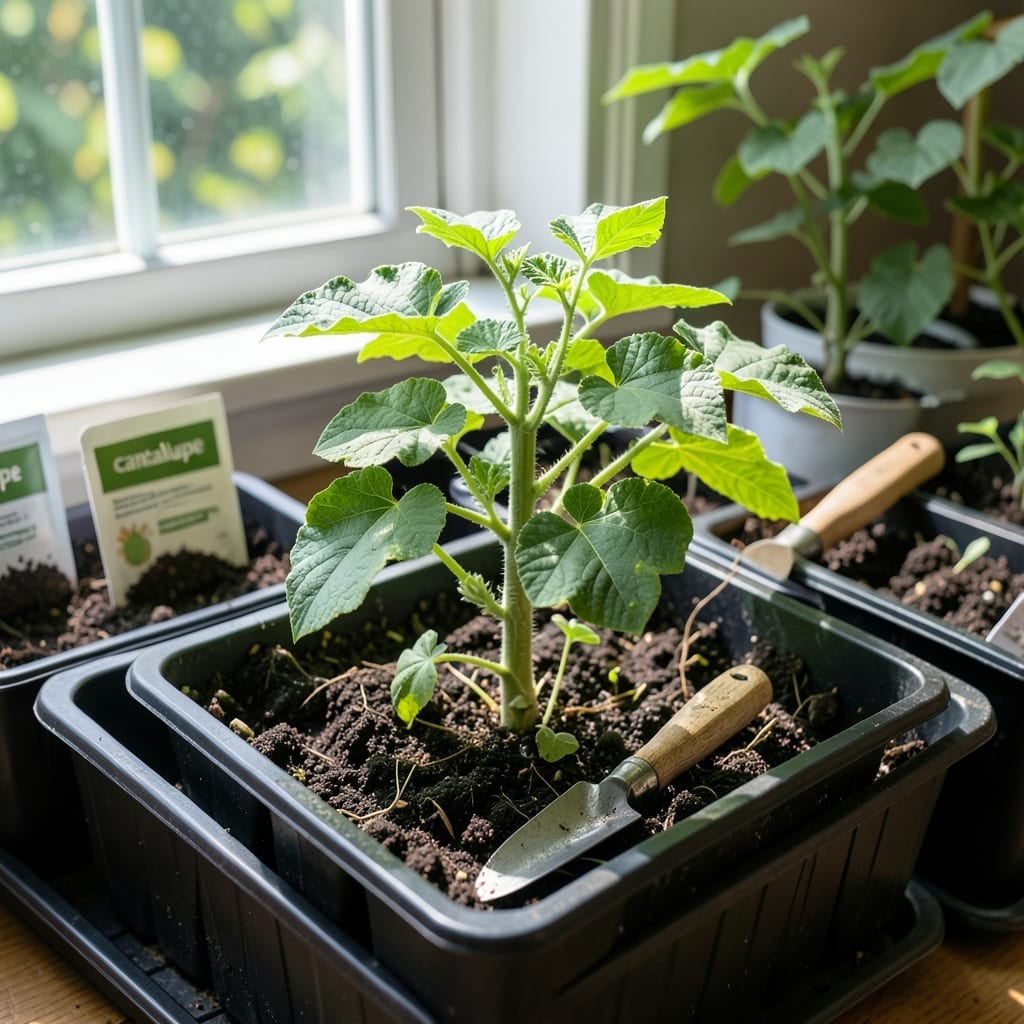
Starting cantaloupe seeds indoors gives your 🍈 Cantaloupe a head start, but timing is everything—plant too early or too late, and you risk weak transplants.
In Zone 6, the sweet spot is 4-6 weeks before the last frost, usually around mid-April. This ensures your seedlings are strong and ready when warmer soil arrives.
I’ll show you exactly how to nail the timing and care for your young plants. Let’s get those seedlings off to the best possible start.
Timing your cantaloupe seeds right indoors ensures strong, ready-to-transplant seedlings. In Zone 6, I start mine 4-6 weeks before the last frost date, typically mid-April. This gives them enough time to develop without outgrowing their containers.
For warmer zones like 7-9, you can start 2-4 weeks earlier, as the outdoor season begins sooner. Cooler zones (3-5) should stick to 4-6 weeks to avoid leggy seedlings from a longer indoor stay.
| Zone | Start Indoors | Transplant Outdoors |
|---|---|---|
| 3-4 | 4-6 weeks before last frost | 2 weeks after last frost |
| 5-6 | 4-6 weeks before last frost | 1-2 weeks after last frost |
| 7-9 | 6-8 weeks before last frost | 2-3 weeks after last frost |
Soil temperature is another critical factor. Cantaloupes need 70°F soil to germinate well. Use a seedling heat mat if your home stays cooler than this to speed up sprouting.
In my experience, consistent warmth and moisture are key. Keep your seed trays in a sunny south-facing window or under grow lights for 12-16 hours daily. This prevents weak, stretching seedlings.
If you’re in a region with short growing seasons, starting indoors is a must. For southern gardeners, direct sowing might work, but indoor starts still give you a head start on pests and weather surprises.
Watch for the first true leaves—this is when I begin hardening off my seedlings. Gradually expose them to outdoor conditions over 7-10 days to prevent transplant shock.
Remember, overcrowding leads to competition. Thin seedlings to one per cell or pot once they have 2-3 true leaves. This ensures each plant gets enough nutrients and space.
Finally, label your trays with the variety and date. It’s easy to forget what you planted when, especially if you’re growing multiple cantaloupe varieties with different maturity dates.
With these timings and tips, your cantaloupe seedlings will be strong, healthy, and ready to thrive once moved to the garden ☀️
Starting cantaloupe seeds indoors requires proper preparation and consistent care. I begin by selecting high-quality seeds from a trusted supplier, ensuring they’re fresh and viable for the best germination rates.
Use seed-starting mix in clean containers with drainage holes. I prefer biodegradable pots to minimize transplant shock later. Moisten the soil before planting, as dry mix can repel water and delay sprouting.
I’ve found that bottom watering works best to keep the soil evenly moist without disturbing the seeds. Avoid overwatering, as soggy soil can lead to damping off and kill your seedlings.
Maintain a consistent temperature between 70-80°F for optimal germination. If your home is cooler, a seedling heat mat can help maintain the right warmth, especially in early spring.
Once seedlings have 2-3 true leaves, it’s time to thin them. I use clean scissors to snip the weaker seedlings at soil level, leaving the strongest one to grow. This prevents root disturbance.
Finally, label each pot with the variety and date planted. This helps track progress and ensures you transplant at the right time for your local frost date 🌱