
Beautiful Plants For Your Interior
Beautiful Plants For Your Interior
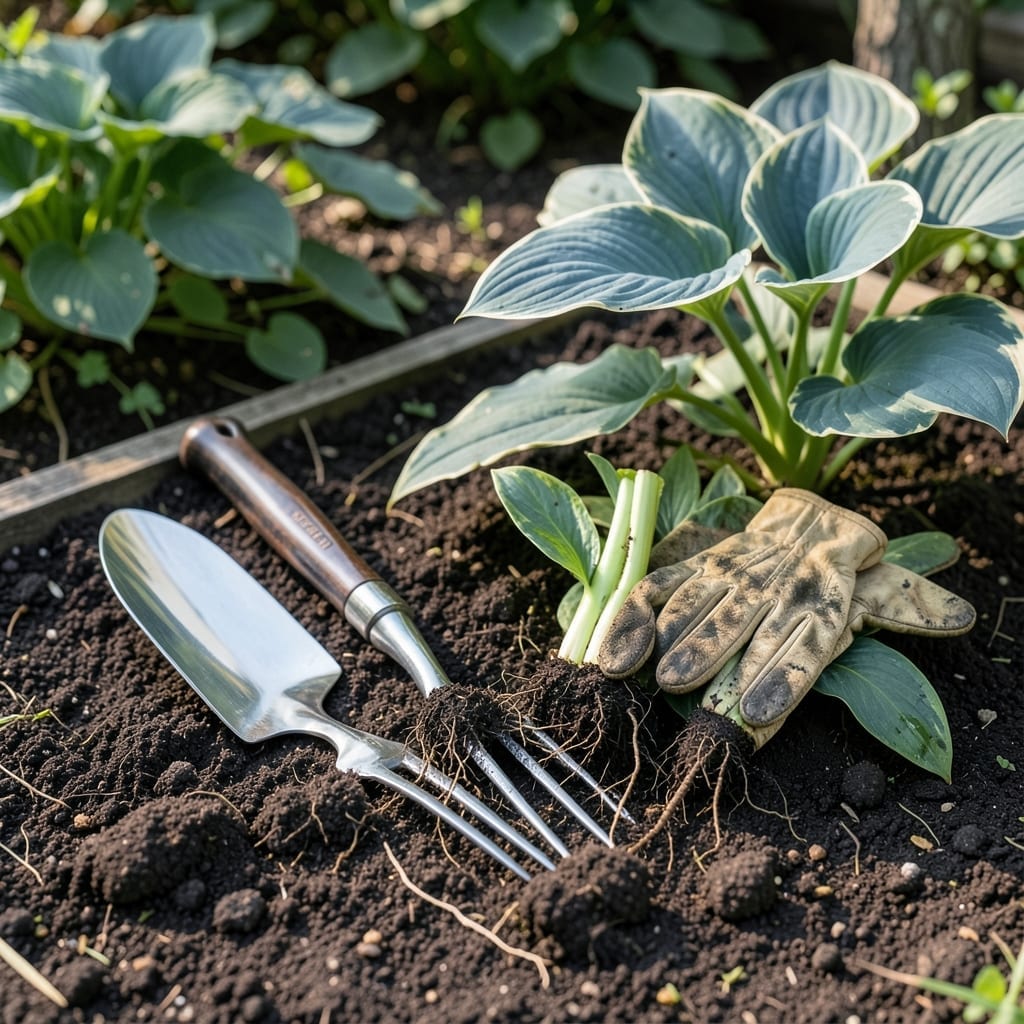
Splitting Hostas at the right time can transform your garden with healthier plants and more vibrant foliage. These shade-loving perennials thrive when divided at the optimal moment.
I’ve learned that timing is everything—too early or too late can stress the 🌿 Hostas. Whether you’re a seasoned gardener or just starting, knowing the best windows ensures success.
Discover the key seasons and signs to watch for, so your Hostas grow stronger and more beautiful year after year.
Timing is everything when dividing Hostas. I’ve found that early spring and early fall are the prime windows for this task. These periods allow the plants to establish roots before extreme temperatures hit.
In early spring, split just as the soil warms but before new growth emerges. This gives your Hostas a full growing season to recover and thrive. The cooler temperatures and consistent moisture are ideal for root development.
| Season | Timing | Benefits |
|---|---|---|
| Early Spring | Before new growth | Full season for recovery |
| Early Fall | 6 weeks before frost | Roots establish before winter |
Early fall is another excellent time, provided you finish at least 6 weeks before the first frost. This gives the divided plants enough time to settle in before winter dormancy. I always check my local USDA zone to confirm the timing.
Watch for signs that your Hostas are ready to be split. A mature clump with crowded stems or reduced vigor often indicates it’s time. The center of the plant may also start to die out, signaling that division is needed.
I avoid splitting during summer heat or winter dormancy. The stress of division combined with extreme temperatures can shock the plants. Additionally, splitting in late fall may not give roots enough time to establish before cold sets in.
For warmer climates, early fall might be preferable, as the soil stays warm longer. In cooler regions, stick to early spring to ensure the plants have ample time to recover before winter returns.
After splitting, I
A well-timed division can rejuvenate your Hostas, leading to fuller plants and more vibrant foliage in the following seasons. I’ve seen firsthand how a little planning can make a big difference in the garden.
Remember, the key is patience and observation. Let the plant guide you, and you’ll know exactly when it’s time to split. 🌿
Dividing Hostas doesn’t have to be intimidating. I always start by preparing my tools: a sharp spade, garden fork, and clean pruners. Sterilizing the blades with rubbing alcohol prevents disease spread between plants.
First, I water the hosta thoroughly the day before splitting. This softens the soil and reduces stress on the root system. Early morning is ideal for this task, as the plants are well-hydrated and the day is cool.
Each division should have at least 3-5 healthy shoots and a good portion of the root system. I discard any sections with rotten or damaged roots to prevent issues in the new plantings.
After replanting, I apply a 2-inch layer of mulch around the base to retain moisture and suppress weeds. Avoid piling mulch against the stems, as this can cause rot. In the first week, I check the soil daily to ensure it stays consistently moist.
For the first month, I keep an eye out for wilted leaves or yellowing foliage, which can indicate stress. A light application of balanced fertilizer after two weeks helps the new divisions establish faster.
With proper care, your divided Hostas will reward you with lush growth and vibrant foliage in the next growing season. ✂️