
Beautiful Plants For Your Interior
Beautiful Plants For Your Interior
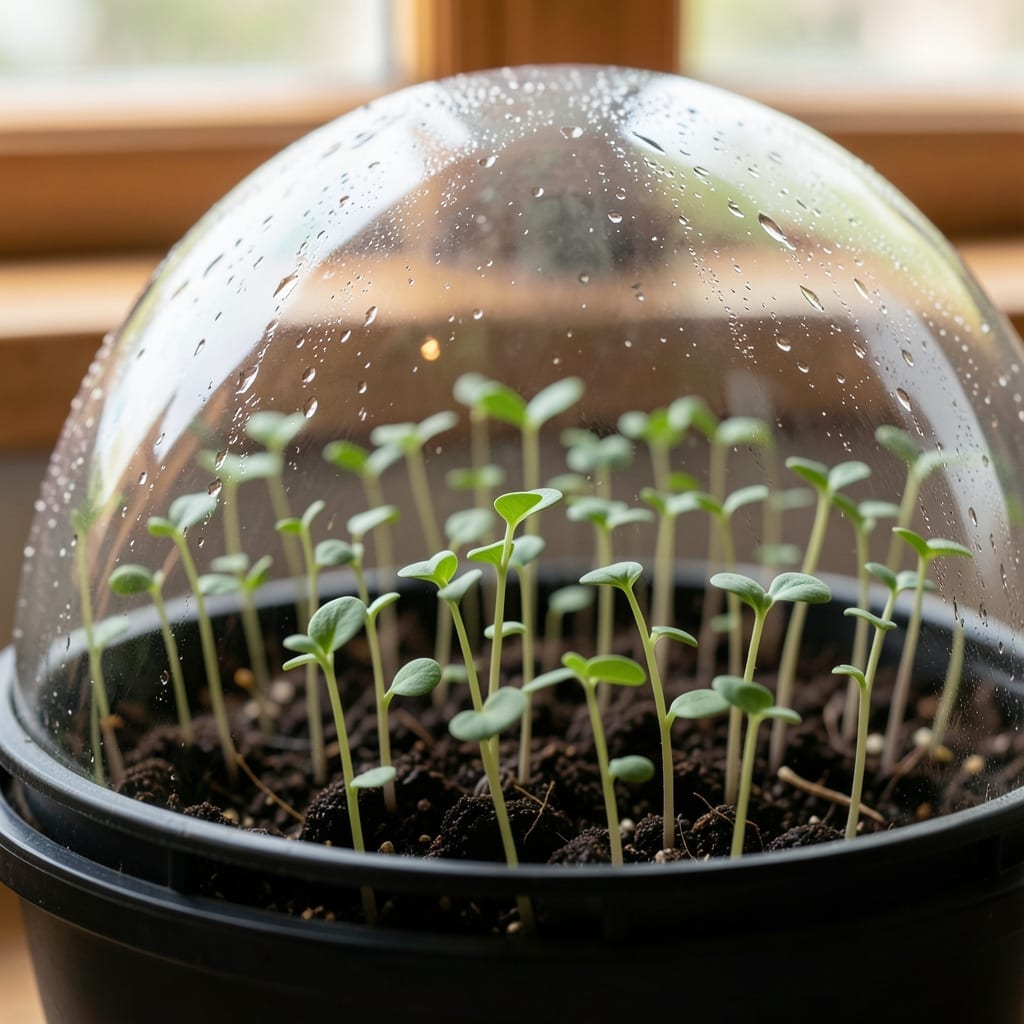
That moment when your 🌱 Seedlings start pushing against their humidity dome is both exciting and nerve-wracking. You’ve nurtured them from tiny seeds, and now the big question looms: when is it safe to set them free?
Timing this transition perfectly can make or break your young plants’ development. Remove it too soon, and they might wilt under the sudden change. Wait too long, and you risk stunting their growth or inviting mold.
I’ve learned through trial and error that watching for specific signs is the key to success. Your Seedlings will actually tell you when they’re ready – if you know what to look for.
Discover the clear indicators that signal it’s time to remove that protective barrier and give your Seedlings the best start in their new environment.
Timing the humidity dome removal perfectly is key to strong seedling growth. I watch for true leaves first—they’re the clearest sign your young plants are ready for less protection. These leaves appear after the initial cotyledons.
Another telltale sign is reduced condensation inside the dome. If you see less moisture building up, your seedlings may be producing less humidity themselves. This means they’re maturing and need fresh air circulation.
| Sign | What to Look For |
| True Leaves | Fully formed, not cotyledons |
| Root Growth | Visible roots at tray bottom |
| Condensation | Little to none inside dome |
| Seedling Strength | Stocky stems, vibrant green color |
I also check for root development. When roots start peeking through the drainage holes of your seed tray, it’s a strong indicator they’re ready for more space and less humidity.
Observe the seedling stems too. If they’re thick and sturdy, your plants are likely ready. Weak or leggy stems mean they need more time under the dome’s protection.
Color matters as well. Healthy seedlings ready for dome removal will have a deep green hue. Yellowing or pale leaves suggest they’re not quite there yet and need more time.
Timing can vary by plant type. For example, tomato seedlings often need the dome removed earlier than pepper plants. Always check specific guidelines for your variety.
If you notice mold or mildew forming inside the dome, it’s a sign of excess moisture. Remove the dome immediately to prevent disease and improve air circulation.
Finally, trust your instincts. If most of your seedlings show these readiness signs, it’s time to start the transition. I like to remove the dome for short periods first to ease them into the change.
This gradual approach helps prevent transplant shock and gives your seedlings the best chance to thrive in their new environment. 🌱
Removing the humidity dome is just the first step. I always start hardening off my seedlings to prepare them for the outdoor environment. This process helps prevent transplant shock and ensures a smoother transition.
Begin by placing your seedlings outside for 1-2 hours in a shaded, sheltered spot. Gradually increase their exposure to sunlight and wind over the course of 7-10 days. This slow introduction builds their resilience.
I monitor my seedlings closely during this period. If I notice wilting or leaf scorching, I reduce their exposure time and move them back to shade. It’s better to progress slowly than to rush and damage the plants.
Water your seedlings before taking them outside. This helps them stay hydrated during their time in the new environment. Avoid watering them while they’re in direct sunlight to prevent leaf burn.
After 10 days, your seedlings should be ready for transplanting. I always check the weather forecast to ensure no extreme conditions, like frost or heatwaves, are expected. This final step sets them up for success in their new home.
Remember, every plant is different. Some may need a longer hardening period, especially more delicate varieties like tomatoes or peppers. Trust your observations and adjust as needed 🌱