
Beautiful Plants For Your Interior
Beautiful Plants For Your Interior
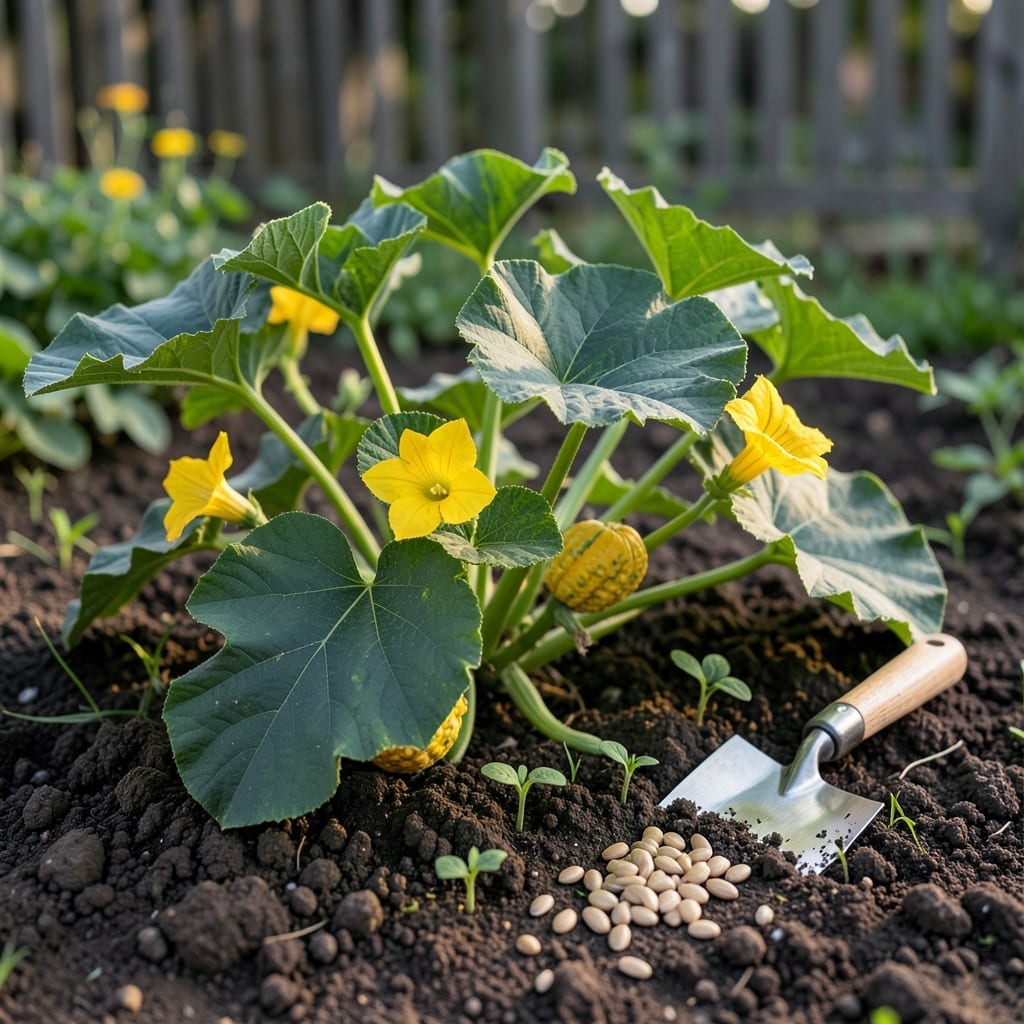
Timing is everything when growing Winter Squash—plant too early and frost may kill your seedlings, but plant too late and your harvest will suffer.
I’ve learned the hard way that getting this right makes all the difference. For most areas, the sweet spot falls between May and June, when soil temps hit that magic 60°F mark.
Discover how to nail this window for butternut, acorn, or Hubbard varieties. Your future self will thank you when you’re harvesting basketfuls come fall.
Getting your winter squash planting timing right is crucial for a successful harvest. I always check my USDA hardiness zone first, as this determines when to start. The soil temperature must be at least 60°F for seeds to germinate properly.
In warmer zones like 7-11, you can plant earlier, sometimes as early as March or April. Cooler zones like 3-6 need to wait until May or June when the soil has warmed sufficiently. Always check your last frost date to avoid cold damage.
| USDA Zone | Planting Window | Soil Temp |
|---|---|---|
| 3-4 | Late May – June | 60-65°F |
| 5-6 | Mid May – Early June | 60°F+ |
| 7-8 | April – Early May | 60-70°F |
| 9-11 | March – Early April | 65-75°F |
I’ve found that butternut squash does best when planted 2-3 weeks after the last frost date. For acorn squash, aim for soil temps between 60-85°F. Hubbard varieties often need a bit more warmth, so I wait until late spring in my zone 6 garden.
Remember that microclimates can affect these timings. If you have a south-facing slope or urban heat island, you might plant 1-2 weeks earlier. Conversely, low-lying areas may need to wait a bit longer for the soil to warm.
Soil preparation is just as important as timing. I always amend my beds with compost and check that the pH is between 6.0-6.8. This gives my squash plants the best start possible.
For those in short-season areas, consider starting seeds indoors 2-3 weeks before transplanting. This gives your plants a head start. Just be sure to harden them off before moving them outside.
I’ve learned to watch the weather forecast closely. A late frost can set you back weeks. If cold temps are predicted after planting, cover young plants with row covers or cloches for protection.
Don’t forget that spacing matters too. Most winter squash varieties need 3-6 feet between plants. I like to give mine plenty of room to sprawl, which improves air circulation and reduces disease risk.
Finally, keep in mind that consistent moisture is key during the first few weeks after planting. I water deeply once a week, making sure the soil stays evenly moist but not waterlogged. ☀️
Proper soil preparation sets the stage for healthy winter squash growth. I always start by testing my soil’s pH level, aiming for a range between 6.0-6.8. This ensures optimal nutrient uptake for my plants.
Next, I enrich the soil with plenty of organic compost or well-rotted manure. Winter squash are heavy feeders, so this step is non-negotiable. I work the compost into the top 12-18 inches of soil for best results.
I’ve found that raised mounds work wonders for winter squash. They improve drainage and help the soil warm faster. I create 12-inch high mounds about 3 feet across for each plant.
When it comes to direct sowing, I plant seeds 1 inch deep and 6 inches apart. Once seedlings emerge, I thin them to the strongest 2-3 plants per mound. For transplanting, I start seeds indoors 3-4 weeks before our last frost date.
A common mistake I see is overwatering newly planted seeds. The soil should be moist but not soggy. I water gently but deeply, ensuring the moisture reaches the root zone without causing soil compaction.
Finally, I always mulch heavily around my squash plants with straw or shredded leaves. This helps retain moisture, suppresses weeds, and keeps the soil temperature steady. It’s a game-changer for maintaining consistent growing conditions. 🌱