
Beautiful Plants For Your Interior
Beautiful Plants For Your Interior
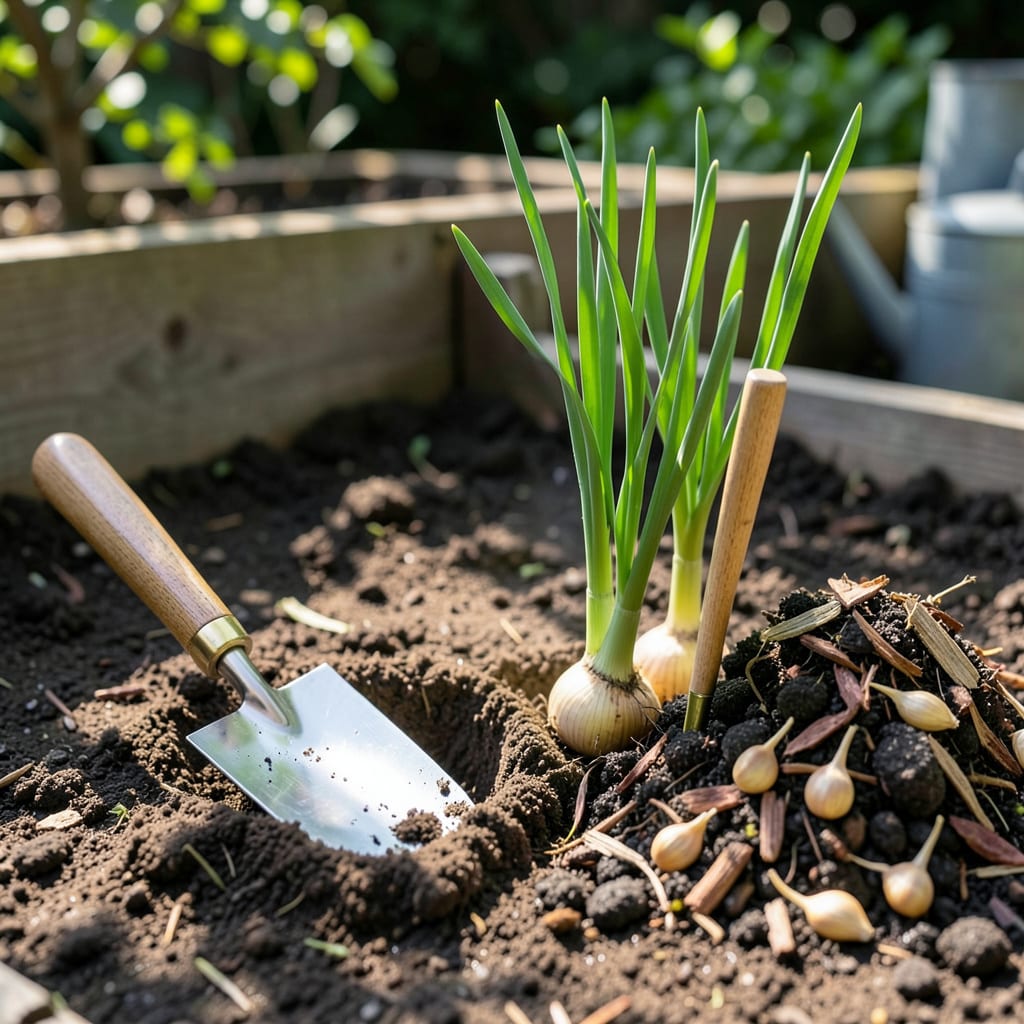
Timing your shallot planting in Zone 6 can mean the difference between a bountiful harvest and a disappointing one. Plant too early, and frost might ruin your crop; plant too late, and your 🧅 shallots won’t have time to mature properly.
Whether you’re aiming for a spring or fall harvest, getting the schedule right is the key to success. I’ll break down the exact windows—March to April or September to October—and share the secrets to growing plump, flavorful shallots every time.
If you’re growing shallots in Zone 6, timing your planting is the secret to a bountiful harvest. I’ve found that both fall and spring planting work well, but each season has unique advantages. Fall planting often yields larger bulbs, while spring planting is more forgiving for beginners.
In Zone 6, our last frost date is typically around April 15, and the first frost hits near October 15. These dates are your compass for planting. Fall-planted shallots need time to establish roots before winter, while spring-planted ones thrive in warming soil.
| Planting Season | Best Timing | Soil Temp | Advantages | Challenges |
|---|---|---|---|---|
| Fall | September–October | 40–50°F | Larger bulbs, early harvest | Winter mulching required |
| Spring | March–April | 50–60°F | Easier pest control, flexible timing | Smaller bulbs if planted late |
For fall planting, aim to get shallots in the ground 6–8 weeks before the first frost. This gives them enough time to develop strong roots but not so much that they sprout tops before winter. I like to plant mine in late September to early October.
If you prefer spring planting, start 4–6 weeks before the last frost. In Zone 6, that usually means late March to early April. The soil should be workable and at least 50°F for best results. Spring-planted shallots grow faster but may not size up as much as fall-planted ones.
Fall-planted shallots benefit from vernalization, a natural cold treatment that triggers bulb formation. This is why they often produce larger, more flavorful shallots. However, they require winter mulching—I use 4–6 inches of straw to protect them from freezing temps.
Spring-planted shallots, on the other hand, avoid winter risks entirely. They’re ideal if you missed the fall window or want to experiment with different varieties. Just be sure to plant them early enough so they mature before summer heat sets in, which can stress the plants.
No matter which season you choose, soil temperature is key. Use a soil thermometer to check—fall shallots need 40–50°F, while spring shallots prefer 50–60°F. If the soil is too cold, shallots may rot; if it’s too warm, they might bolt prematurely.
One pro tip: If you’re planting in fall, choose larger shallot sets (about 1 inch in diameter). They’ll establish roots more quickly before winter. For spring planting, smaller sets work fine since they’ll have a full growing season ahead.
Finally, keep an eye on the 10-day forecast before planting. Avoid periods of heavy rain or extreme temps. Shallots dislike soggy soil, so if rain is predicted, consider planting in raised beds or amending your soil with compost for better drainage.
Whether you plant in fall or spring, shallots in Zone 6 thrive with a little planning. Stick to these timing guidelines, and you’ll be rewarded with a harvest of plump, sweet shallots that are perfect for fresh eating or storing for months. 🌱
Planting shallots in Zone 6 isn’t just about timing—it’s also about giving them the right start. I’ve found that soil preparation and proper planting techniques make all the difference. Whether you’re planting in fall or spring, follow these steps for healthy, high-yielding shallots.
Start by choosing a sunny location with at least 6–8 hours of direct sunlight daily. Shallots thrive in loose, well-draining soil with a pH between 6.0–7.0. If your soil is heavy or clay-like, amend it with compost or aged manure to improve drainage and fertility.
If you’re planting in fall, timing is critical. Get shallots in the ground 6–8 weeks before the first frost (around October 15 in Zone 6). This allows roots to establish without tops sprouting before winter. For spring planting, aim for 4–6 weeks before the last frost (around April 15).
Shallots prefer consistent moisture but dislike soggy soil. I recommend using a drip irrigation system or soaker hose to water deeply at the base, avoiding wetting the foliage. Reduce watering as harvest nears to help the bulbs cure naturally in the ground.
Weeds can compete with shallots for nutrients, so keep the bed weed-free. Hand-pull weeds or use a shallow hoe to avoid damaging shallow shallot roots. If you notice yellowing leaves or stunted growth, it might indicate nutrient deficiency or overwatering—adjust your care routine accordingly.
For fall-planted shallots, remove mulch in early spring to allow the soil to warm. If you planted in spring, watch for signs of bolting (flower stalks forming) in hot weather. If this happens, harvest immediately, as bolting reduces bulb quality.
With the right planting techniques and care, your shallots will thrive in Zone 6. Stick to these steps, and you’ll be rewarded with a harvest of plump, flavorful bulbs ready for fresh use or storage. 🪴
Even experienced gardeners can make mistakes when growing shallots in Zone 6. I’ve seen firsthand how small errors can lead to disappointing harvests—stunted bulbs, rot, or even no harvest at all. Let’s tackle the top 5 mistakes and how to avoid them.
The most common issue is planting too late in fall. If you wait until November, shallots won’t have enough time to establish roots before the ground freezes. In Zone 6, aim to plant by mid-October to give them a fighting chance before winter.
Another critical mistake is overcrowding. It’s tempting to squeeze in extra cloves, but shallots need 6–8 inches of space to size up properly. Crowded plants compete for nutrients, resulting in tiny bulbs. I use a ruler or planting guide to keep spacing consistent.
Poor soil drainage is a silent killer for shallots. They rot quickly in waterlogged soil, especially in Zone 6’s wet springs. Before planting, test drainage by digging a 1-foot hole and filling it with water. If it doesn’t drain within an hour, mix in compost or perlite to loosen the soil.
For fall-planted shallots, skipping mulch is a gamble. Without insulation, shallow roots can freeze-thaw repeatedly, stressing the plants. I use straw or shredded leaves—avoid hay, which may contain weed seeds. Apply mulch after the ground cools but before hard freezes.
Finally, harvesting too early is a common regret. Shallots need their tops to yellow and flop naturally. If you pull them while tops are still green, bulbs won’t store well. Use the “neck softening” test: Gently squeeze the stem near the bulb—if it’s soft, they’re ready!
Avoid these mistakes, and your Zone 6 shallots will thrive. With proper timing, spacing, and care, you’ll enjoy a harvest of plump, sweet bulbs that store beautifully for months. 🌱
Planting after mid-October in Zone 6 risks poor root development before winter. Shallots need 6–8 weeks before the first frost to establish properly. Late planting often leads to stunted growth or winterkill.
Yes, but it takes much longer—up to 120 days versus 90 days for sets. Seeds offer more variety options but require careful thinning. Sets are easier and more reliable for Zone 6 gardeners.
Apply a 4–6 inch layer of straw after the ground cools but before hard freezes. Avoid hay, which may contain weed seeds. Remove mulch in early spring to allow soil warming.
Bolting usually occurs from planting too late or inconsistent watering. In Zone 6, plant by early April and maintain even moisture. Once flower stalks form, harvest immediately as bulbs won’t store well.
Properly cured shallots store 6–12 months in a cool, dark place. Cure them in a well-ventilated area for 1–2 weeks before storing. Check periodically for sprouting or soft spots.
