
Beautiful Plants For Your Interior
Beautiful Plants For Your Interior
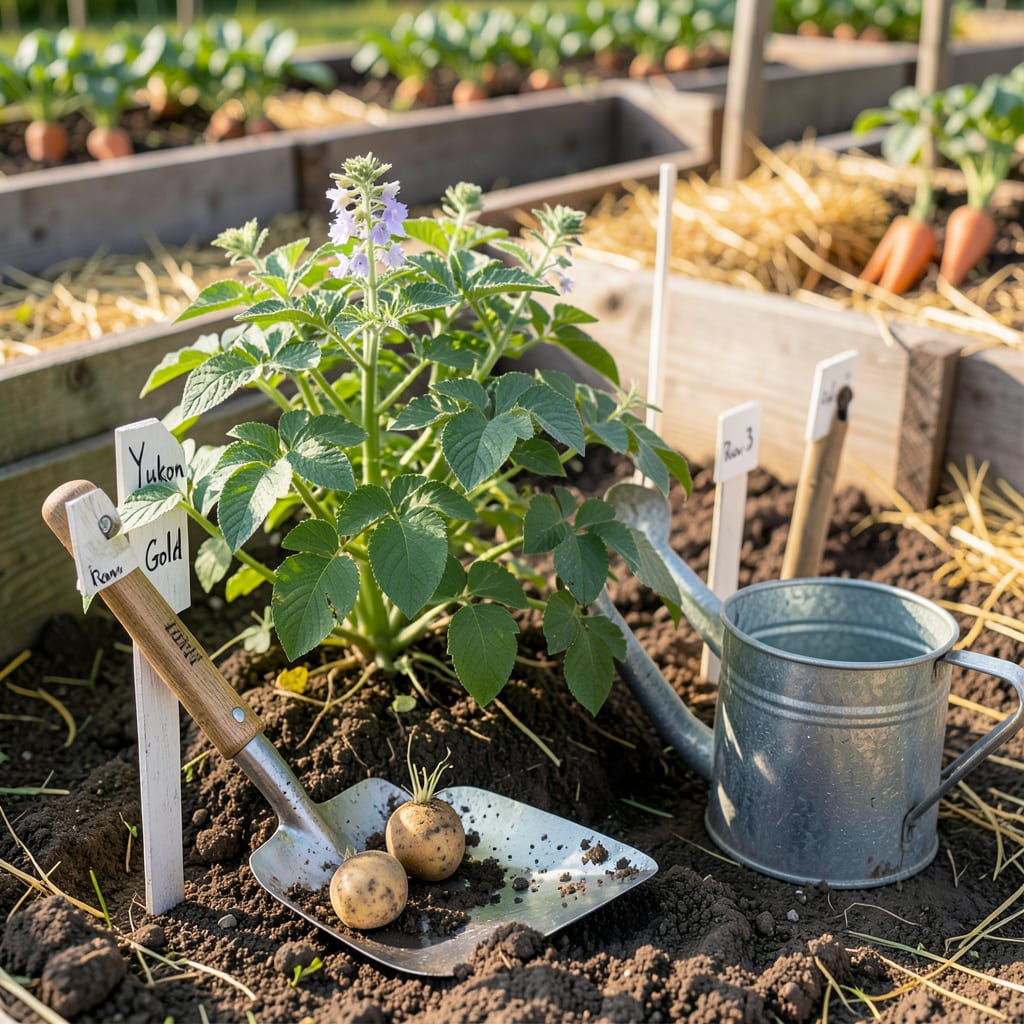
Timing your 🥔 potato planting in Zone 6B can mean the difference between a bountiful harvest and a disappointing yield. Plant too early, and late frosts might wipe out your crop; wait too long, and your potatoes won’t mature before summer heat sets in.
After years of testing and refining, I’ve nailed down the perfect windows for both spring and fall plantings. Whether you’re aiming for early new potatoes or a late-season storage crop, I’ll show you exactly when to get those seed potatoes in the ground for bigger, healthier yields—no guesswork required.
If you’re eager to grow potatoes in Zone 6B, timing your spring planting is critical. The sweet spot is 2-4 weeks before your last frost date, which in Zone 6B is typically around April 15. This means you’ll want to aim for late March to early April planting.
But don’t just go by the calendar—soil temperature is key. Potatoes need soil that’s at least 45°F (7°C) to sprout properly. If the ground is still cold and soggy, your seed potatoes may rot before they even get started. A simple soil thermometer can save you a lot of guesswork here.
| Planting Factor | Recommendation |
|---|---|
| Best Planting Window | Late March to early April |
| Last Frost Date | Around April 15 |
| Soil Temperature | Minimum 45°F (7°C) |
| Early Varieties | Yukon Gold, Red Norland |
| Late Varieties | Russet, Kennebec |
| Soil Prep | Loosen soil, add compost |
If you’re planting early varieties like Yukon Gold or Red Norland, you can push the planting date a bit earlier since they mature in 70-90 days. For late varieties like Russet or Kennebec, wait until early April to ensure they have enough time to mature before summer heat sets in.
Before planting, I always recommend chitting your potatoes—letting them sprout indoors for a few weeks. This gives them a head start and can lead to earlier harvests. Simply place your seed potatoes in a bright, cool spot (like a windowsill) until they develop ½-inch sprouts.
Soil prep is another game-changer. Potatoes thrive in loose, well-draining soil with plenty of organic matter. I like to work in 2-3 inches of compost or aged manure before planting. Avoid heavy, clay-rich soils, which can cause potatoes to rot or develop misshapen tubers.
One mistake I see often is planting potatoes too deep. Instead of burying them, plant seed potatoes 3-4 inches deep and 12 inches apart in rows. As the plants grow, you’ll hill soil around the stems to encourage more tuber formation and prevent greening.
Keep an eye on the 10-day forecast before planting. If a late frost is predicted, hold off or be ready to cover emerging shoots with frost blankets or mulch. Potatoes can handle a light frost, but hard freezes below 28°F (-2°C) can kill young plants.
For those in microclimates—like urban areas or near large bodies of water—adjust your timing. Urban zones may warm up faster, allowing for earlier planting, while low-lying areas might stay cooler longer. A soil thermometer is your best friend for pinpoint accuracy.
Finally, don’t forget to water consistently after planting. Potatoes need about 1-2 inches of water per week, especially once they start flowering. Too little water leads to scabby potatoes, while too much can cause rot. Mulching with straw helps retain moisture and keeps soil temps steady.
By following these steps, you’ll set your Zone 6B potato crop up for success, with a bountiful harvest of homegrown spuds ready by early summer. Happy planting! 🌱
Planting potatoes in fall might sound unusual, but in Zone 6B, it’s a fantastic way to extend your harvest season. The key is timing—you’ll need to plant 10-12 weeks before your first frost date, which is around October 15 for most of Zone 6B.
This means getting your seed potatoes in the ground by mid-August to early September. Unlike spring planting, fall potatoes face different challenges, like warmer soil temps and potential drought. But with the right approach, you can enjoy a second crop of fresh, homegrown potatoes just in time for holiday meals.
Soil too warm? Potatoes planted in hot August soil (>80°F) may struggle to sprout or develop diseases. Use shade cloth or mulch to cool the soil if needed.
Drought stress? Late summer can be dry. Keep soil evenly moist—aim for 1-2 inches of water per week, and mulch heavily to retain moisture.
Frost risk? If an early frost threatens, cover plants with row covers or straw to protect foliage and extend growth by 2-4 weeks.
For fall planting, I recommend fast-maturing varieties like ‘Yukon Gold’ (70-80 days) or ‘Red Norland’ (80-90 days). These will reach maturity before the first hard frost. Avoid late-season varieties like ‘Russet’, which need 110+ days and likely won’t make it.
Prepping your soil is even more critical in fall. Start by adding compost to boost nutrients, as the soil may be depleted after summer crops. Work in a balanced fertilizer (10-10-10) at planting to support quick growth. Since fall days shorten quickly, every bit of nutrient help counts.
One trick I swear by is pre-sprouting (chitting) your seed potatoes indoors for 2-3 weeks before planting. This gives them a head start in the warming soil. Place them in a cool, bright spot until sprouts are ½ to 1 inch long, then plant them carefully to avoid breaking the shoots.
As temperatures drop, mulch heavily with straw or leaves to insulate the soil and protect developing tubers. If a surprise frost hits, don’t panic—potato plants can handle light frosts, but cover them if temps dip below 28°F (-2°C). Harvest before the first hard freeze, or risk damaged, mushy potatoes.
Fall-grown potatoes often have fewer pests (like Colorado potato beetles) and can taste sweeter due to cooler growing conditions. Just be sure to cure them properly after harvest—lay them in a dark, humid spot (60-70°F) for 1-2 weeks to toughen their skins for storage. With these tips, you’ll be pulling up crisp, flavorful potatoes well into autumn! 🌿
Planning your potato planting in Zone 6B doesn’t have to be guesswork. With a clear month-by-month calendar, you’ll know exactly when to order, prep, plant, and harvest for the best results. Here’s how I break it down to maximize yields year after year.
Start by marking your last frost date (April 15) and first frost date (October 15) on your calendar. These are your bookends for the growing season. From there, work backward to schedule tasks like chitting, soil prep, and planting. Let’s dive into the details!
In January and February, focus on preparation. Ordering seed potatoes early ensures you get the best selection of disease-free stock. Chitting (pre-sprouting) gives your potatoes a 2-3 week head start, which is especially helpful for early spring planting.
Once March arrives, it’s go time! Plant your chitted potatoes as soon as soil reaches 45°F. Use a soil thermometer to check—don’t rely on air temperature alone. If you’re planting in containers, move them to a sunny spot and monitor moisture closely, as pots dry out faster.
By May and June, your potatoes should be growing vigorously. This is when consistent watering and pest control are critical. I use row covers to protect young plants from beetles and drip irrigation to keep moisture levels steady. Avoid overhead watering, which can spread diseases like blight.
If you’re aiming for a fall harvest, mark July 15 as your cutoff for planting. Any later, and your potatoes won’t mature before frost. For fall crops, I stick to fast-maturing varieties (70-90 days) and mulch heavily to insulate the soil as temperatures drop.
Finally, harvest timing is everything. For “new potatoes,” start digging 2-3 weeks after flowering. For storage potatoes, wait until the tops die back. Always harvest before the first hard frost to avoid damage. With this calendar, you’ll never miss a beat in your potato-growing season! 🪴
Planting before soil reaches 45°F risks rot or slow sprouting. Late frosts (below 28°F) can kill emerging shoots. Always check soil temp with a thermometer—don’t rely on air temperature alone.
Use 5-gallon containers with drainage holes and well-draining soil. Containers dry faster, so water every 3-5 days. Move pots to full sun (6+ hours daily) and hill soil as plants grow. Perfect for small spaces or poor garden soil.
Cover plants with frost blankets or 4-6 inches of straw mulch when temps dip below 32°F. Row covers can extend growth by 2-4 weeks. Harvest immediately if a hard freeze (28°F) is forecasted.
Stick to 70-90 day varieties like ‘Yukon Gold’ or ‘Red Norland’. Avoid late-season types (Russet, Kennebec) needing 110+ days. Fast growers handle cooler temps better and often taste sweeter.
This usually means soil is too compacted or nutrients are imbalanced. Loosen soil before planting and add compost. Ensure consistent moisture (1-2 inches/week)—drought stress halts tuber development. Hill soil around stems when plants reach 6 inches tall.
