
Beautiful Plants For Your Interior
Beautiful Plants For Your Interior
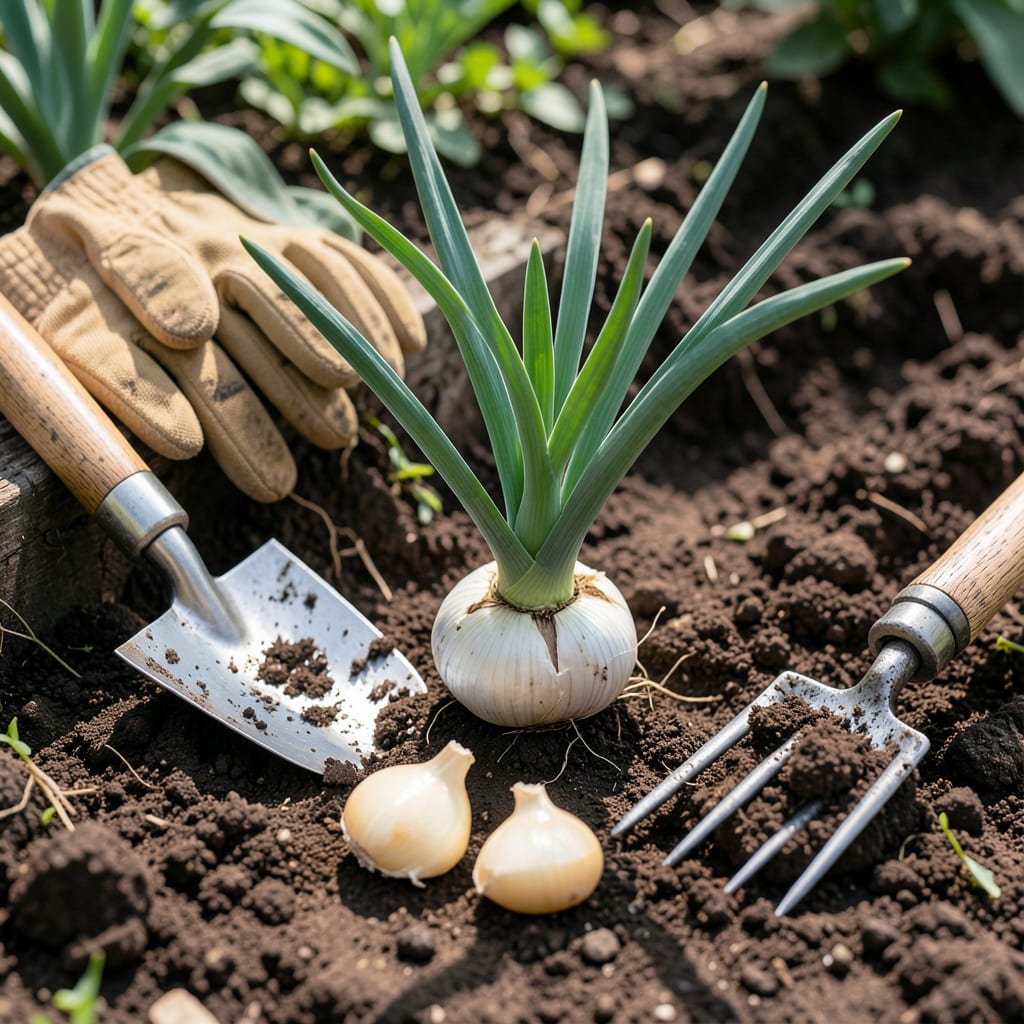
If you’ve ever pulled up sad, undersized garlic bulbs instead of the plump, flavorful ones you dreamed of, timing might be your downfall. In Zone 9, where winters are mild and summers scorch, nailing that perfect planting window makes all the difference.
I’ve seen gardeners struggle with split bulbs or stunted growth simply because they followed generic advice. Let’s cut through the confusion—here’s exactly when to get those 🧄 cloves in the ground for a harvest that’ll make your neighbors jealous. The secret? Working with Zone 9’s climate, not against it.
If you’re growing garlic in Zone 9, you’ve got a unique advantage—our mild winters mean you can plant earlier than most. But timing is still critical. Plant too early in summer’s heat, and cloves may rot. Wait too long, and roots won’t establish before winter. The sweet spot? Late fall to early winter, when soil temps dip to 50°F–60°F.
Unlike colder zones, we don’t need to rush before a hard freeze. Instead, focus on soil readiness and variety selection. Softneck garlic (like ‘Silverskin’) thrives here, while hardneck varieties need extra chilling. Let’s break down the exact months and prep steps for plump, flavorful bulbs come spring.
| Stage | Timeframe | Key Action |
|---|---|---|
| Soil Prep | September–October | Amend with compost; aim for pH 6.0–7.0. |
| Plant Cloves | October–December | Space 4–6″ apart, 2″ deep; mulch heavily. |
| Winter Care | January–February | Water lightly if rainfall <1″/week. |
| Spring Growth | March–April | Fertilize with high-nitrogen feed; watch for scapes. |
| Harvest | May–June | Dig when lower leaves brown but 5–6 green remain. |
💡 Pro Tip: Plant 4–6 weeks before your first frost date (typically late November in Zone 9).
For softneck garlic (the Zone 9 favorite), I recommend planting between mid-October and mid-December. This gives cloves time to root deeply before winter dormancy but avoids the summer’s fungal risks. If you’re trying hardneck varieties, plant earlier—by late October—to ensure enough chilling hours.
Soil temperature is your best guide. Use a soil thermometer to check depths of 2–3 inches. Ideal planting temps are 50°F–60°F. Too warm? Cloves may sprout prematurely. Too cold? Roots stall. In Zone 9, we often hit this window by late fall, but monitor local forecasts for unseasonal heatwaves.
Mulching is non-negotiable here. After planting, cover beds with 4–6 inches of straw or shredded leaves. This insulates soil, retains moisture, and suppresses weeds. Unlike colder zones, we’re protecting against winter weeds and soil temperature swings, not just frost.
If you miss the fall window, don’t panic! You can plant garlic as late as January in Zone 9, but yields may be smaller. For spring-planted garlic, choose fast-maturing varieties like ‘Early Italian’ and plant by mid-February. Just know these bulbs won’t store as long as fall-planted ones.
Want to sync with the moon? Many organic gardeners swear by planting during the waning moon phase in Scorpio or Pisces for root crops. While not scientifically proven, it’s a fun tradition to try! Mark your calendar for the October or November waning moon and compare results.
Remember, garlic is a long-season crop. From planting to harvest, expect 8–9 months for fall-planted cloves. Spring-planted garlic may take just 5–6 months but often produces smaller bulbs. Track your planting dates and harvest results to refine your timing each year.
Finally, resist the urge to plant grocery-store garlic. These cloves are often treated to inhibit sprouting and may carry diseases. Instead, order from a reputable seed garlic supplier—look for varieties like ‘California Early’, ‘Lorz Italian’, or ‘Ajo Rojo’ for Zone 9 success.
Now that you’ve got the timeline down, let’s tackle the biggest mistakes I see Zone 9 gardeners make—and how to avoid them. Spoiler: soil prep and watering habits can make or break your harvest!
Even with perfect timing, small errors can sabotage your garlic harvest. I’ve seen gardeners in Zone 9 end up with tiny bulbs or no harvest at all because of avoidable mistakes. The good news? These pitfalls are easy to fix once you know what to watch for.
First up: planting depth. Too shallow, and cloves dry out or heave from winter rains. Too deep, and they struggle to sprout. In our loamy Zone 9 soil, aim for 2 inches deep—deep enough to anchor but shallow enough to emerge easily. Use a ruler or planting guide if you’re unsure.
💡 Fix It Fast: If you’ve already planted too shallow, add 1–2 inches of mulch to protect cloves.
Another common mistake is ignoring soil pH. Garlic thrives in slightly acidic to neutral soil (pH 6.0–7.0). In Zone 9, our native soil often skews alkaline. Test your soil with a $10 kit from the garden center. Too high? Amend with sulfur or peat moss before planting.
Watering missteps are another harvest killer. Many gardeners either drown their garlic or let it dry out. Aim for consistent moisture—about 1 inch per week, including rain. Use a moisture meter to check depths of 2–3 inches. Stop watering 2–3 weeks before harvest to prevent moldy bulbs.
Finally, don’t overlook variety selection. Not all garlic thrives in Zone 9’s heat. Softneck varieties like ‘Silverskin’ or ‘Artichoke’ handle our climate best, while many hardnecks struggle without enough chilling. If you’re set on hardnecks, try ‘Spanish Roja’ or ‘Chesnok Red’—they need fewer cold hours than others.
One last tip: rotate your beds. Never plant garlic where alliums (onions, leeks) grew the prior year. This prevents soil-borne diseases like white rot. I mark my garden map each year to track rotations—it’s saved my harvest more than once!
Now that you know what not to do, you’re set for success. Next up, let’s dive into the best garlic varieties for Zone 9’s heat—and which ones store longest for year-round flavor! 🌱
Not all garlic thrives in Zone 9’s heat, so choosing the right variety is just as important as timing. I’ve tested dozens of types in my own garden, and some consistently outperform others in our mild winters and scorching summers. Let’s cut through the noise and focus on the winners.
Softneck garlic is the superstar here—it handles heat better, stores longer, and produces more cloves per bulb. My top picks? ‘Silverskin’ for its 12-month storage life and ‘Artichoke’ for its bold flavor and large cloves. These varieties laugh at our 90°F+ summers.
| Variety | Type | Flavor | Storage | Heat Tolerance |
|---|---|---|---|---|
| Silverskin | Softneck | Mild, sweet | 12+ months | Excellent |
| Artichoke | Softneck | Bold, spicy | 9–10 months | Very Good |
| Creole | Hardneck | Rich, complex | 6–8 months | Good |
| California Early | Softneck | Balanced, aromatic | 8–10 months | Excellent |
| Ajo Rojo | Hardneck | Fiery, robust | 5–6 months | Moderate |
💡 Pro Tip: For beginner gardeners, start with ‘Silverskin’—it’s nearly foolproof in Zone 9!
If you’re determined to grow hardneck garlic, opt for ‘Creole’ or ‘Ajo Rojo’. These need fewer chilling hours than other hardnecks, making them semi-suitable for our climate. Just plant them earlier (by late October) to maximize their cold exposure. Expect smaller bulbs but unbeatable flavor.
For container gardeners, ‘California Early’ is your best bet. It adapts well to pots (minimum 8-inch depth) and matures faster than other varieties. Use a well-draining potting mix with added compost, and place containers where they’ll get full sun (6+ hours daily).
Storage life matters too! If you want garlic that lasts until next year’s harvest, ‘Silverskin’ is unbeatable. For immediate use, ‘Artichoke’ offers the best balance of flavor and size. I braid my ‘Silverskin’ harvests and hang them in a cool, dark pantry—they stay firm for over a year!
Finally, save a few bulbs for replanting next season. Over time, your garlic will adapt to your microclimate, becoming even more resilient. Just select the largest, healthiest bulbs from your harvest, break them into cloves, and replant in fall. It’s the ultimate gardening hack for self-sufficient flavor! 🌿
Garlic thrives when soil temps hit 50°F–60°F at 2–3 inches deep. In Zone 9, this typically happens from late October to December. Use a soil thermometer to check—too warm risks premature sprouting, while too cold stalls root growth.
Yes, but yields will be smaller. For spring planting, choose fast-maturing varieties like ‘Early Italian’ and get cloves in the ground by mid-February. These bulbs mature in 5–6 months but won’t store as long as fall-planted garlic.
Plant cloves 2 inches deep, pointy end up. Too shallow risks drying out or heaving in winter rains, while too deep can prevent sprouting. Space them 4–6 inches apart in well-draining soil for optimal growth.
Use 4–6 inches of straw or shredded leaves. This insulates soil, retains moisture, and suppresses weeds—critical in Zone 9’s mild winters. Avoid heavy mulches like wood chips, which can smother emerging shoots.
Small bulbs often result from late planting or poor soil prep. Splitting usually means uneven watering or planting too early in heat. Test soil pH (aim for 6.0–7.0) and maintain consistent moisture for plump, uniform bulbs.
