
Beautiful Plants For Your Interior
Beautiful Plants For Your Interior
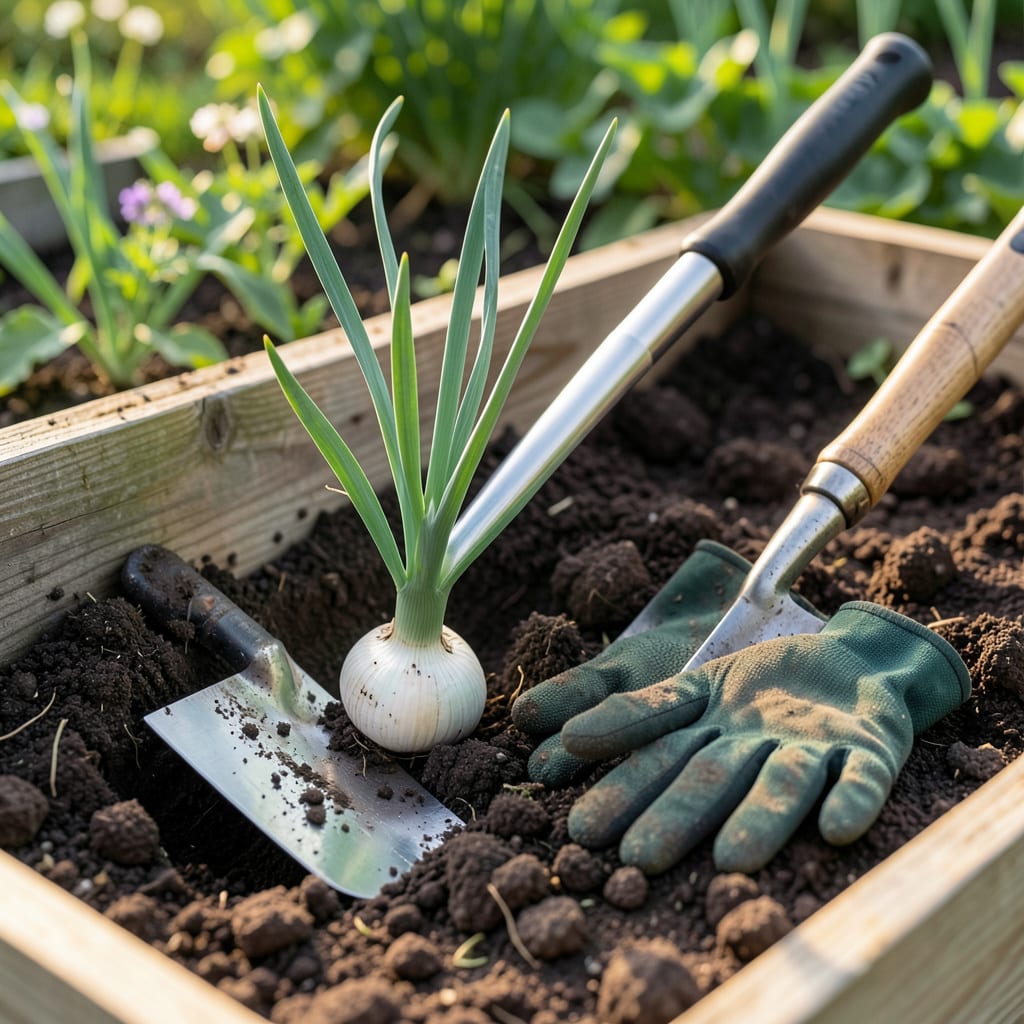
If you’ve ever pulled up puny garlic bulbs in North Texas, timing might be your downfall. Plant too early, and tender shoots risk frost damage; wait too long, and your 🧄 won’t size up before summer’s heat hits.
After years of testing, I’ve nailed the perfect fall window—and it’s not what most gardeners expect. Stick with me, and I’ll show you exactly when to get those cloves in the ground for plump, flavorful bulbs next May or June.
If you’re growing garlic in North Texas, timing is your secret weapon. Our USDA Zones 7b–8a demand a fall planting window—specifically mid-October through mid-November—to give cloves enough time to root before winter. Plant too early, and tender shoots risk frost damage; too late, and bulbs won’t size up properly.
North Texas winters are mild but unpredictable, so I aim to get garlic in the ground 4–6 weeks before the first frost (around November 15). This ensures roots establish while soil temps hover near 60°F, the sweet spot for garlic. Cities like Dallas, Fort Worth, and Denton follow similar timelines, but microclimates matter—watch for local frost advisories.
| Zone | Ideal Planting Months | Soil Temp Target | City Examples |
|---|---|---|---|
| 7b | Oct 15–Nov 10 | 55–65°F | Denton, McKinney |
| 8a | Oct 20–Nov 15 | 60–70°F | Dallas, Fort Worth |
Pro Tip: Use a soil thermometer to confirm temps—garlic roots grow best when soil is cooler than 70°F but warmer than 50°F.
Why fall? Garlic needs vernalization—a period of cold exposure—to split into plump cloves. In North Texas, our mild winters provide just enough chill without killing the plants. If you miss the window, December plantings can work, but bulbs may be smaller. I’ve had success with ‘Silverskin’ (softneck) and ‘German White’ (hardneck) varieties here.
Soil prep is key. Our clay-heavy soils need amending with compost or sand to improve drainage. Test your soil pH—garlic thrives in 6.0–7.0. If your soil is too acidic, add lime; too alkaline, mix in sulfur. A 2–3 inch layer of mulch (straw or shredded leaves) protects cloves from temperature swings.
Watering matters, too. After planting, give garlic a deep soak (1 inch of water) to settle soil. Then, water weekly unless rain provides moisture. Avoid soggy soil—garlic hates wet feet. In spring, increase watering as bulbs form, but taper off 2 weeks before harvest to toughen wrappers.
Watch for green shoots in late winter—this is normal! A light frost won’t hurt established plants, but hard freezes (below 25°F) may require extra mulch. If you’re in a windy area (looking at you, West Texas), secure mulch with landscape fabric or chopped leaves to prevent blowing.
Curious about spring planting? While possible, North Texas springs heat up too fast, leading to small, underdeveloped bulbs. If you must plant in spring, choose ‘California Early’ and harvest green garlic (immature bulbs) instead of waiting for full maturity. It’s a tasty consolation prize!
For container gardeners, the rules bend slightly. Plant garlic in deep pots (12+ inches) with drainage holes, using a lightweight potting mix. Move containers to a sheltered spot during hard freezes. I’ve grown great garlic on my Dallas patio using this method—just monitor soil moisture more closely.
Finally, mark your calendar for harvest in late May or June. Garlic is ready when lower leaves brown and stems soften. Dig carefully with a garden fork to avoid bruising bulbs. Cure in a shady, breezy spot for 2 weeks, then store in a cool, dry place for months of homegrown flavor.
Still unsure? Grab a soil thermometer and check local frost dates—your garlic will thank you. And remember: even if your timing isn’t perfect, garlic is forgiving. Happy planting! 🌱
Now that you know when to plant, let’s dig into the how. North Texas soil can be tricky—our clay-heavy grounds drain poorly, and our alkaline pH often needs adjusting. But with a few simple steps, you’ll create the perfect home for plump, flavorful garlic bulbs.
Start by selecting high-quality seed garlic from a reputable supplier. Avoid grocery store cloves—they’re often treated to prevent sprouting. I recommend ‘Silverskin’ (softneck) for beginners—it’s heat-tolerant and stores well. For bigger cloves, try ‘German White’ (hardneck), but note it needs winter chill.
Pro Tip: Label your rows with plant markers—garlic sprouts look like grass and are easy to mistake for weeds!
Location matters, too. Choose a spot with full sun (6+ hours daily). In North Texas, south-facing beds work best—they warm up faster in spring. Avoid low-lying areas where cold air pools; garlic hates soggy, frozen roots. If planting in containers, pick pots at least 12 inches deep with drainage holes.
After planting, resist the urge to fertilize immediately. Wait until early spring when shoots emerge, then apply a balanced fertilizer (10-10-10) or compost tea. Too much nitrogen early on leads to leafy growth but small bulbs. I like to side-dress with worm castings—they release nutrients slowly and improve soil structure.
Watch for pests like onion thrips or white rot fungus, especially in damp years. If you spot silvery streaks on leaves, spray with neem oil. For fungal issues, improve airflow by thinning plants or watering in the early morning. Rotate your garlic bed every year to prevent soil-borne diseases.
By late May or June, your garlic will signal it’s ready to harvest. Look for yellowing lower leaves and softening stems. Use a garden fork to lift bulbs gently—never pull by the stems! Cure them in a shady, breezy spot for 2 weeks, then trim roots and store in a mesh bag or wooden crate.
First-time grower? Don’t stress—garlic is forgiving. Even if your timing or spacing isn’t perfect, you’ll likely still get a harvest. The key is consistent moisture and patience. Next summer, you’ll be rewarded with bulbs so fresh and flavorful, you’ll never go back to store-bought! 🌿
Even experienced gardeners can stumble when growing garlic in North Texas. Our clay soil and unpredictable winters create unique challenges. Let me save you from the headaches I’ve faced—here are the top blunders and how to avoid them.
First up: planting grocery-store garlic. Those cloves are often treated with growth inhibitors to prevent sprouting. Even if they grow, they carry disease risks that can linger in your soil. Always source certified seed garlic from reputable suppliers.
Rescue Tip: If you’ve already planted, add mulch ASAP and adjust watering—it’s not too late!
Another critical error: planting too shallow or deep. Cloves need 2 inches of soil above them—any less risks frost damage, any more delays sprouting. Use a ruler or planting guide to ensure consistency. I mark my dibble stick at 2 inches for foolproof depth.
Many gardeners also forget to rotate planting locations. Garlic depletes soil nutrients and can spread diseases like white rot. Never plant in the same spot year after year. I follow a 3-year rotation with tomatoes or beans in between to break disease cycles.
Finally, don’t neglect spring fertilization. Garlic is a heavy feeder during bulb formation. Apply a low-nitrogen fertilizer (like 5-10-10) when shoots emerge in late February. Stop fertilizing by April to avoid soft bulbs that don’t store well.
If you’ve already made these mistakes, don’t panic! Garlic is resilient. Adjust your care now, and you’ll still likely harvest usable bulbs. Next season, you’ll know exactly what to avoid for a bumper crop. 🌱
Planting before mid-October risks tender shoots emerging too soon. These early sprouts can suffer frost damage during our unpredictable winters, weakening the plants. Stick to the October 15–November 15 window for best results.
Yes, but expect smaller bulbs. December-planted garlic has less time to establish roots before winter. Use extra mulch for insulation, and choose fast-maturing varieties like ‘Silverskin’ for better chances of success.
Test soil temperature—it should be 55–65°F at planting time. Also check pH (ideal: 6.0–7.0). Our clay soil often needs compost or sand to improve drainage before planting.
Use straw or shredded leaves—they insulate against temperature swings and retain moisture without compacting. Avoid hay (weed seeds!) or plastic mulch (traps too much heat). Apply 3–4 inches after planting.
Established plants can handle brief dips to 25°F, but prolonged freezes may require extra protection. Pile on more mulch or cover with frost cloth during extreme cold snaps. Green shoots in winter are normal!
