
Beautiful Plants For Your Interior
Beautiful Plants For Your Interior
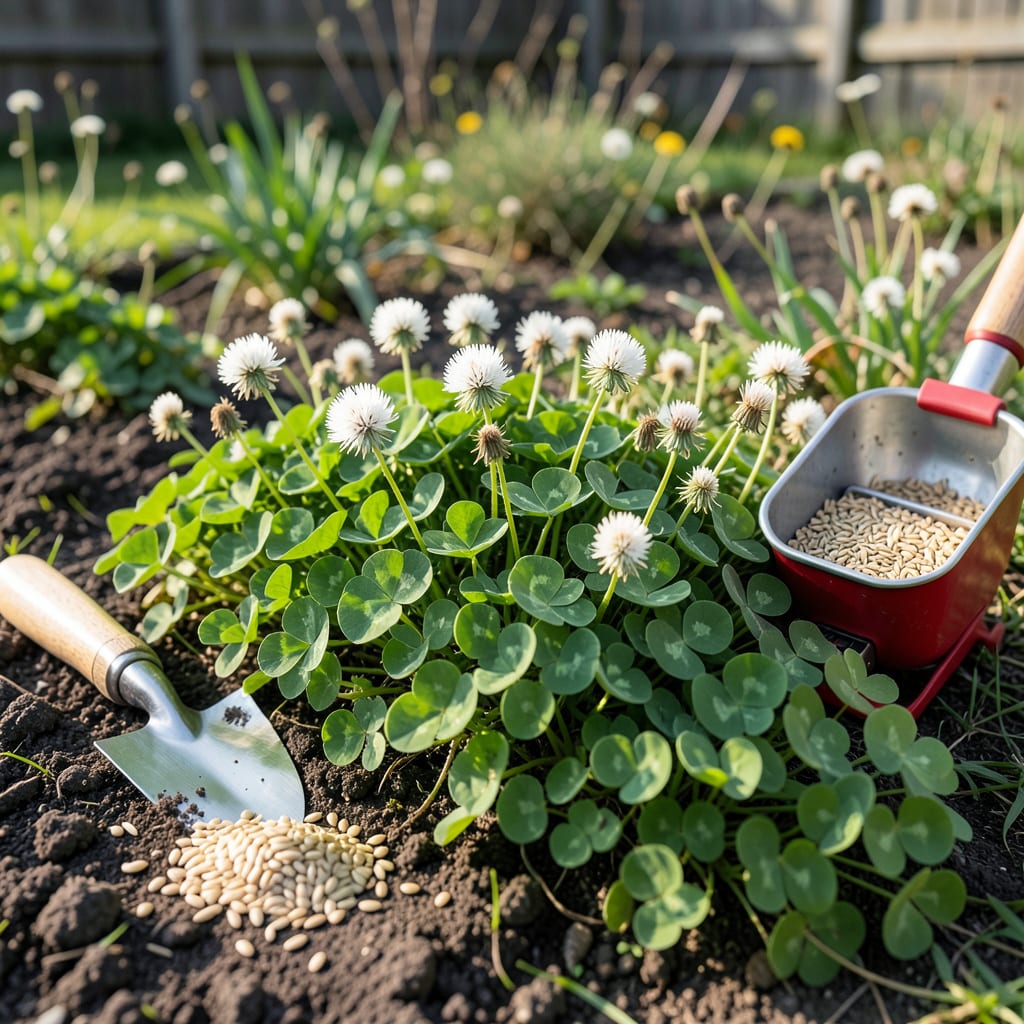
Timing your clover planting in Oregon can mean the difference between a patchy, struggling plot and a lush, vibrant ground cover. I’ve seen too many gardeners waste seed and effort by planting at the wrong time—only to watch their 🍀 clover fail before it even gets started.
The secret lies in working with Oregon’s diverse microclimates, not against them. Whether you’re in the misty coast or the high desert, I’ll break down the optimal windows and region-specific tricks to ensure your clover thrives. Let’s get this right the first time.
If you’re planting clover in Oregon, timing isn’t just a suggestion—it’s the difference between a thriving green carpet and a patchy disappointment. Oregon’s diverse climate zones mean what works in Portland’s Willamette Valley won’t fly in Bend’s high desert or Astoria’s coastal fog. 🌱
The secret? Match your planting window to your microclimate and soil temperature. Clover seeds germinate best when soil hits 50°F or warmer, but Oregon’s frost dates and rainfall patterns shift dramatically from the coast to the Cascades. Let’s break it down by region. 🌿
| Region | Best Planting Window | Soil Temp Threshold | Key Considerations |
|---|---|---|---|
| Oregon Coast (Astoria, Coos Bay) |
Late August–October or March–April |
50–60°F | Mild winters allow fall planting; avoid heavy winter rains. Spring planting competes with weeds. |
| Willamette Valley (Portland, Salem, Eugene) |
March–May or August–September |
55°F+ | Spring planting ideal for cover crops; fall planting works for lawns. Watch for summer drought stress. |
| Eastern Oregon (Bend, Pendleton) |
April–May or Late August |
60°F+ | Short growing season—spring planting preferred. Avoid late fall frosts (can arrive by October). |
| Southern Oregon (Medford, Ashland) |
March–April or September–October |
55–65°F | Hot summers—fall planting benefits from cooler temps. Irrigate new spring plantings heavily. |
Along the Oregon Coast, the mild, wet winters let you plant clover as late as October. The trick? Use white Dutch clover for lawns—it handles the cooler temps and sandy soils better than red clover. Just avoid planting during December–February rains, which can wash seeds away. ☀️
In the Willamette Valley, your best bet is early spring (March–April) or late summer (August–September). Spring plantings thrive with consistent rainfall, while fall plantings establish roots before winter. I always recommend crimson clover here—it’s a nitrogen-fixing powerhouse for gardens. 💧
Head east to Bend or Pendleton, and you’re dealing with shorter seasons and colder nights. Plant only in spring (April–May) unless you’re using winter-hardy varieties like alsike clover. Fall plantings risk frost damage before roots establish—soil temps drop fast after September. ❄️
Down in Southern Oregon, the hot, dry summers mean fall planting (September–October) often outperforms spring. The cooler temps and autumn rains give seeds a fighting chance. If you plant in spring, mulch heavily and water daily until established. I’ve seen subterranean clover do well here—it’s drought-tolerant once rooted. 🌡️
No matter your region, soil prep is non-negotiable. Test your pH (aim for 6.0–7.0) and loosen compacted soil. Clover struggles in waterlogged or heavy clay—amend with compost if needed. And here’s a pro tip: Mix seeds with sand for even distribution when broadcasting. ✂️
If you’re using clover as a cover crop, plant 4–6 weeks before your first frost. For lawn alternatives, spring or early fall works best to outcompete weeds. And remember: clover seeds need light to germinate, so press them into soil—don’t bury them! 🌱
Finally, watch the 10-day forecast before planting. A sudden heatwave or cold snap can derail germination. Oregon’s weather is unpredictable, but if you time it right, you’ll have a lush, low-maintenance clover that outshines grass any day. 🌿
Planting clover in Oregon isn’t just about tossing seeds and hoping for the best. I’ve learned the hard way that proper site prep and seeding technique make all the difference—especially in our state’s finicky climate. Whether you’re growing clover as a lawn alternative or a cover crop, follow these steps to get it right. 🌱
Start with a soil test—clover thrives in pH 6.0–7.0. If your soil is too acidic, add lime; if it’s alkaline, sulfur can help. Oregon’s heavy clay soils (common in the Willamette Valley) need compost or sand to improve drainage. Clover hates waterlogged roots, so don’t skip this step! 🌿
In coastal Oregon, where winter rains dominate, plant clover in late summer (August–September) to avoid seed washout. For inland areas, spring planting (March–May) is safer—just be ready to irrigate if rains taper off early. I’ve found that crimson clover establishes faster in spring, while white clover handles fall planting better. 💧
If you’re using clover as a cover crop, plant 4–6 weeks before your first frost. This gives it time to establish but prevents it from going to seed before winter. For lawns or living mulch, early fall (September) is ideal—cool temps and autumn rains reduce watering chores. Avoid planting during Oregon’s summer droughts (July–August) unless you can commit to daily watering. ☀️
One mistake I see often? Planting too deep. Clover seeds are tiny and need light to germinate. If you bury them more than ¼ inch, they’ll likely fail. Another pitfall: skipping soil prep. Clover struggles in compacted or nutrient-poor soil. Spend time amending your soil, and you’ll be rewarded with a thicker, healthier stand. ✂️
Finally, be patient. Clover typically germinates in 7–14 days, but full establishment can take 4–6 weeks. Once it’s up, mow high (3–4 inches) to encourage spreading. And here’s a bonus: clover fixes nitrogen in the soil, so it actually improves your garden’s fertility over time. That’s a win-win! 🌿
Even with perfect timing, small errors can sabotage your clover planting in Oregon. I’ve seen gardeners waste time and seed by overlooking key details—like planting depth or soil prep—that make or break establishment. Let’s tackle the top five mistakes so you can sidestep them. 🌱
First up: planting too deep. Clover seeds are tiny and need light to germinate. Bury them more than ¼ inch, and you’ll likely see zero sprouts. Another biggie? Ignoring soil tests. Clover struggles in acidic (pH <6.0) or alkaline (pH >7.5) soil. 🌿
In coastal Oregon, overwatering is a common issue—especially in winter. Clover seeds can rot or wash away in heavy rains. Use light mulch (like straw) to protect seeds while allowing light through. In Eastern Oregon, the opposite problem arises: underwatering during hot, dry spells. 💧
Another mistake I see? Choosing the wrong clover variety. Crimson clover is great for cover crops but dies in winter—bad for perennial lawns. White Dutch clover spreads aggressively, which is perfect for lawns but invasive in gardens. Research before buying! For high-desert areas, subterranean clover handles drought better than most. ✂️
Finally, don’t ignore weed competition. Clover establishes slowly, so clear the area of weeds before planting. A pre-emergent herbicide (like corn gluten) can help, but avoid chemical options if you’re growing organic. Hand-pull weeds until clover fills in—usually 4–6 weeks after germination. 🌿
Fix these mistakes, and you’ll see a thicker, healthier clover stand that outcompetes weeds and thrives in Oregon’s climate. Remember: clover is forgiving once established, but early errors can set you back weeks—or force you to replant entirely. Get it right the first time! 🌱
For coastal areas like Astoria or Coos Bay, aim for late August through October or March–April. The mild winters allow fall planting, but avoid heavy winter rains. Spring works too, though weeds may compete.
Yes, but timing is critical. Plant in April–May or late August to avoid frost. Use cold-hardy varieties like alsike clover, and ensure soil temps are above 60°F. Winter arrives early here!
Clover seeds need light to germinate, so plant no deeper than ¼ inch. Press them into soil with a lawn roller or board for good contact. Burying them too deep is a common mistake that prevents sprouting.
For lawns, white Dutch clover is ideal—it’s low-growing, spreads easily, and handles Oregon’s wet winters. Crimson clover is better for cover crops, while alsike clover suits cold areas like Eastern Oregon.
Clover fixes its own nitrogen, so skip heavy fertilizers. A light phosphorus-rich feed in spring or fall helps root growth. Test soil first—Oregon’s clay may need compost for drainage.
