
Beautiful Plants For Your Interior
Beautiful Plants For Your Interior
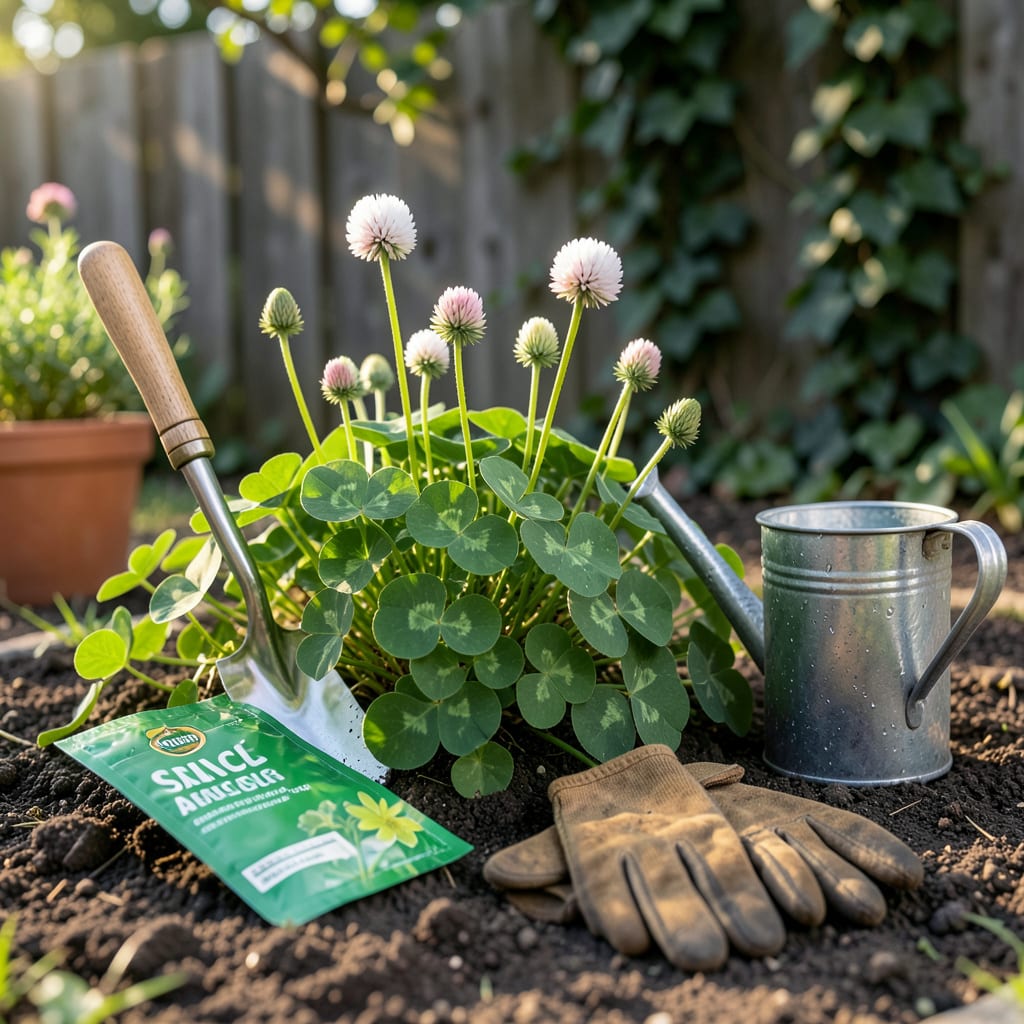
Timing your 🍀 clover planting in Colorado can mean the difference between a patchy lawn and a lush, green carpet. Our state’s wild weather swings—from late spring frosts to sudden summer droughts—make nailing that perfect window absolutely crucial.
I’ve tested the best approaches across zones 5b-7a, and what works in Denver won’t always fly in the foothills. Whether you’re sowing for a durable lawn or a cover crop, I’ll break down the exact months to plant—and how to outsmart Colorado’s climate quirks.
If you’ve ever tried growing clover in Colorado, you know our wild weather swings can make or break your lawn. The Front Range and mountain regions have completely different rules—what works in Denver might flop in Estes Park. Let’s break down the ideal planting windows by elevation.
For most of Colorado, you’ve got two prime seasons: spring (April–June) and fall (August–September). But here’s the catch—soil temperature matters more than calendar dates. Clover seeds need consistent 50°F+ soil to germinate, and our late frosts can throw a wrench in your plans.
| Region | USDA Zone | Best Planting Months | Last Frost Date | Key Considerations |
|---|---|---|---|---|
| Front Range Urban (Denver, Boulder, Fort Collins) | 5b–6a | April 15–June 1 or Aug 15–Sept 15 | May 10 | Watch for late spring frosts; fall planting avoids summer drought stress. |
| Foothills (Colorado Springs, Golden) | 5a–6b | May 1–June 15 or Aug 1–Sept 10 | May 20 | Higher elevation = shorter season; mulch heavily to retain moisture. |
| High Country (Estes Park, Leadville) | 3b–4a | June 1–20 (spring only) | June 15 | Frost risk year-round; use cold-hardy varieties like white Dutch clover. |
In the Front Range cities, I always recommend fall planting for clover. Why? Our summer heat and water restrictions can stress young seedlings. Planting in late August gives roots time to establish before winter, and you’ll get a lush green lawn by next spring.
If you’re in the foothills or mountains, your window is tighter. Soil warms slower at higher elevations, so don’t rush spring planting. I’ve seen gardeners lose entire patches to June snowstorms—wait until nights stay above 40°F before sowing.
Here’s a pro tip: Check your soil temp with a cheap thermometer (available at any garden center). If it’s consistently 50°F+ at 1-inch depth, you’re good to go. For spring planting, aim for 4–6 weeks after last frost; for fall, get seeds in 6–8 weeks before first frost.
Don’t forget about microclimates! A south-facing slope in Boulder might be ready in early April, while a shady north-side yard in Fort Collins could need to wait until mid-May. Observe your space—if daffodils are blooming, your soil is likely warm enough for clover.
Watering is critical in our arid climate. After planting, keep soil moist but not soggy for 2–3 weeks. I use a light straw mulch to prevent crusting—Colorado’s intense sun can bake the soil surface, blocking sprouts. Once established, clover is drought-tolerant, but those first weeks are make-or-break.
For cover crop use, crimson clover is a great choice in lower elevations, but it struggles above 7,000 feet. Stick with white Dutch clover or microclover for high-altitude success. These varieties handle cold snaps better and recover faster from hail damage (a Colorado specialty!).
Finally, avoid the July planting trap. Our monsoon season might tempt you with rain, but the heat stress on young clover isn’t worth it. If you miss the spring window, wait for late summer—your lawn will thank you with thicker, healthier growth next year.
Remember, Colorado gardening is all about adapting to the unexpected. Keep extra seeds on hand for patching, and don’t panic if early sprouts get nipped by frost—clover is surprisingly resilient once established. Happy planting! 🌱
Planting clover in Colorado isn’t just about timing—it’s about preparing your site for our tough conditions. I’ve found that soil prep makes or breaks clover success, especially with our alkaline soils and dry winds. Let’s walk through the process step-by-step.
Start with a soil test—our native soils often run pH 7.5+, but clover thrives in 6.0–7.0. If needed, amend with sulfur or compost to lower pH. Remove weeds completely; clover struggles to compete with bindweed or crabgrass in its early stages.
Watering is where most Colorado gardeners go wrong. After planting, maintain daily light watering for the first week, then taper to every other day. Once established (about 4 weeks), clover needs 1 inch weekly, including rain. Our low humidity means more frequent watering than eastern guides suggest.
For Front Range lawns, I recommend microclover blends like ‘Pipolina’—they handle our heat and foot traffic better than traditional white clover. In mountain areas, stick with white Dutch clover for its cold tolerance down to Zone 3.
Avoid the over-seeding trap. While it’s tempting to use extra seeds for quicker coverage, too many seeds lead to mold issues in our dry-but-dewy climate. Stick to recommended rates: 1 lb per 1,000 sq ft for lawns, 8–10 lbs per acre for cover crops.
First-year clover needs extra TLC. Mow high (3–4 inches) to encourage root growth, and avoid herbicides—clover is sensitive to 2,4-D and similar weed killers. If yellowing occurs, test for iron chlorosis (common in our alkaline soils) and treat with chelated iron.
Remember, Colorado clover takes 2–3 years to fully establish. Don’t be discouraged by slow first-year growth—our intense UV and temperature swings stress all plants. Once mature, your clover will be drought-resistant, pollinator-friendly, and nitrogen-rich for your soil! 🌿
Choosing the right clover variety can make all the difference in Colorado’s challenging climate. Not all clovers thrive equally in our high-altitude conditions and dry summers. Let me break down the two most popular options for our state.
For most Colorado gardeners, white Dutch clover is the clear winner. This variety handles our cold winters down to Zone 4 and recovers well from late frosts—a must for Front Range lawns. It’s also drought-tolerant once established, perfect for our water-restricted summers.
| Feature | White Dutch Clover | Crimson Clover |
|---|---|---|
| Cold Hardiness | Zone 3-9 (best for CO) | Zone 6-9 (struggles in mountains) |
| Drought Tolerance | High (ideal for CO) | Moderate (needs more water) |
| Best Use | Lawns, pollinator gardens | Cover crops, forage |
| Growth Height | 4-6 inches (low-maintenance) | 12-36 inches (needs mowing) |
| Colorado Regions | All elevations (mountain-friendly) | Below 7,000 ft (Front Range only) |
If you’re planting a lawn alternative, I strongly recommend microclover (a dwarf white Dutch variety). It stays shorter, handles foot traffic better, and doesn’t require mowing as often. For cover crops in lower elevations, crimson clover can work, but you’ll need to plant earlier and water more frequently.
One major advantage of white Dutch clover is its nitrogen-fixing ability. It naturally fertilizes your soil, reducing the need for synthetic fertilizers. This is especially valuable in Colorado’s nutrient-poor soils. Crimson clover fixes nitrogen too, but its shorter growing season in our climate limits this benefit.
For high-altitude gardens (above 7,000 feet), white Dutch is really your only reliable option. I’ve seen crimson clover fail completely in places like Estes Park or Leadville due to our short growing season and cool nights. The white Dutch varieties can handle temperature swings from 90°F days to 30°F nights without skipping a beat.
Remember, whichever variety you choose, proper soil preparation is key in Colorado. Our alkaline soils can stunt clover growth, so test your pH and amend with compost or sulfur if needed. With the right variety and care, you’ll have a lush, green clover that thrives in our unique climate! 🌿
Fall planting is often ideal for the Front Range. The August–September window avoids summer heat stress and gives roots time to establish before winter. Spring works too, but requires careful timing after the last frost (May 10).
It’s risky. While monsoons provide moisture, July heat stresses young seedlings. If you must, choose heat-tolerant varieties and water deeply twice weekly. Better to wait for late summer planting.
Use light row covers or straw mulch if frost threatens. White Dutch clover can handle brief cold snaps, but young sprouts are vulnerable. Avoid planting until soil reaches 50°F+ consistently.
Crimson clover grows fastest but struggles above 7,000 ft. For high-altitude areas, microclover establishes quickly while handling cold. Expect full coverage in 2–3 months with proper care.
Yellowing often indicates iron chlorosis from alkaline soil or overwatering. Test your pH (aim for 6.0–7.0) and adjust watering to 1 inch weekly. A foliar iron spray can help green it up.
